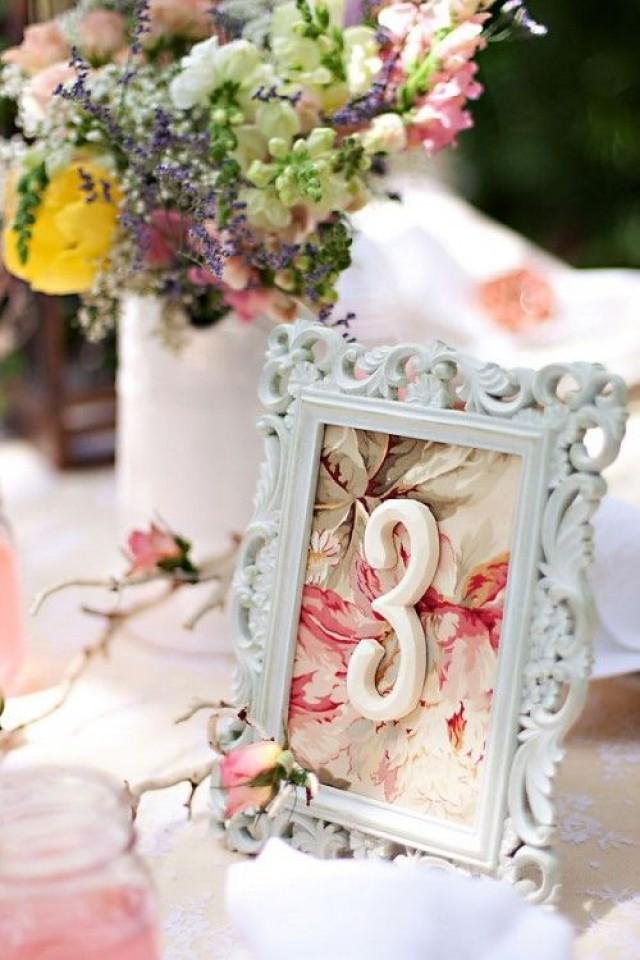
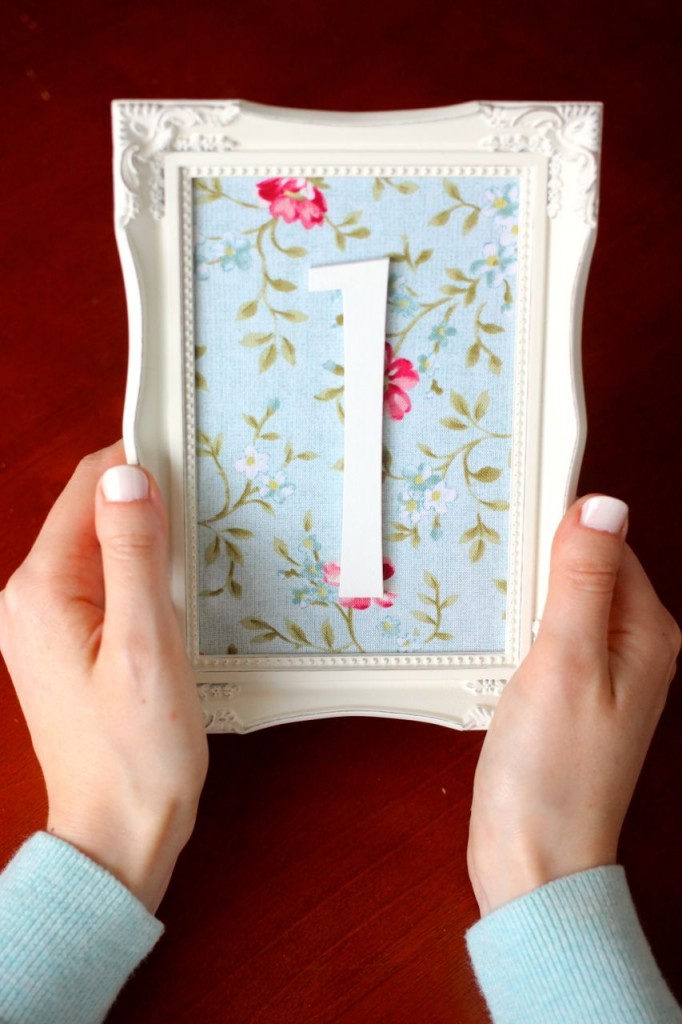
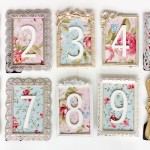
Happy Wedding Wednesday! This week I am so excited to share another DIY project from our wedding with you. As I was planning for our wedding, I spent hours scouring Pinterest for unique table number ideas. I was looking for something simple and unique that would fit our vintage theme. I was overjoyed to discover this unique framed table number from Elizabeth Ann Designs. I adored every detail: the intricate frame, the floral fabric background and the white wooden number on display.
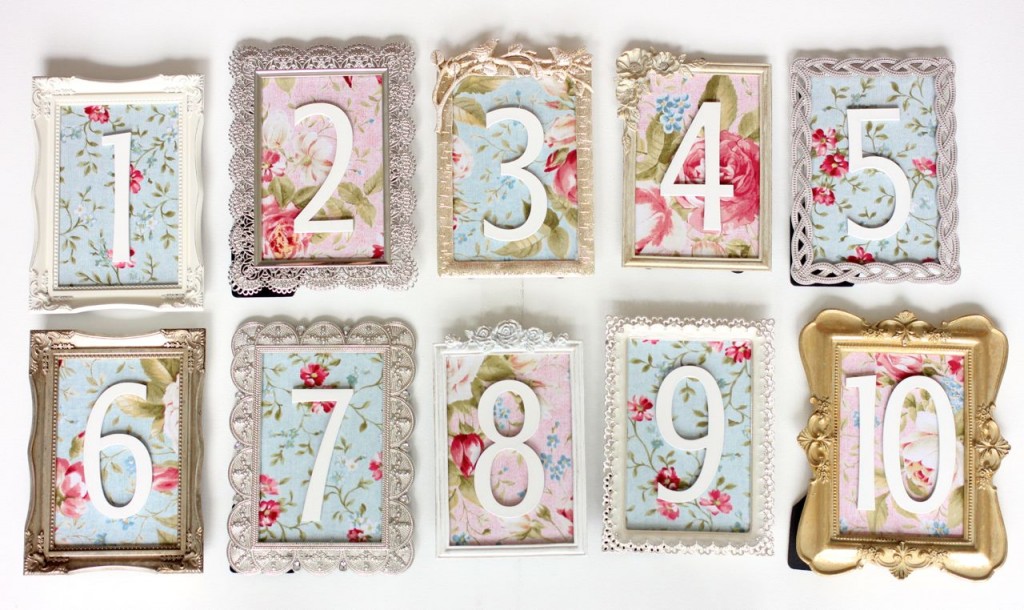
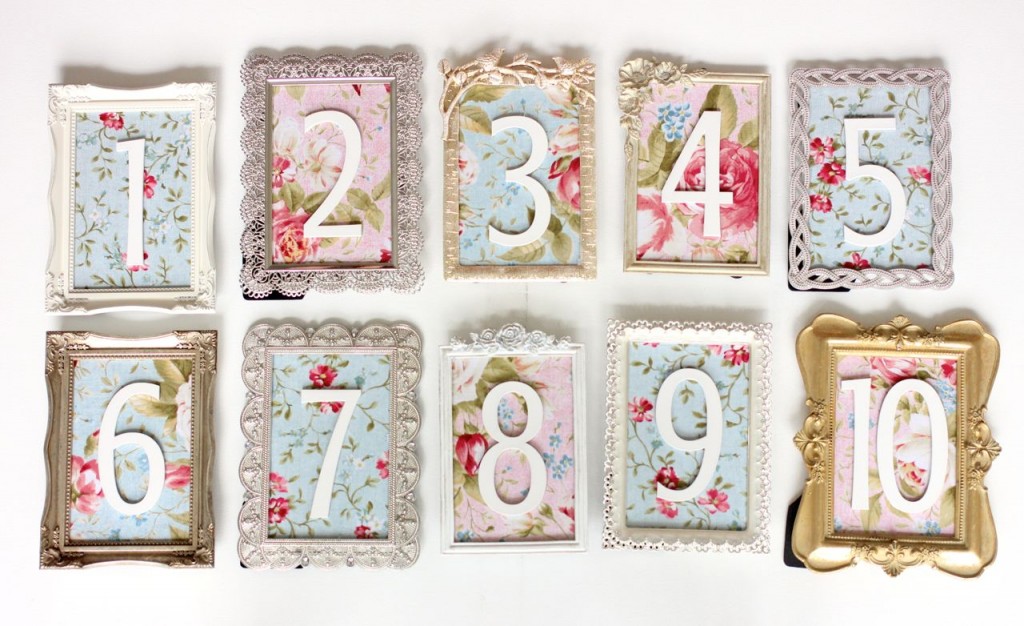
I decided to use this idea as the inspiration for creating my own vintage table numbers. I spent much of my spring break visiting every TJ Maxx, Marshalls and Home Goods within a 45 minute radius of my apartment. I collected every 4×6″ frame I could find that had a vintage feel to it. Gold, silver, ivory or white… I did not discriminate. I also spent the week searching for the perfect floral fabric. Let me tell you, it is DIFFICULT to find a soft floral fabric that isn’t too bold or overwhelming. It’s even more difficult to find a fabric that fits a specific color palate. Somehow, I was lucky enough to discover three gorgeous coordinating fabrics at a local sewing shop.
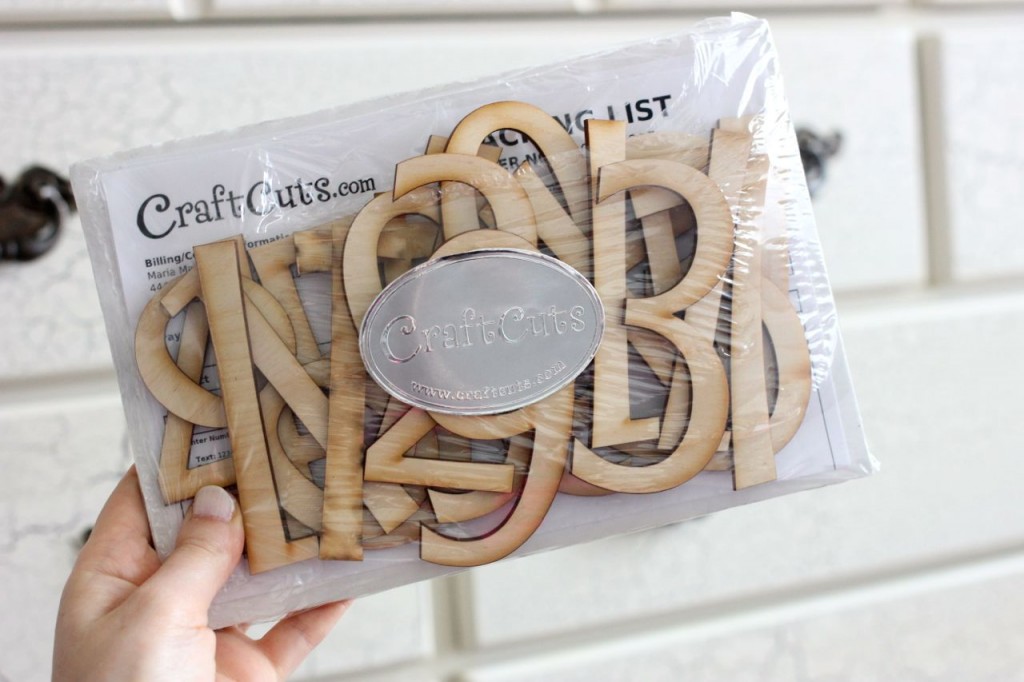
Finding wooden numbers to fill the frames was another task in itself. I eventually stumbled across Craftcuts.com, which let me select the font and size of my numbers.
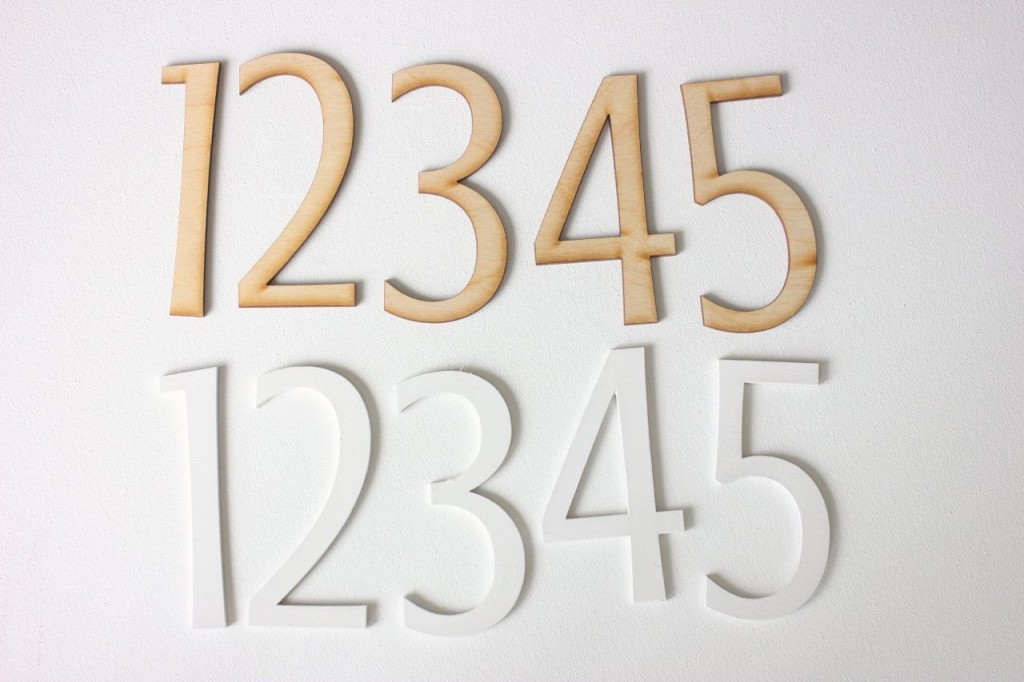
The numbers were laser cut and they had a burnt edge. This would be a perfect look for a rustic or barn wedding. I wanted a more traditional elegant wood, so I gave the numbers a quick coat of primer and spray painted them white.
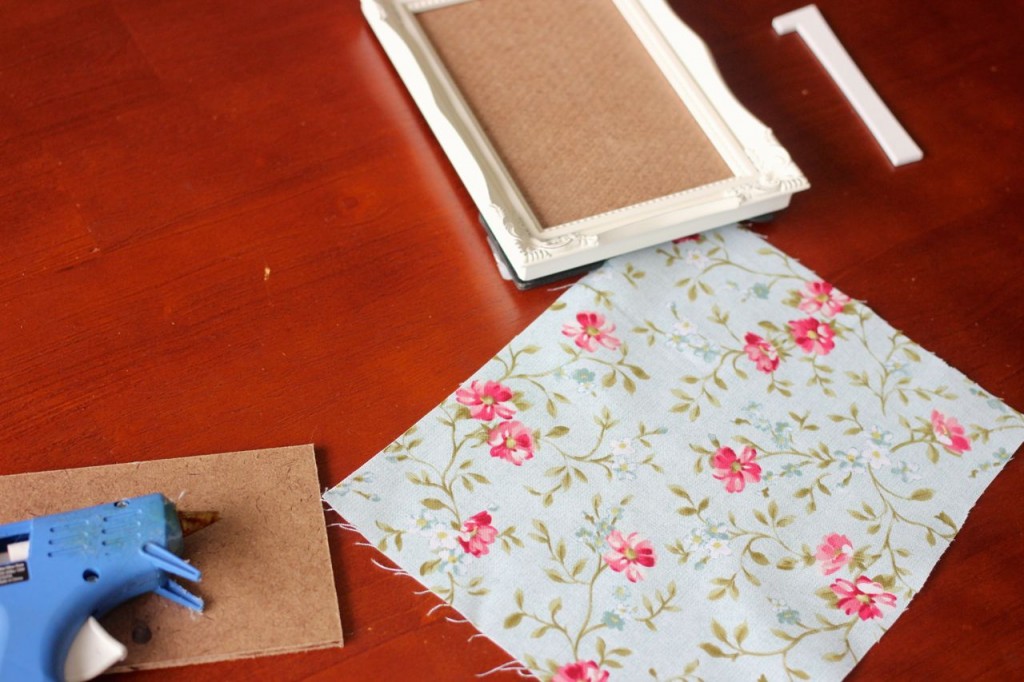
Rob and I took a trip to Home Depot and bought a sheet of the thinnest board we could find. I think it was around 1/4″ thick. Rob cut the board into 4×6″ pieces to place in the frames. We removed the glass and cardboard filler and disposed of them. Then the real fun began!
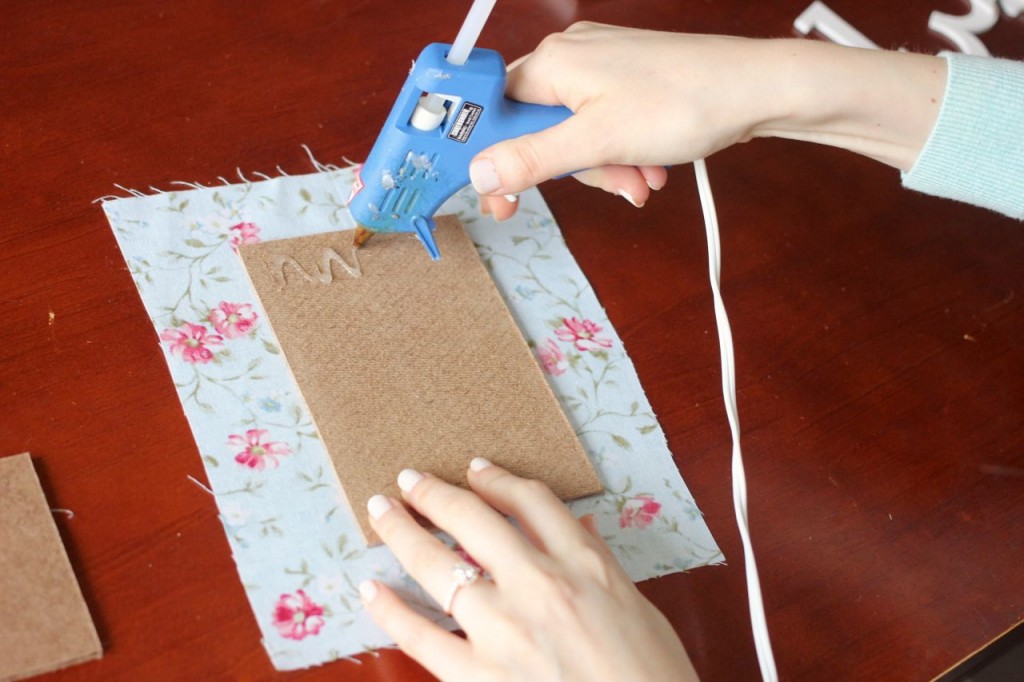
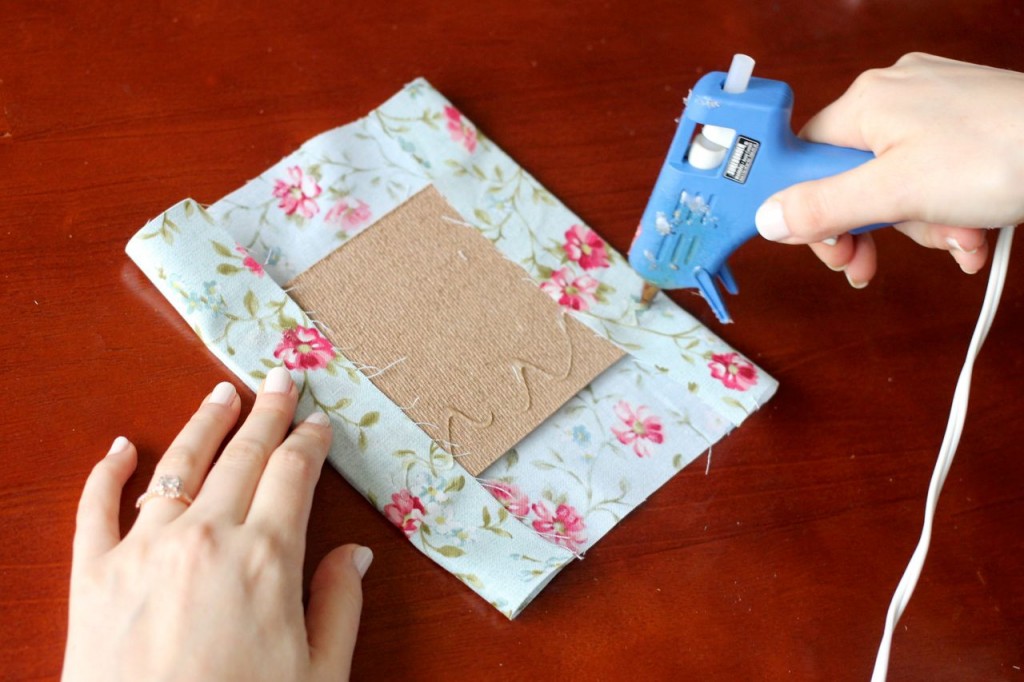
I cut the fabric into pieces that were roughly 8×10″. To attach the fabric, I laid it face down on my work surface and placed one of the boards in the center of it. I added a wavy line of hot glue to the upper edge of the board, then carefully folded the top of the fabric down onto the glue. (It’s easy to burn fingers while adhering the fabric into place so be careful while you work!)
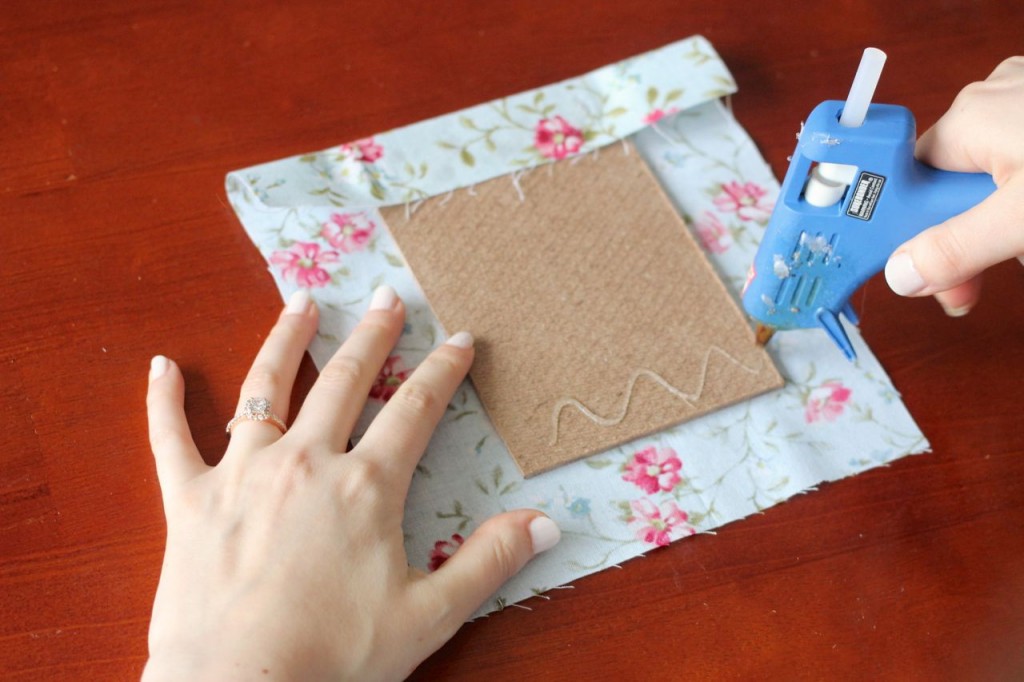
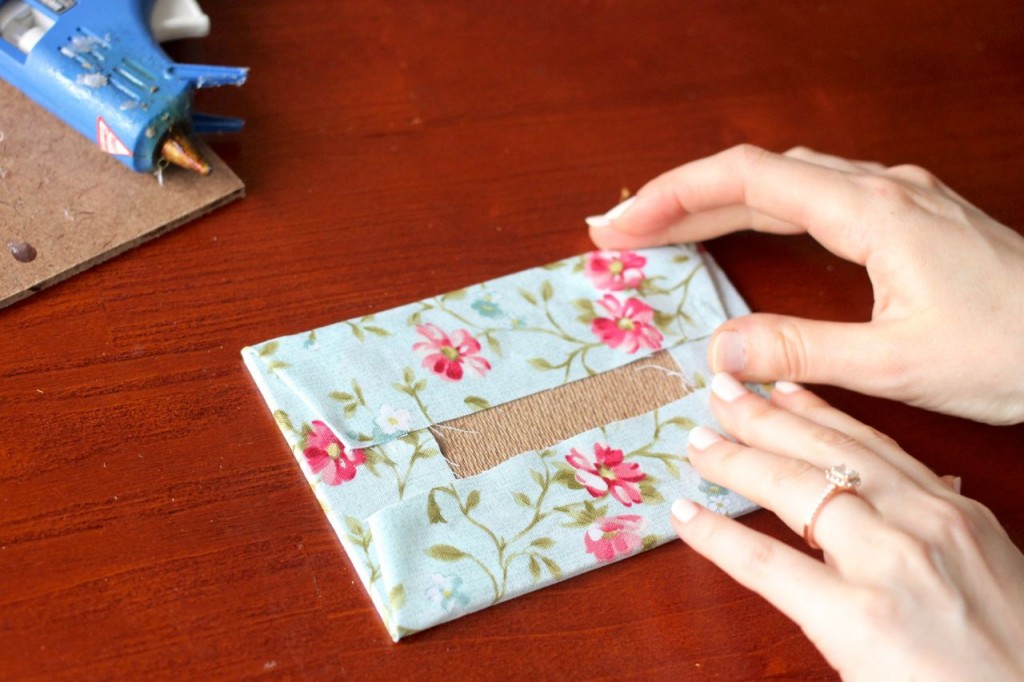
From there, I added another wavy line of glue along the bottom of the board, then carefully folded the fabric onto the glue once again, being sure to pull the fabric taut while I worked to ensure a wrinkle-free and sag-free table number inside the frame.
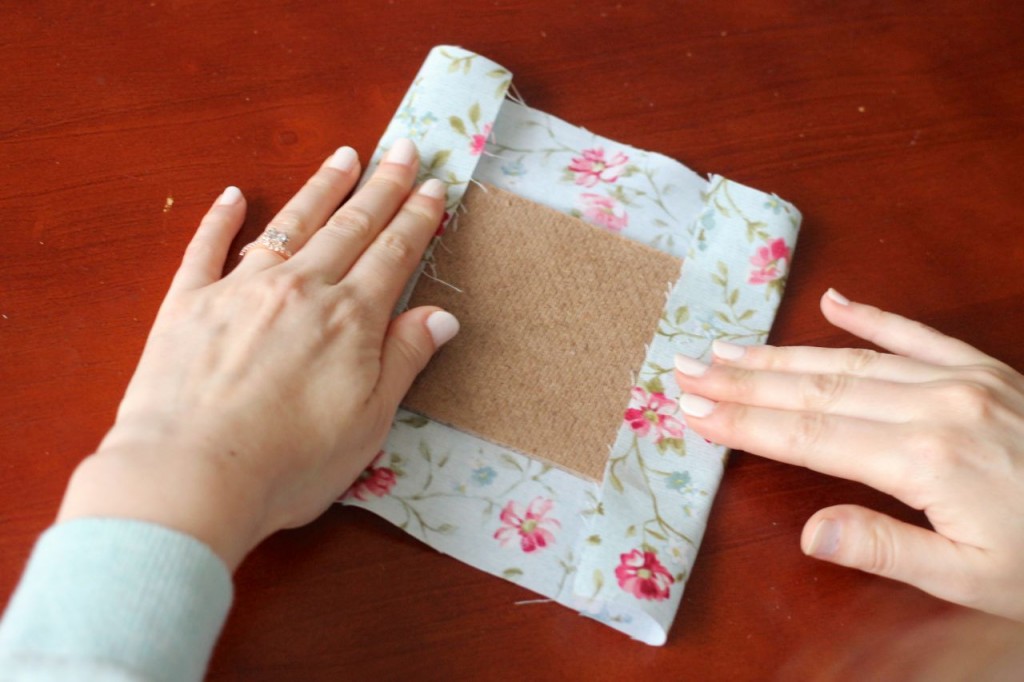
I repeated the process along the remaining 2 edges of the board.
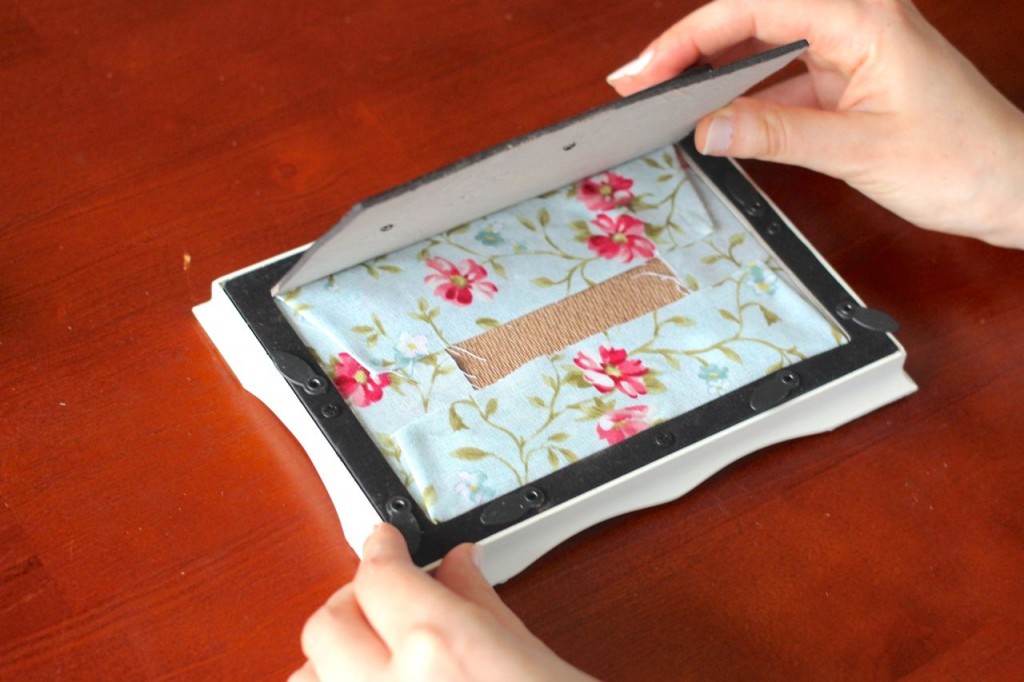
Once the board was covered, I opened the frame and placed the fabric-covered board inside. The glass had been removed, but the thickness of the board made it a tight squeeze. The corners can easily gain a lot of bulk during the gluing process and it was important to keep them as thin as possible to ensure that the frame would still close properly.
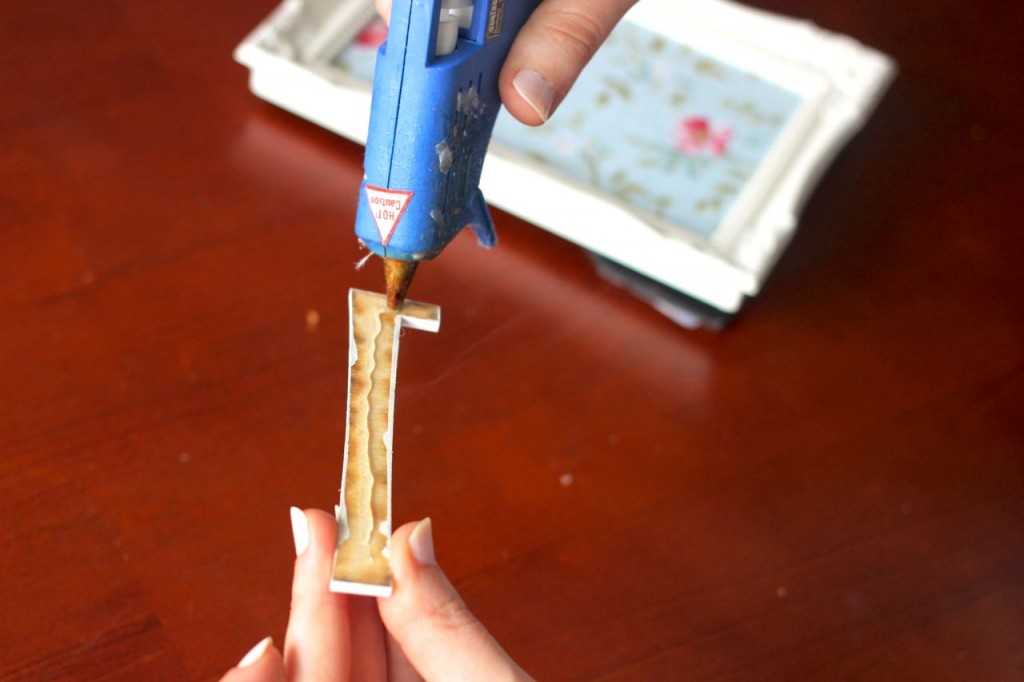
As a finishing touch, I added a thin line of glue onto the back of my freshly painted wooden number and placed it in the center of the frame.
Voila! Vintage inspired table numbers.
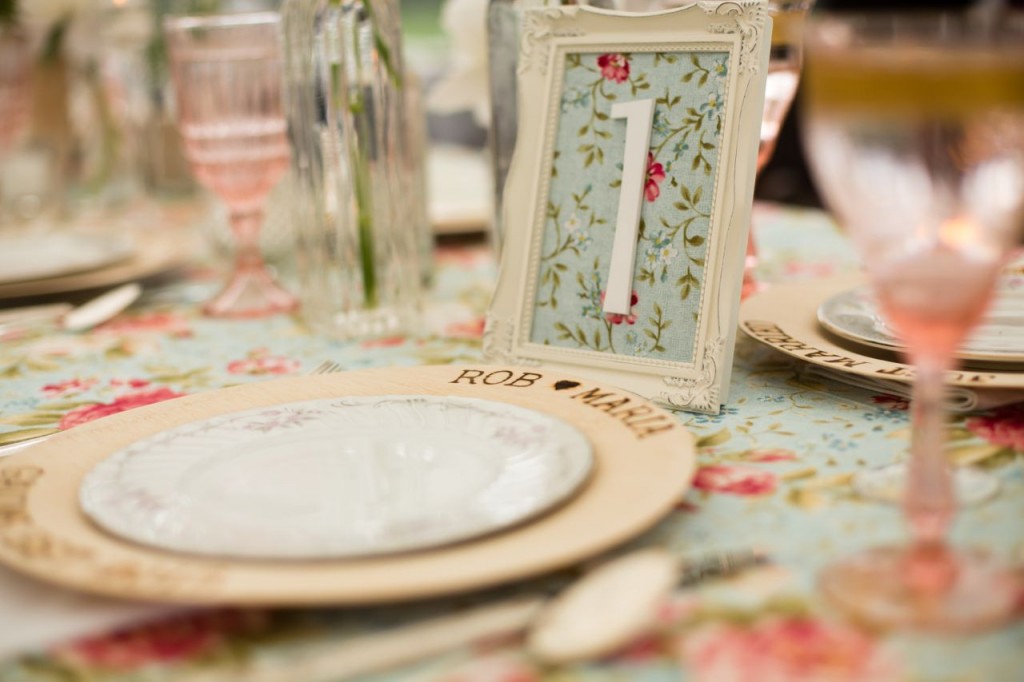
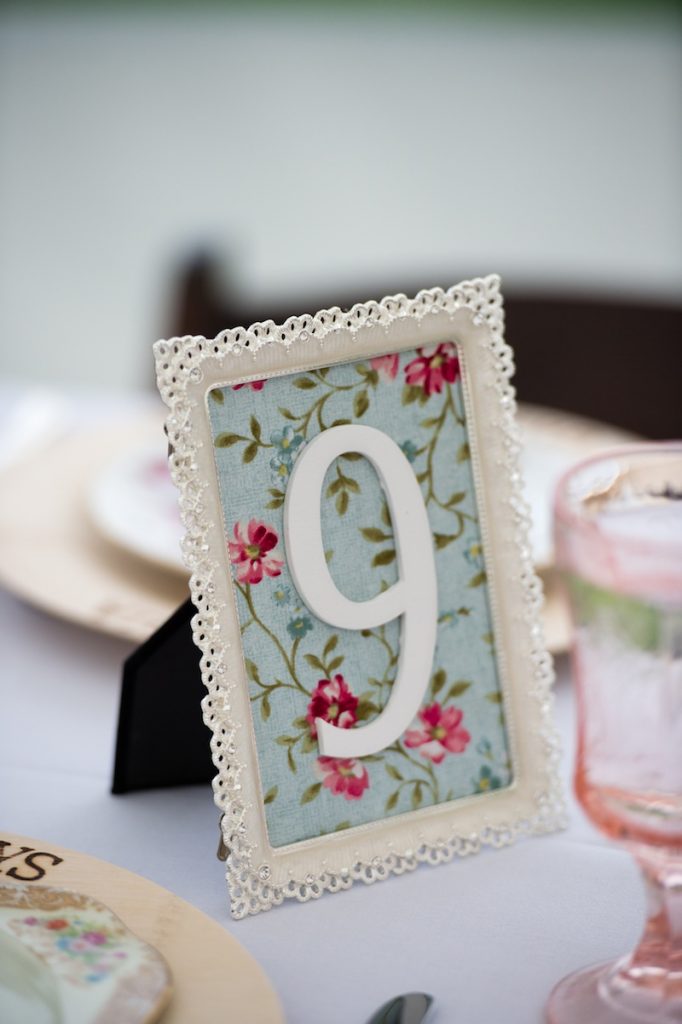
The framed numbers looked exquisite on the tables at our reception and had the vintage chic touch that I was looking for.
You can see more details from our vintage wedding in this blog post. For an in-depth look at specific details from our wedding and reception, be sure to check out our Wedding Wednesday blog segments. You’ll definitely want to check back again next Wednesday for another look at our wedding details.
PS – We no longer need our vintage table numbers and they are for sale! We have 11 numbered frames that would be an elegant detail for a small wedding or bridal shower. Email us at crazytogetherblog@gmail.com if you are interested in purchasing them.
See More of our Wedding
Want to see how we made our dream wedding a reality? Be sure to check out the posts below. They are filled with our happiest memories from our big day.










Hi,
Are you still selling your table numbers?? I am interested!
Yes I am! You can email me at crazytogetherblog@gmail.com