This post contains affiliate links. We earn a small commission each time someone makes a purchase through one of our links, which helps to support the blog.
If you visit the blog often, you are a likely reader of my monthly Stitch Fix posts. By now, you are familiar with my mirror selfies and all of the surrounding details of the scene. My home office, my infamous brown boots (similar here), my hairstyle, my accessories and more. There’s even a good chance that you signed up for Stitch Fix or downloaded the new iPhone app using my referral link. (if you did, thank you so much!) You may have noticed that I started Crazy Together’s first ever Stitch Fix Link Up last month and perhaps you discovered a few new Stitch Fix bloggers to follow by clicking the links at the end of that post.
 You may even read all of the fine print in my Stitch Fix posts as well. If you do pour over every word, you probably already know that I use affiliate links in my Stitch Fix posts (including this one), which helps to fund my next fix and provides a small income to cover our blog’s expenses and fund giveaways for our readers (such as our recent David Kind giveaway or Dave Ramsey’s FPU home study course).
Although I don’t mention it often, you may have already guessed that this type of blog post doesn’t get thrown together in an hour’s time. I am a big believer in doing things right or not doing them at all and (you’ve probably already figured out) that I have some pretty high standards for myself, particularly when it comes to my blogs’ content and images. It takes an average of 8 hours for me to photograph, edit and write a Stitch Fix review on either one of my blogs. I know that might sound crazy, but it’s true. I am a detail-oriented person and it’s the details that make any blog post special.
I just received a new fix this week (which you can find on my teaching blog) and it was the perfect opportunity to give you a glimpse into my method and routine for creating a Stitch Fix blog post. Whether you are a blogger looking to improve your own Stitch Fix reviews or just a frequent Crazy Together visitor interested in learning more about what happens behind the scenes of the blog, I am so honored that my methods are of interest to you. Step into my office and I will break down my process step-by-step for you today.
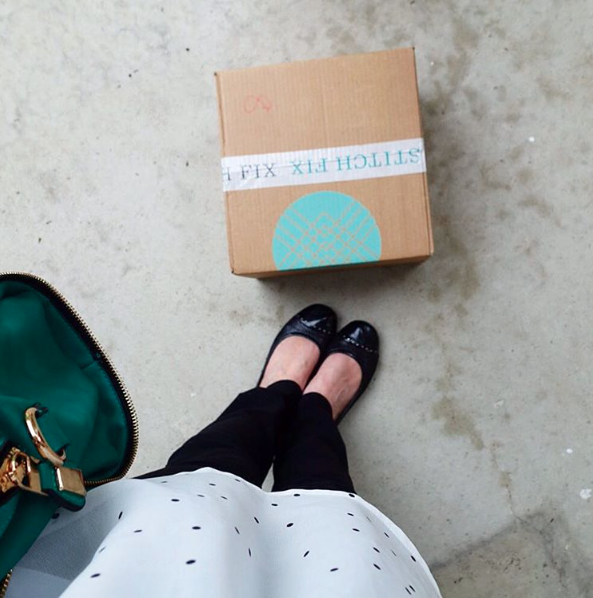
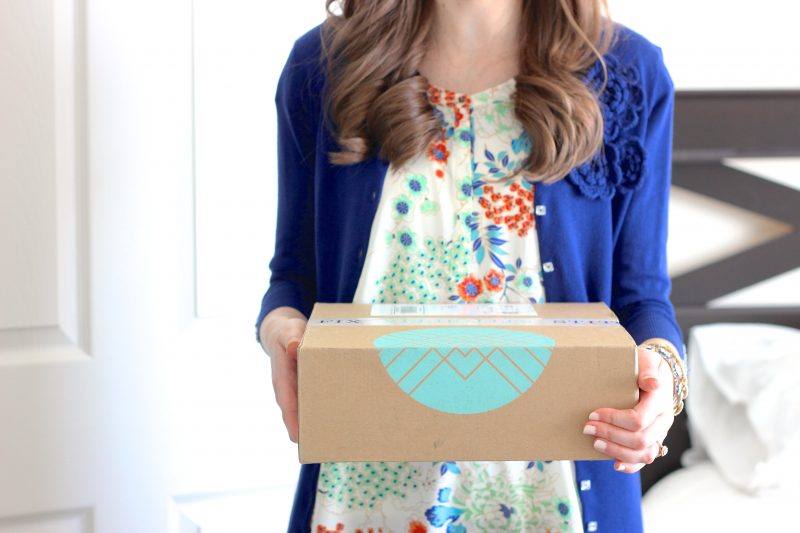
Take a Selfie with My Stitch Fix Box – 8 Minutes
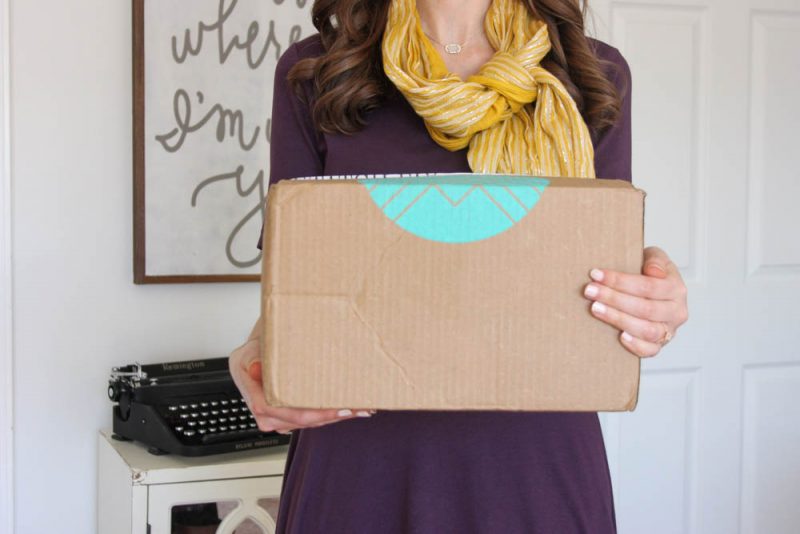
This image comes in many forms. Sometimes it’s a selfie of my feet standing beside the box outside my door. At other times, it’s a photo of me holding the unopened box in my home office. Either way, it takes time. Sometimes, my efforts are not fruitful. This week when I tried to take a selfie, the lighting and angle weren’t very good and I decided to recycle an old image for an Instagram teaser.
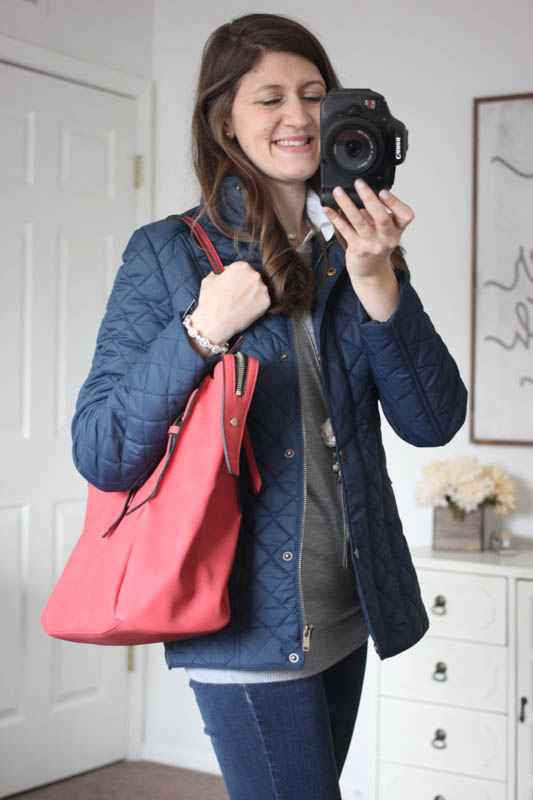
Sometimes, I stand in my office, set up my camera tripod and use my remote to capture a photo of me holding the box. Those photos are some of my favorites, but they take about 20 minutes for me to capture that one amazing photo. And I get a lot of exercise as I walk back and forth from the camera to see how my photos look and determine how to adjust my posture to fit the frame.
Opening my Stitch Fix Box – 3 minutes
I love a good surprise, so I don’t generally peek to see what arrived in my fix. My stylist is Layla and she always selects the prettiest pieces for me. As a blogger and a photographer, I try to share the anticipation of that first glimpse with you as well, so I handle the carefully folded stack of clothes with care. I always begin by reading my stylist note, then I take a look at my style cards. I might glance at the prices, but I’m not concerned about those until later.
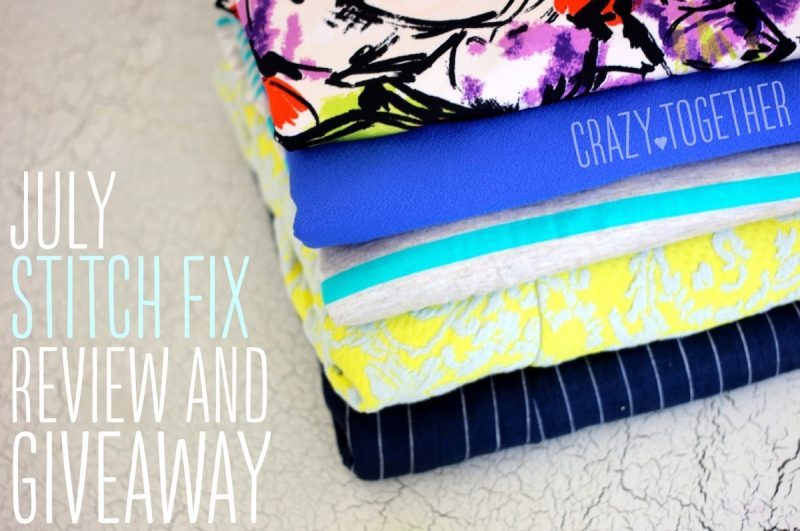
Photographing the Set of New Clothes – 18 minutes
Before I try anything on, I begin by photographing the set of clothes. Often, I try to photograph the stack as it was packed in the box. I unwrap the tissue paper ahead of time, then gingerly lay the stack on my work surface, tidy up any folds that may have gotten misshaped during shipping and grab my camera. Then I start shooting. This simple task can take a surprisingly long time and there are many details to take into consideration. Sometimes the photos look too stark and I need to add a few background details. At other times, the clothes reflect too much light and I need to close the blinds a little to correct it.

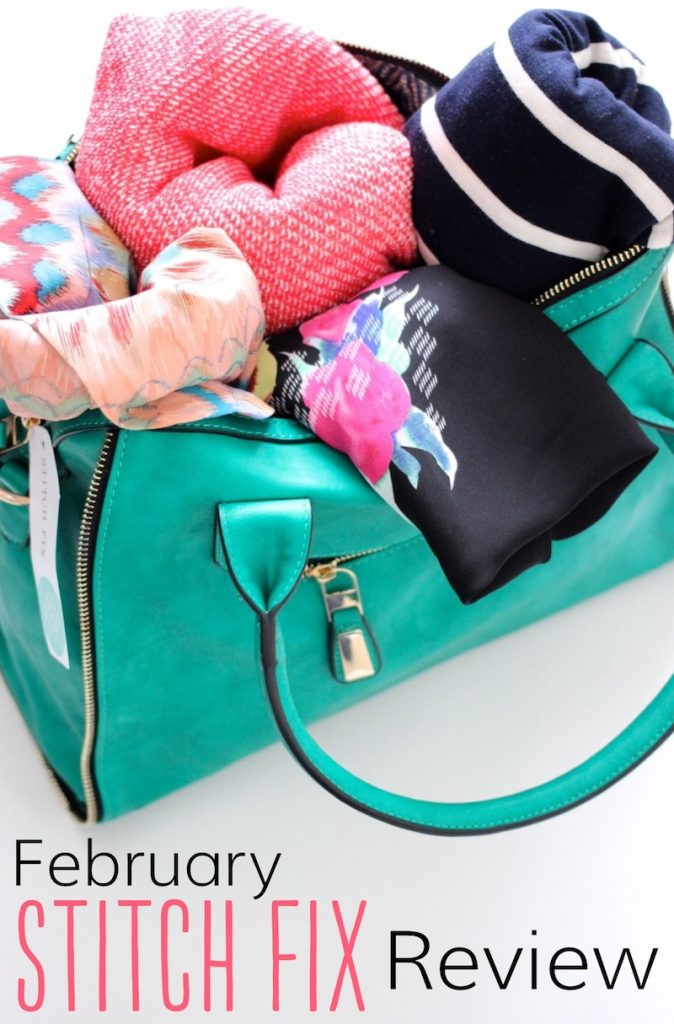
Here are few photos I have taken of my stack. I try to mix things up and experiment with the background details from time to time. Of course, all of the experimenting adds to how long the process takes.

For my 18th fix, my stylist sent a large purse that did not stack well. I got creative and placed all of the other garments inside of the purse.
Last time around, I received a coat and the stack of folded clothes was so tall that it looked a little silly to photograph. So, instead of my usual stack photo, I experimented with a flat lay of the clothes. It took forever and I realized that this is a definite art form that I am not ready to master at this time.

With my most recent fix, I had a coat and a purse to deal with. I attempted a flat lay, but gave up after 18 minutes because I didn’t want to lose the good light that was streaming through my windows in the late afternoon.
Try on, Style and Photograph Each Piece – 91 minutes
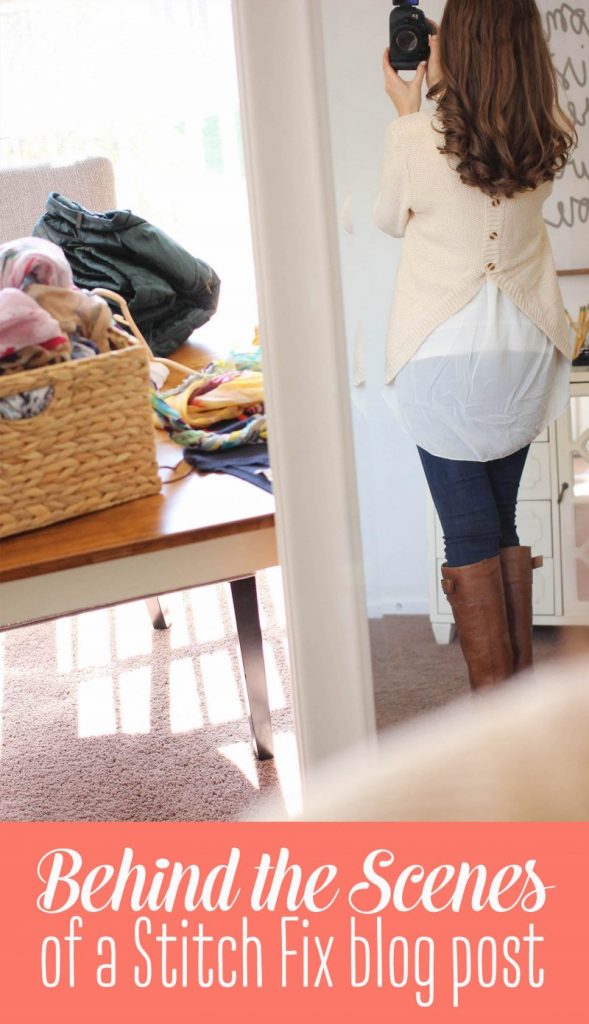
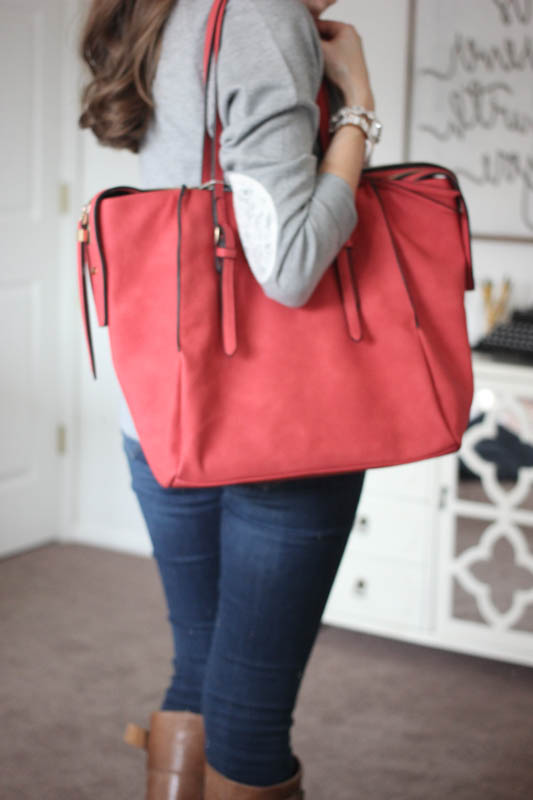
Once the preliminary work is complete, the real fun begins! I try on each piece and look in my closet for items to style with it. I try to mix in clothes I received from previous fixes as often as I can and add some accessories. If you visit the blog often, you will see that there is a recurring theme: Tieks shoes, my brown boots, Rocksbox jewelry. I often wear the same cardigans, Fossil watches and pearl earrings as well. When I shop for myself, I tend to stock up on basic items that can easily be worn with many items. It really is how I dress, but an added bonus is that it helps with my branding. I feel like my brown boots have become infamous because they are a great classic pair and I wear them so often. Once my first outfit is styled, I head into my home office, prop up my mirror and start shooting photos of myself wearing the clothes. I never know which photos will turn out the best so I take some full body shots, some from the neck down, and some that are from my hips up.
I repeat the process of styling and photographing for each item included in my fix. My average time for this process is close to two hours, but I managed to take the photos in only 91 minutes this time around. You can read more about how which settings I use on my Canon camera when I shoot these photos in this blog post.
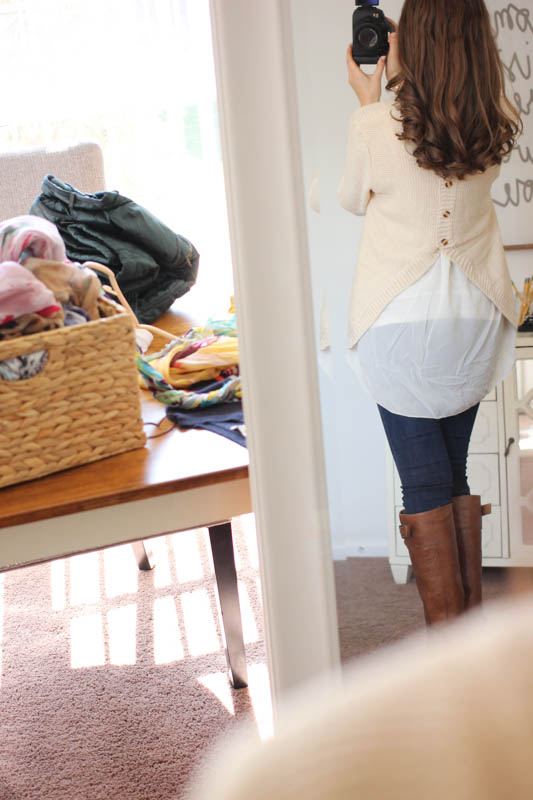
Clean Up – 12 Minutes
Fact: I make a huge mess when I shoot my Stitch Fix photos. I often try on multiple pairs of pants, shoes, scarves and accessories while I style each of the five items. I just keep grabbing more and more items while I work and when I am finished, there is a huge mound of clothes that need to be put away. You can see a tiny peek at my mess on the table in the above photo. That’s just my scarves and a glimpse at the green coat that I received in that shipment. I shared this photo on Kinder Craze after my 3rd fix. I’m pretty sure there was even more mess scattered around the floor of my closet that day.

Photo Selection Editing – 68 Minutes
Once I’m done shooting photos and have cleaned up the mess, it’s time to sit down and work with the photos. I always start my blog posts with photos and build my content around the images. On this particular day, I began with 329 photos on my memory card. That is (obviously) way too many photos to include in a Stitch Fix reveal, so I needed to filter them down.
Import and Delete Poor Quality Images – 21 Minutes
I have recently begun to use Adobe Lightroom in the Creative Cloud to edit and catalog my photos. I am still very much an amateur at using Lightroom, but the ability to flag, rate and filter my photos was a tool that I quickly discovered. I import my photos and immediately make my first round toward filtering. I click the X button on my keyboard to reject any photos that will obviously not make the cut on the blog. This includes photos that are obviously unflattering, out of focus or has the subject in a poorly placed position. The following two photos are examples that were immediately rejected during my first pass through my latest round of Stitch Fix photos. In the top photo, my eyes are closed while the photo on the bottom is out of focus. I then take a moment to delete the batch of photos I have rejected. There’s no sense in having a bunch of unflattering photos (102 images to be exact) take up space on my hard drive.
Use a Star System to Filter Remaining Photos – 19 minutes
After I delete any rejected photos, the real work begins. Sorting through the photos that remain. This is a multi-step task. First, I examine all of the remaining photos and click the 1 button on my keyboard to assign one star to the photos that I like. Generally, about half of my photos earn a star and half of the photos are deemed acceptable but not my favorite. From there, I apply a filter to my library so I am just looking at the 79 images that I assigned a single star photos. I pass through them a second time and assign two stars to the photos I like best out of that series (this left me with 50 photos). This is followed by assigning the favorites from that batch three stars (37). Although Lightroom can go as high as five stars, I stop filtering as soon as I have less than 40 photos remaining.
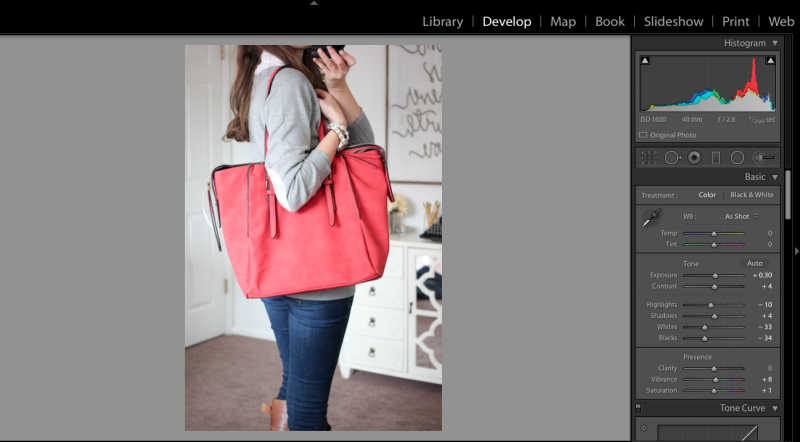
Photo Editing – 28 Minutes
Once my photo selections have been narrowed, I begin the task of editing. I am certain that Lightroom has some pretty advanced features, but for now I just use the sliders on the right side of the screen in the Develop module. I don’t waste my time editing ALL of the photos I imported, just the ones that I intend to use in my blog post.
Set Up Blog Post Formatting and Insert Photos – 8 Minutes
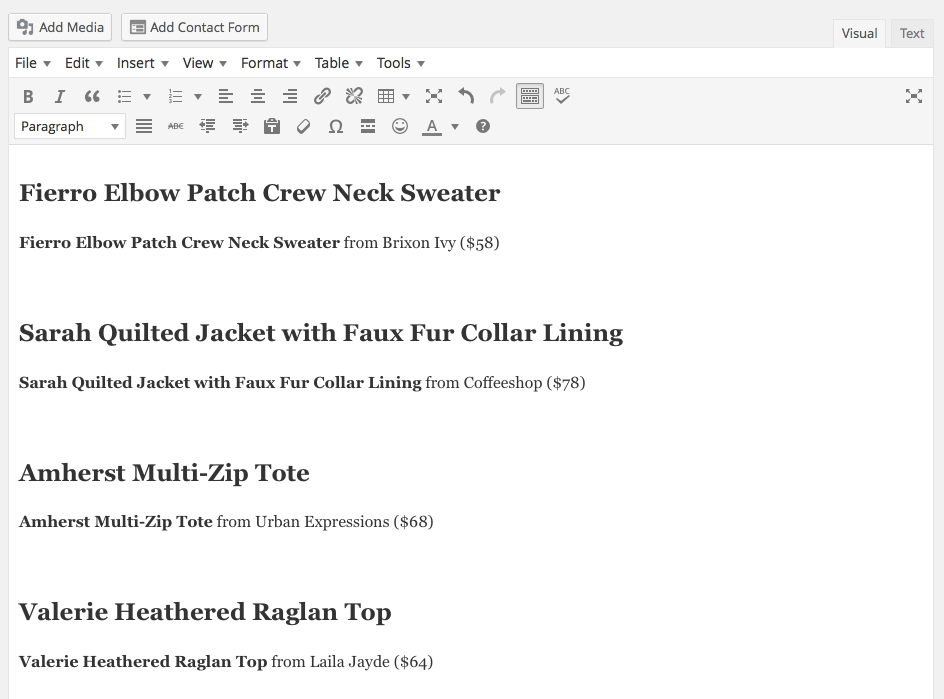
Once my photos are edited, I am finally ready to begin work on my blog post. I start by adding the names of each item included in my fix and formatting the text for my headers. I personally like to make the name of the item bold in the paragraph body so I take a moment to do that step right away, too. Adding the names and prices of each item and adjusting the formatting right away saves me a lot of tedious time later and it also creates an outline for my blog post.
Once the header text and garment details have been added, I take a couple minutes to import all of my newly-edited photos.
Move Photos within the Blog Post – 4 Minutes
When I add the photos to a blog post, the order is often jumbled. I move each photo under the corresponding header and clothing description. It’s much easier to do this step right away before there is a lot of text in the post than it is to wait and do it later when there are a lot of words to scroll past.
Write Blog Post Content – 84 Minutes
Once the photos are ready and the framework for my blog is established, I am finally ready to write! I write a detailed description of how I styled each item in my fix, which items from my own closet I added and how I felt about the fit. I try to add as many details as I can because if I don’t include a specific detail in my description, someone eventually asks about it later in a comment and it’s easier to tell as much as I can about every item that I am wearing right away.
Create Images with Text or Collages – 32 Minutes
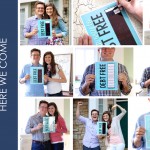
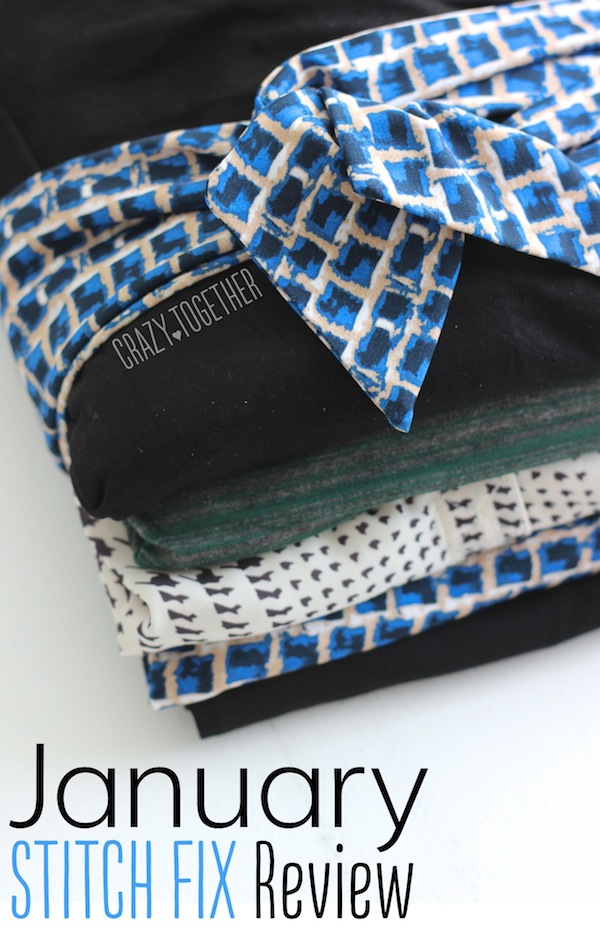
One of my final visual steps for creating a blog post is to add enhanced images. This can mean a variety of things. Sometimes I just add text onto an existing image, like the words “January Stitch Fix Review” that you see in the photo below.
At other times, it means creating a collage that uses text and images.

I am slowly teaching myself to use Photoshop for these types of images, but when I’m in a hurry, I just use Pages on my Mac to create the images. It takes time to adjust the proportions and get the details just right. Once I have the perfect setup, I print the file as a PDF, save the PDF as a JPEG, then crop to remove the excess white from the edges and adjust the size of the image. I realize that this is not a practical set of steps, but it’s the routine I am most comfortable with at this time. I’m hoping that Photoshop creation will soon become second nature to me and I can use that software to create all of my images in a few months.
Add Text Links – 8 Minutes
Once the content for my blog is completed and in place, I take a few minutes to add as many links as I possibly can to the post. The first obvious task is to add my referral link to Stitch Fix. If I am wearing clothes from previous fixes, I add links to those old blog posts for people to check out of they want more information. Lately, I have been mixing in a lot of jewelry from Rocksbox, so I add a link to Rocksbox and mention my referral code kindercrazexoxo that allows my readers to try Rocksbox free for a month. (BTW, you can can get a free month of Rocksbox too if you use my code.)

I also add links to any other items that people are likely to have an interest in from my fix. My brown boots are the perfect example. I get a lot of questions about my brown riding boots and they no longer make this particular style. (I found a similar pair on Amazon and I now add a link to those boots in my Stitch Fix posts.) If someone is likely to ask me where I purchased something, I try to make things easy on them and add a link right away. 
After writing 29 Stitch Fix reviews on my blogs, I finally got wise and placed all of my most commonly used product links in a Word Document so I can easily access them. I just cut and paste from the Word document and it saves me a lot of time looking each of those items up every single time.
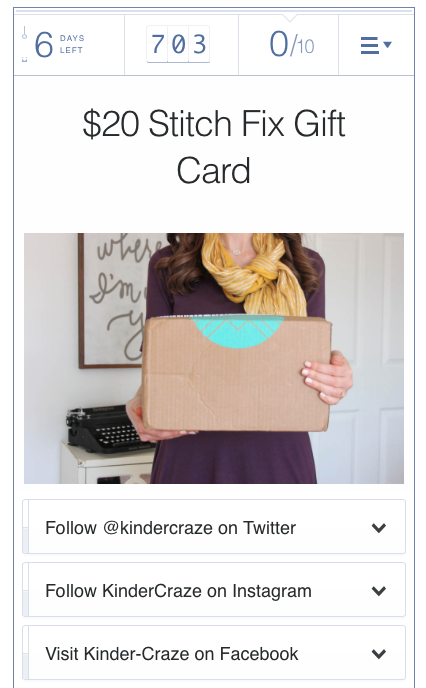
Create Rafflecopter and Add Widget – 4 Minutes
Anytime I write a Stitch Fix review on the blog, I always end the post with a giveaway. Usually it’s just a $20 Stitch Fix gift card (although I have given away $50 or $100 on special occasions). I pay for the gift card out of my own pocket as a small token of my appreciation to my readers for having an interest in my blog post. I have a paid Rafflecopter account (I believe the fee is $13 a month). I love that the paid subscription allows me to add a photo to the top of the Rafflecopter Widget. I think it draws more attention and encourages people to enter. If that’s a little too steep for your budget, Rafflecopter also offers a free subscription with fewer features.
Tag Photos and Add SEO Information – 12 Minutes
Once all of the text links are in place, I give the images in my blog post some attention. Having an image in place is a great place to begin, but those images need to have keywords added. I edit every single image in my blog post and give them an alternative text description. For Stitch Fix items, I type the name of the item and the designer, along with the words “Stitch Fix.” If someone has a Pin It bookmarklet installed on their browser, this text will automatically be displayed in their pin, which will help my image show up more often in a Pinterest search. It may also help to improve my blog’s Search Engine Optimization (SEO), which basically means it could help my blog post and images show up more easily in a Google search.
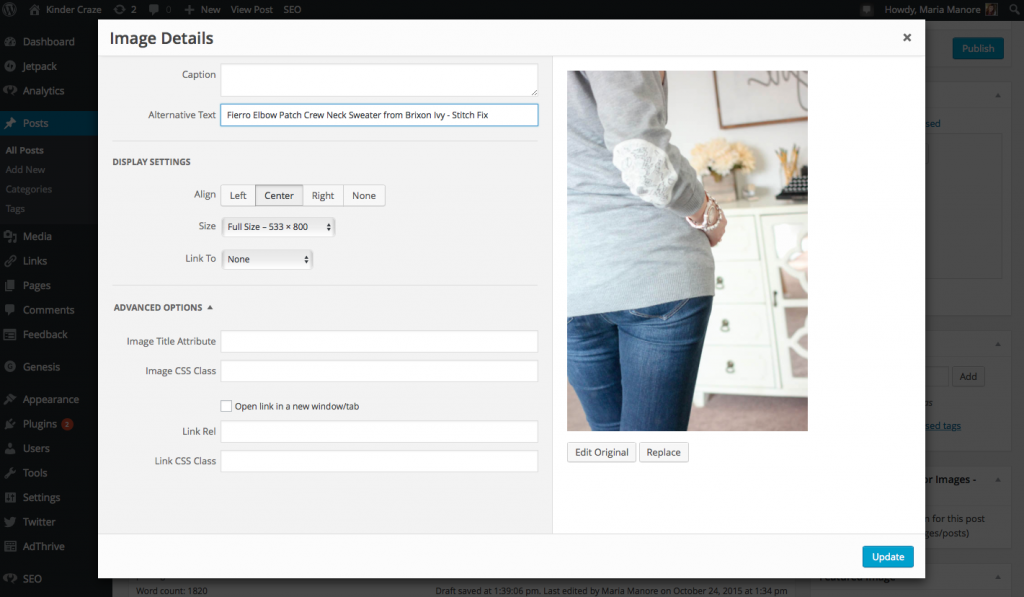
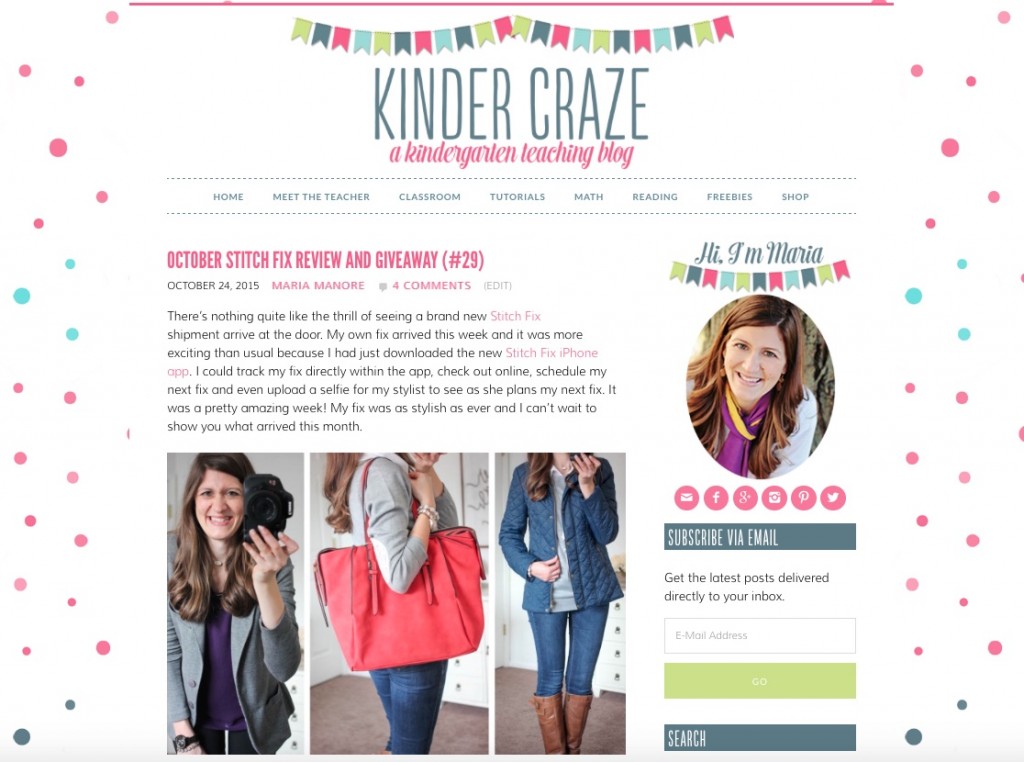
For this particular blog post, I had 8 photos of me wearing this gray sweater. I copied and pasted the same description into all 8 photos and saved myself a few minutes of typing time. Once all of my photos are added, there is one final step before I can hit “publish” and the post goes live. My SEO needs a little bit of attention. I have a self-hosted WordPress blog and Rob installed the Yoast SEO plugin on Kinder Craze. The plugin simple to use and helps to ensure that my post is optimized for a particular expression or keyword. In this case, I wanted to optimize my Stitch Fix Review for the focus keyword “Stitch Fix”. I took a few moments to make sure the phrase “Stitch Fix” appreared in my Article Heading, Page Title, URL and Blog Content. Then, I drafted a Meta Description that used the phrase “Stitch Fix” and was interesting enough to (hopefully) draw a new reader in that might stumble across the description.
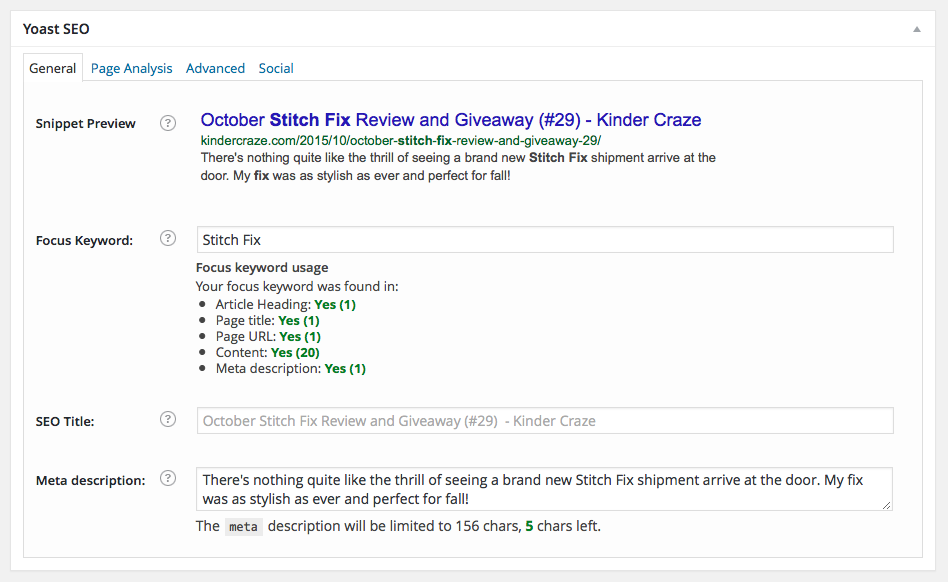
That meta description is important and it does matter. It’s the exact phrase that will be attached to the description of your blog post on a Google search.
It’s also the exact phrase that will be tacked onto your blog post when it is shared on Facebook. The person who shares your post can edit the description on Facebook, but let’s be honest – most people probably won’t.
Rob and I are still trying to master the fine art of drafting the perfect Meta Description for our blog posts. I think we are finally developing the right voice in our descriptions.
Hit “Publish” and Relax (1 Minute)
The best part of writing any blog post is the moment when you can finally hit the “publish” button, kick your feet up and relax.
And there you have it! My entire workflow for creating a Stitch Fix Review blog post. If you followed along and added the minutes up, it came to nearly 7 hours of work. My Stitch Fix posts often take a longer than that to create, but I had a timer on every step of the way and was very mindful of how long each step took while I worked on my most recent Stitch Fix post. Maybe timing myself is a strategy I should use more often!
Lately, I have had many bits of advice in my head and on my heart that I have been thinking about sharing with other bloggers. Small things like photography tips and big things like what to consider as you develop your brand. If you are a blogger and have any requests for future blog posts, I invite you to leave a comment with your questions or ideas. Sharing my expertise is new territory for me, and I would love to help you on your blogging journey!