I am so excited to welcome you back into our home for the third installment of our house update. This week’s update is all about the bedrooms – our master bedroom and Dessa’s nursery. You may recall that both of the downstairs bedrooms in our house had three doors – a standard entrance door, a closet door and a third door. It’s the story of what can be found on the other side of those doors that makes our house particularly interesting. Get ready because this week’s house update has a few fun surprises in store.
This post contains affiliate links. We earn a small commission each time someone makes a purchase through one of our links, which helps to support the blog.
Dessa’s Nursery: Before
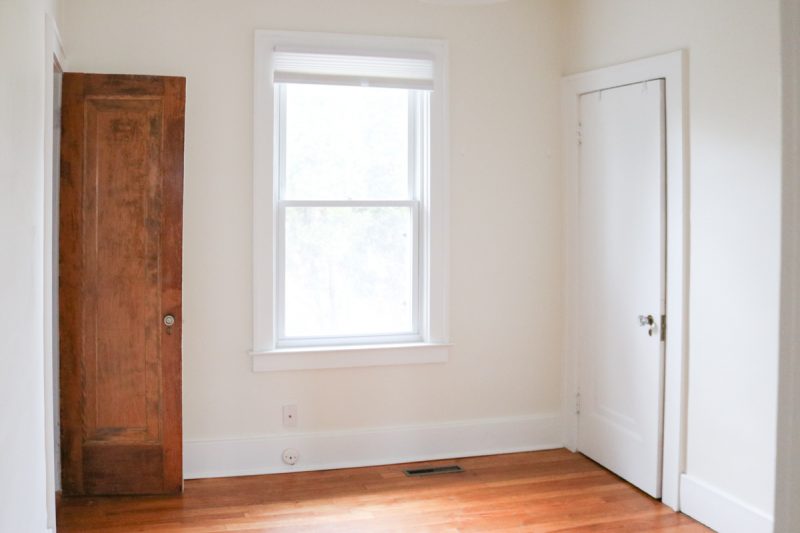
You may recall that Dessa’s bedroom had a feature that you don’t really see in houses today and, to be honest, I’m not even sure how often you see it in 90+ year old homes. Her bedroom had two entrances. The main bedroom door is off the dining room, but she also had a second door which connected to our living room via a passageway under the stairs. Here’s how her bedroom looked when we first bought the house. You can see the door to the passageway open on the left. The door on the right side of the room is for the bedroom closet.
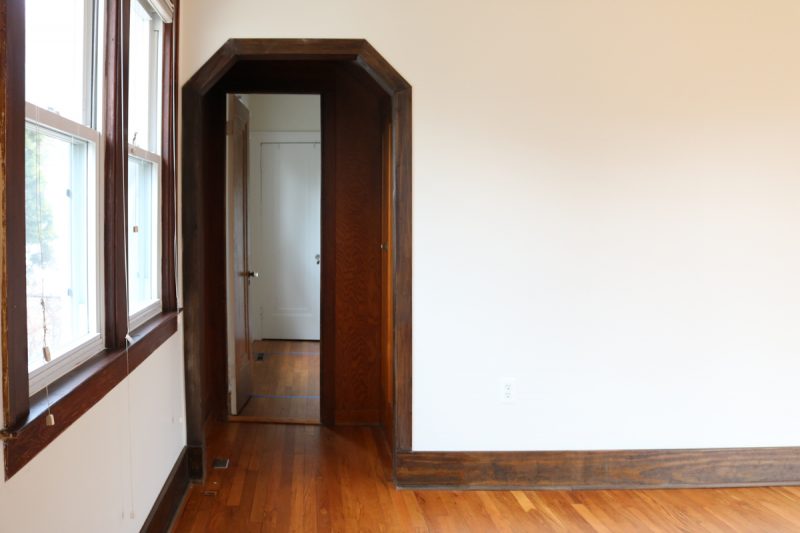
And here’s a peek at that strange little entrance from the living room.
The first major change to Dessa’s bedroom was a big one. We hired contractors to remove the door and frame from the passageway entrance to her bedroom and drywall the area instead. (They cleaned up and refinished the door and repurposed it in the living room as a door for the under-stair closet that we had built where the passage had been. You can check out more of that transformation here.)
The second significant change that we made was a subtle one. We repainted Dessa’s room a brighter shade of white. The walls had been painted the same yellow-ish white color that was used in the living room, which gave the nursery a creamy-yellow color. I really wanted to brighten up the space so we chose Chantilly Lace from Benjamin Moore as her new wall color. The finished result was a crisp, bright, backdrop for Dessa to play, sleep and grow.
We also had an electrician come to the house to work on a few projects, but properly mounting the light fixture in her nursery was at the top of our list. Whoever had installed the fixture before we owned the house had done a poor job of placing the electrical box in the ceiling. Their solution was to secure the fixture into place with a shim. A shim! I wish we had taken a photo, but trust me when I say it was a safety issue. We still need to repair the drywall around her light fixture, but you can see exactly where the shim was mounted before we had the box fixed.
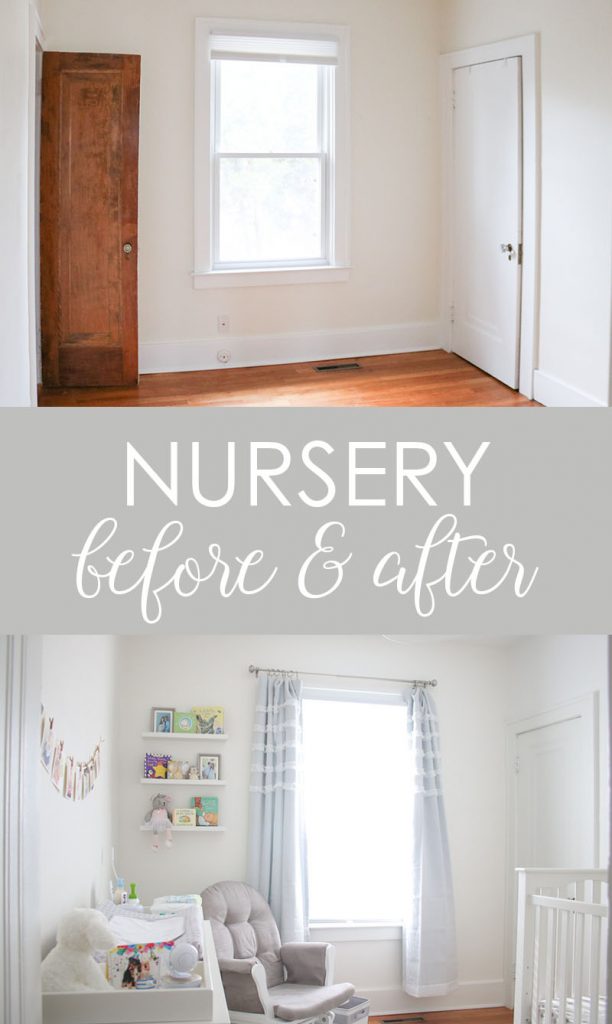
Now that you’ve seen how Dessa’s nursery looked when we first bought the house, I cannot wait to show you the change! Getting rid of the additional door gave us so much more functional space in her nursery and I am thrilled with how things are coming together.
Dessa’s Nursery: Now
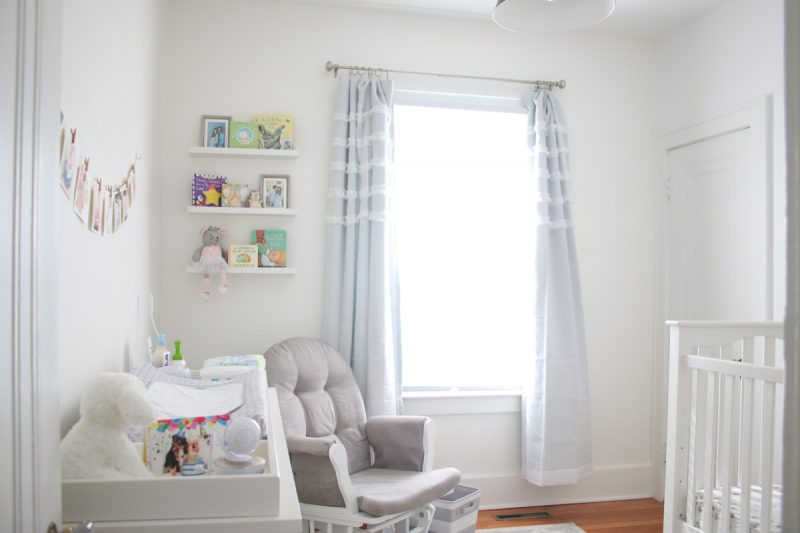
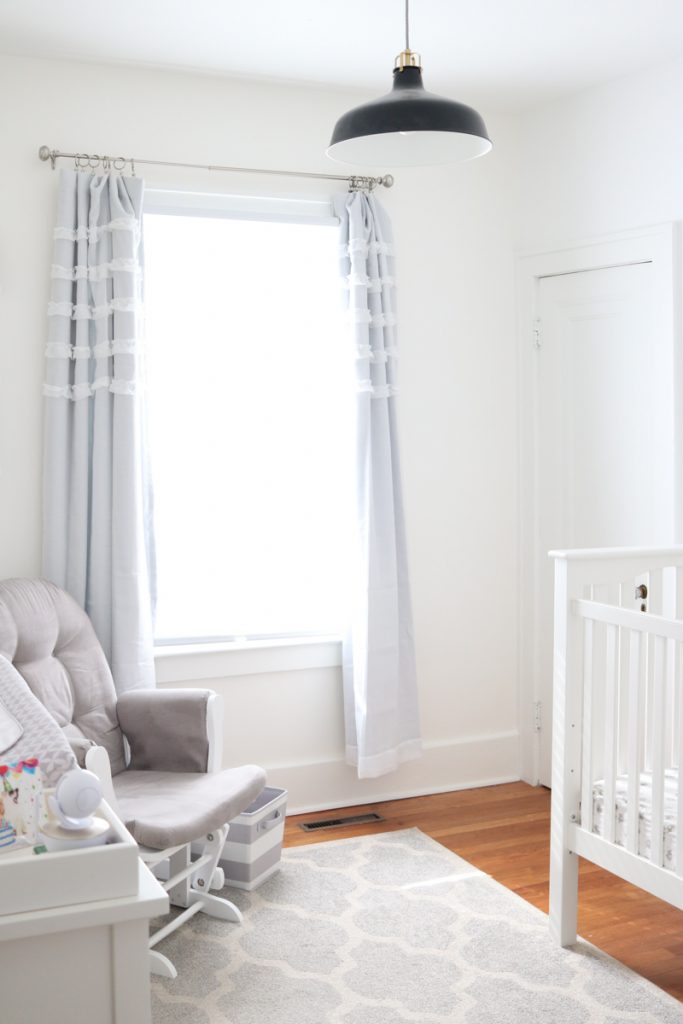
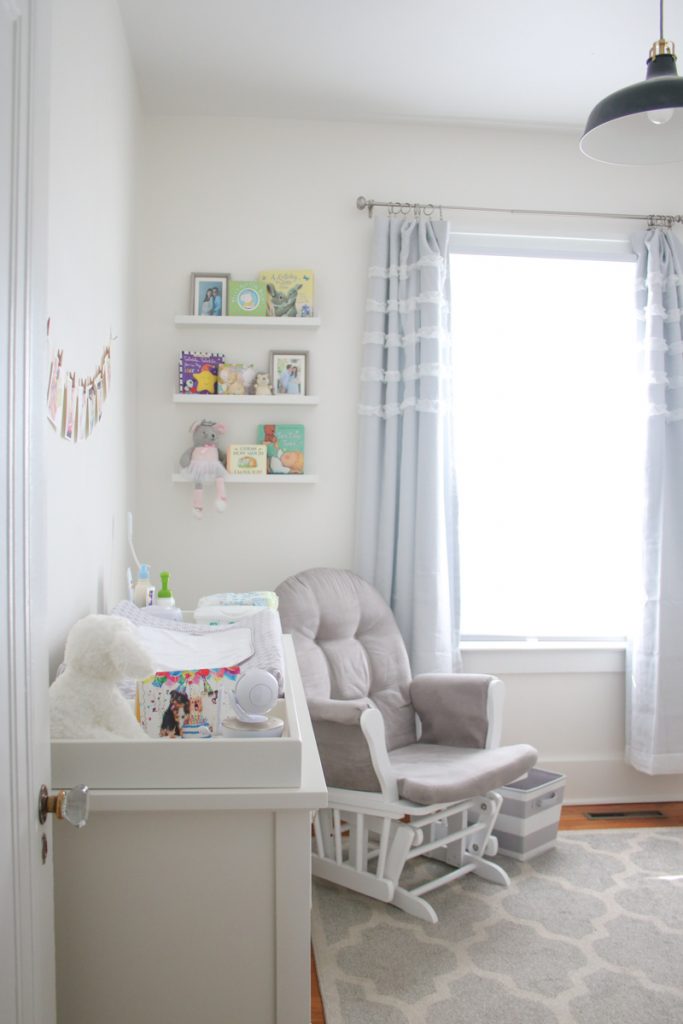
Dessa’s nursery is still a work in progress. I actually had an easier time decorating the tiny 7′ x 9′ foot room we had used for her nursery in our previous house. Her new bedroom is a tiny bit more spacious, but it has a tall ceiling, which just sort of amplifies the space and makes it more difficult to fill in a way that feels cozy.
I carefully selected all of Dessa’s nursery furnishings so they could grow with her and be versatile enough to accommodate another child in our family down the road. We moved each piece of furniture into the room and I was so excited to hang Dessa’s light blocking curtains after the drywall work on Dessa’s wall was finally complete. The curtains are by far my favorite detail in the room. I love the soft gray coloring, the sweet little white ruffles and the fact that they block light and help to darken the room when Dessa sleeps is the icing on the cake.
You can imagine my disappointment when we were all set to hang the curtains from Dessa’s old nursery – only to discover that her new windows were too tall for the curtains we already owned. It was such a disappointment, but was easily remedied by ordering two panels in a larger size from Wayfair.
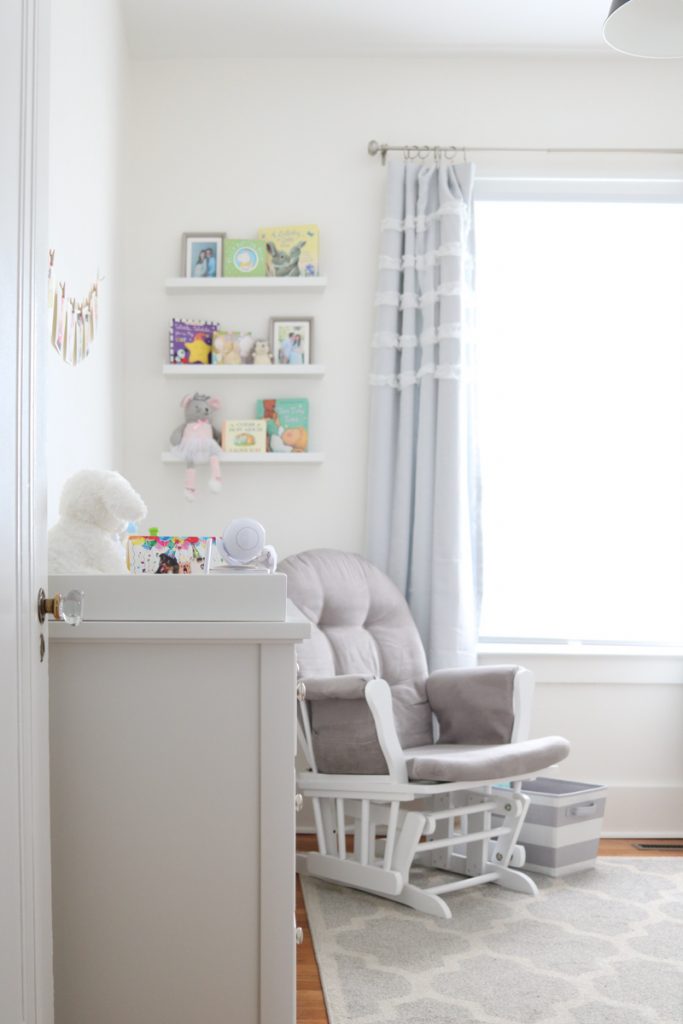
Many other details in Dessa’s new nursery are the same as her first nursery. Even though this bedroom is slightly larger, I’m still incredibly grateful that her gray and white glider has such a small footprint. Anything larger simply would not fit in the space. We don’t keep toys for Dessa to play with in the room, but that doesn’t stop her from toddling in to enjoy the room. One of her favorite activities is to rifle through all of the books in the striped fabric basket next to the glider.
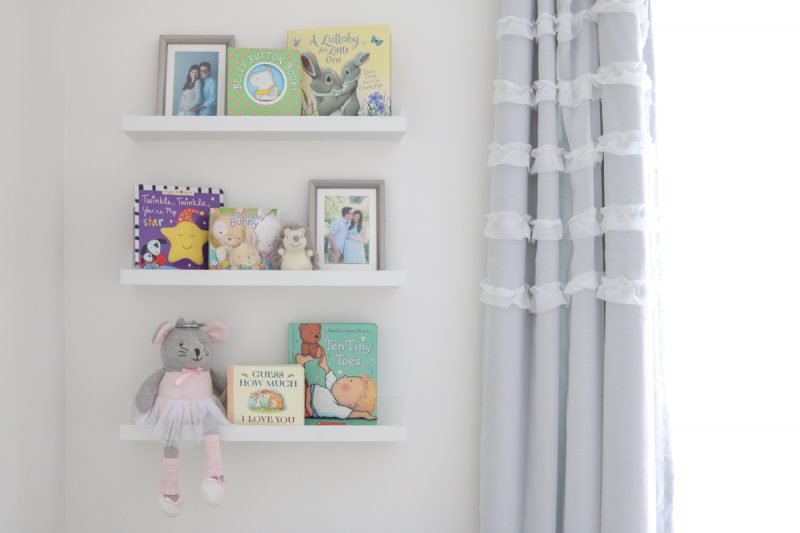
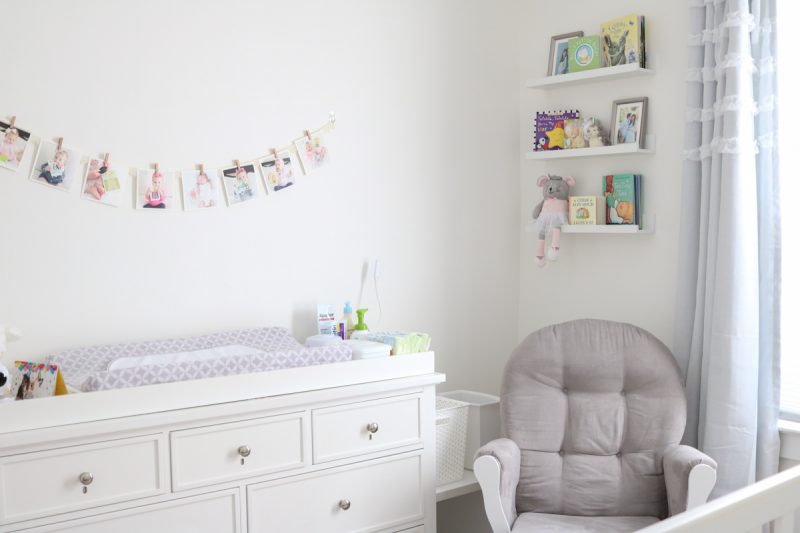
We hung the same trio of floating shelves above Dessa’s glider with updated books, photos and toys on each shelf.
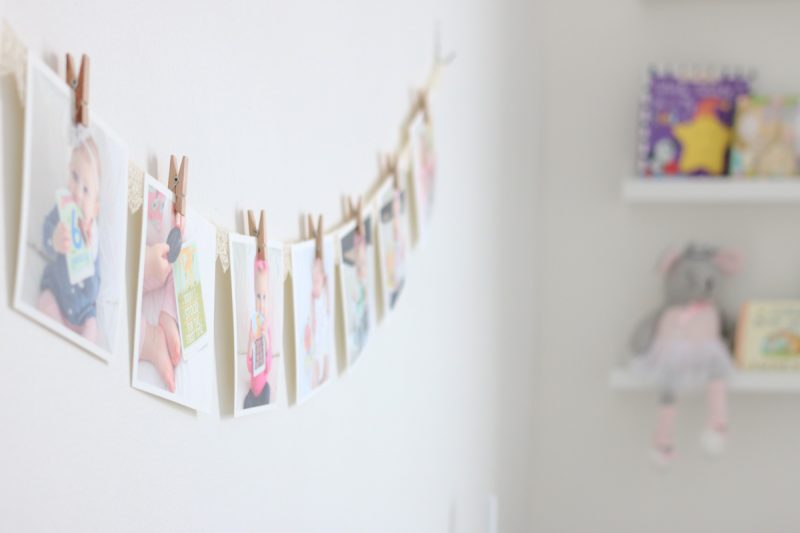
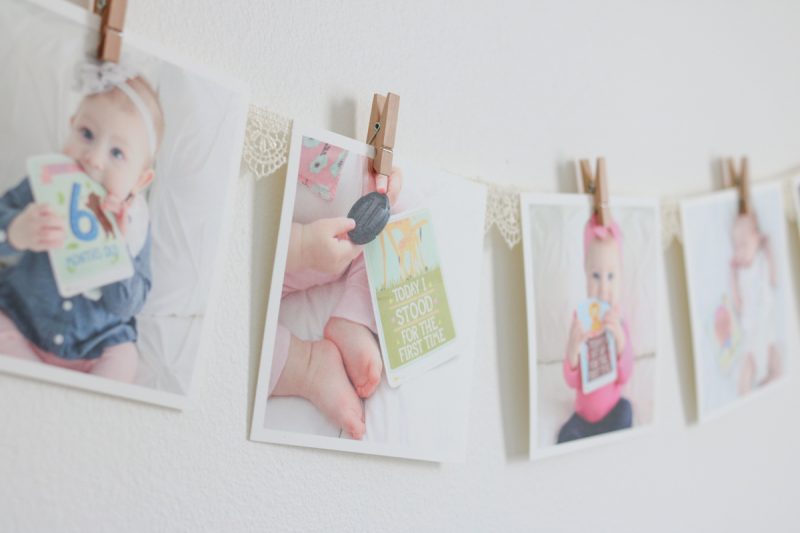
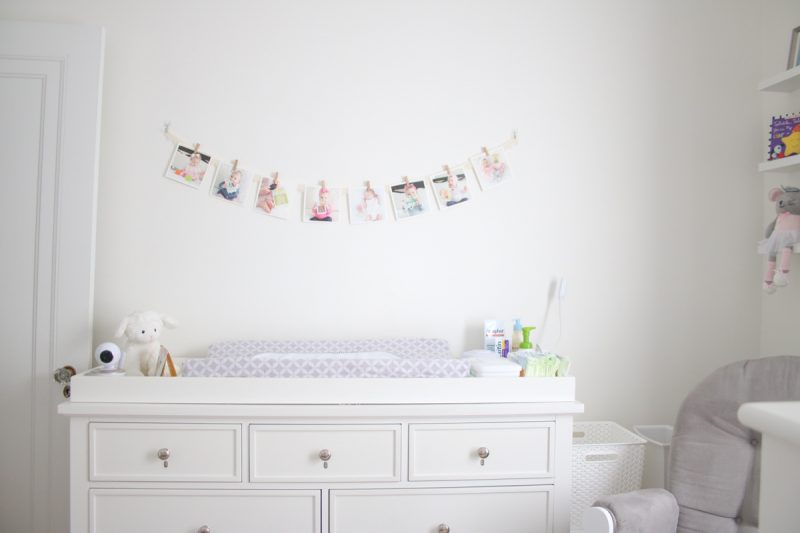
Things above Dessa’s dresser and changing table are still very much the same as they had been in our old house. The biggest difference is that I finally tucked away all of the sweet cards we received at her baby shower and replaced them with several of Dessa’s milestone photos.
You may recall that I had all of her milestones made into 5″ square prints from Artifact Uprising. The photo bunting above her dresser was the perfect way to repurpose some of those precious photos. Right now the photos are just hung with clear Command hooks while I decide what else to do with that big empty wall. I will use a more permanent hanging solution after I create a vision for the space, but this is a perfect placeholder and Dessa loves looking at the photos from her first year of life.
Here’s a view of the wall from Dessa’s crib. As you can see, it still needs a little something, but we’re getting there.
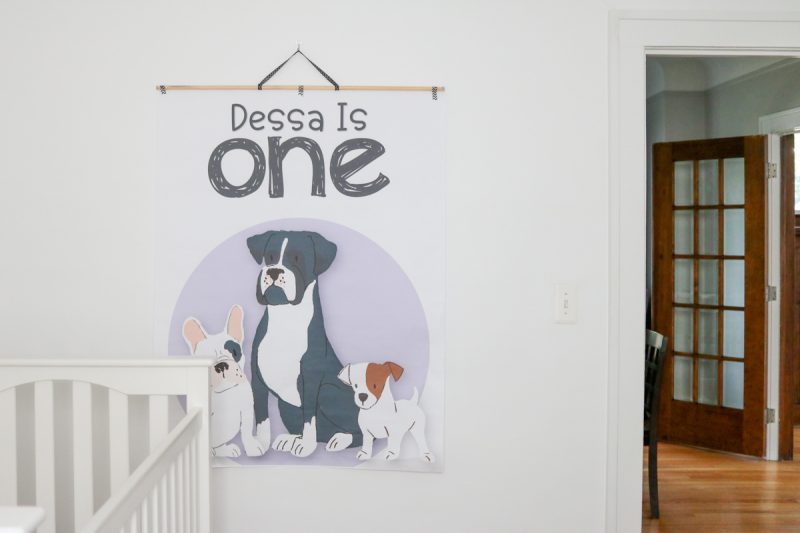
The last corner of Dessa’s room is our current work-in-progress. She has a large empty wall next to her bedroom door that makes the room feel especially stark. For several weeks, I hung a large poster from Dessa’s birthday party on the wall, but took the poster down a few weeks ago. We recently started to create a gallery wall to bring some life to the space and sprinkle in a bit of Dessa’s personality. Most of the frames will be filled with photos of Dessa with her friends and family members so she can always be reminded of the people she loves. I can’t wait to share photos of the completed project once it all comes together. For now, enjoy this photo of a dog poster on the wall.
And there you have it! A sweet little tour of our girl’s nursery in progress. I’m so pleased with how this room is coming together – it’s the perfect simple space to help nurture my little learner.
Nursery Checklist
✓ Replace 2nd entrance with drywall
✓ Repaint walls with Chantilly Lace by Benjamin Moore
✓ Repair ceiling light fixture mount
✓ Hang curtains
✓ Mount floating shelves above glider
Add wall decor above crib and dresser
Patch drywall around ceiling light fixture
Fix squeaky floors
Hang gallery wall
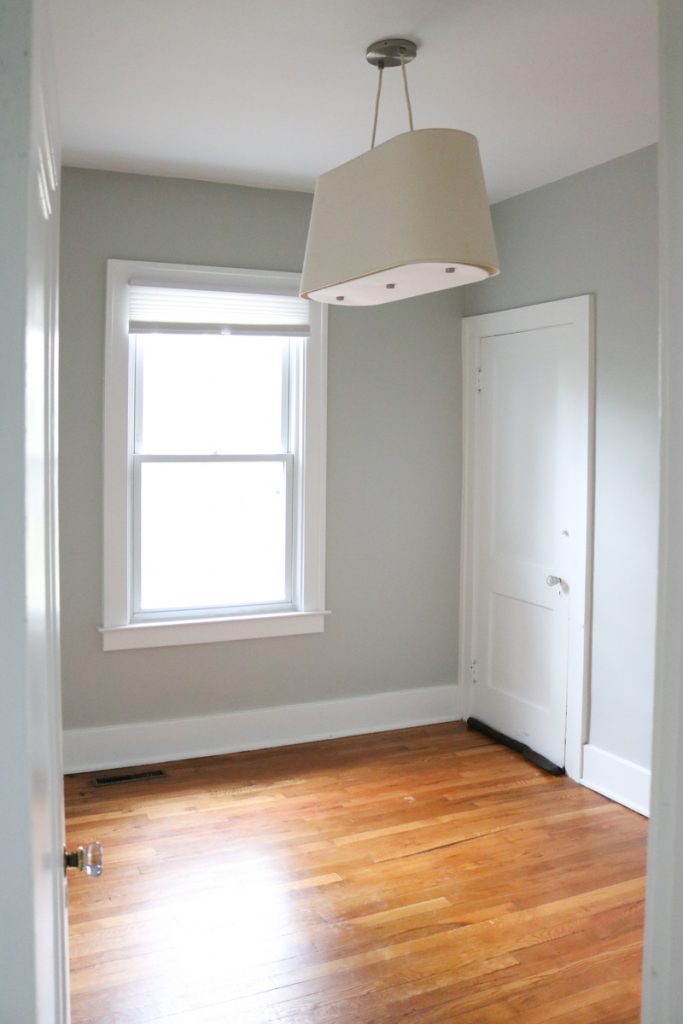
Master Bedroom: Before
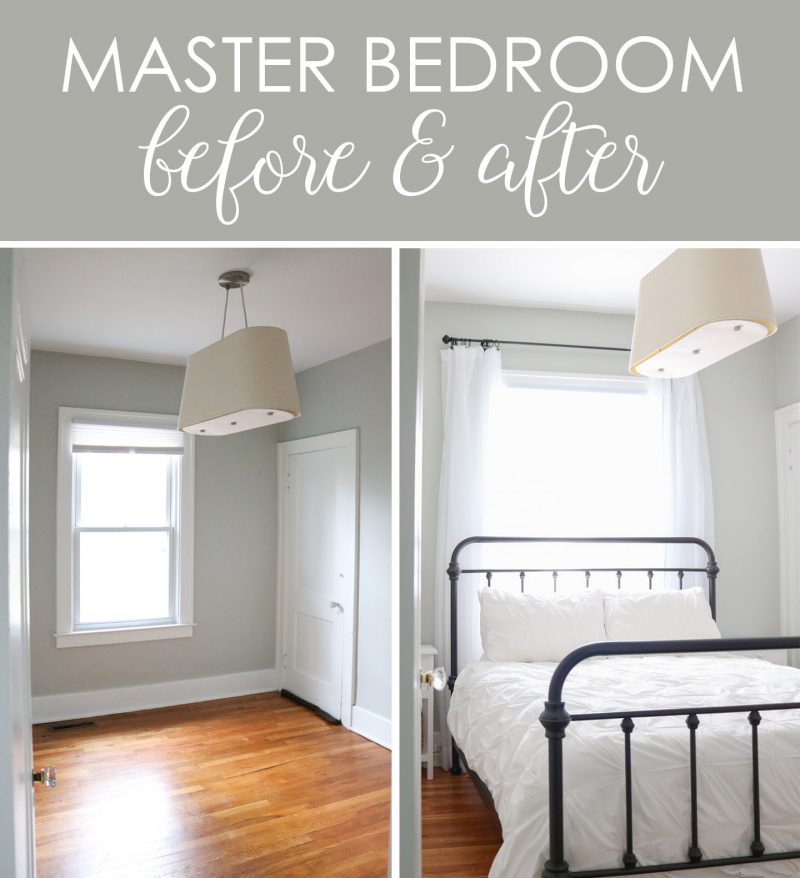
I’ll be the first to admit that our bedroom isn’t much of a “master” bedroom. The space measures 10′ x 11′, barely has enough room to fit a queen size bed and two small nightstands, and is only considered the master bedroom because it’s the room that we sleep in. That being said, there is something so charming and simple about our little corner of the house. Here is how the room looked before we moved in.
Master Bedroom: Now
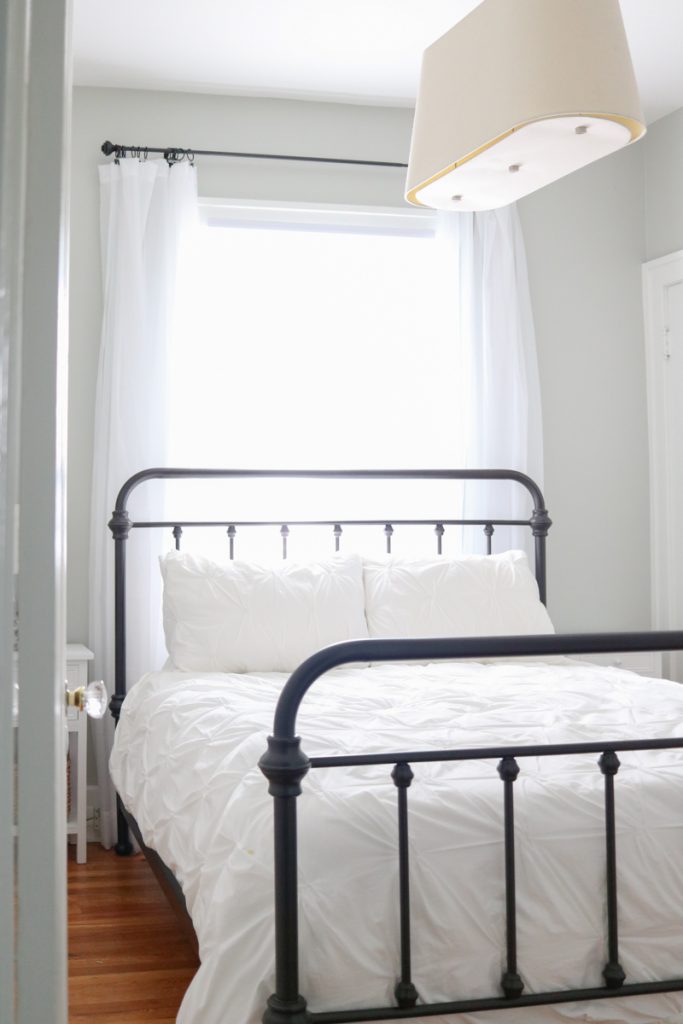
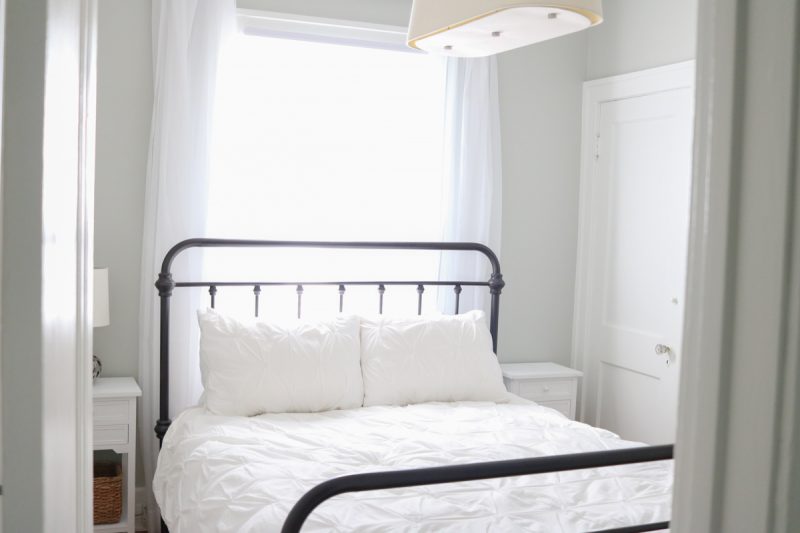
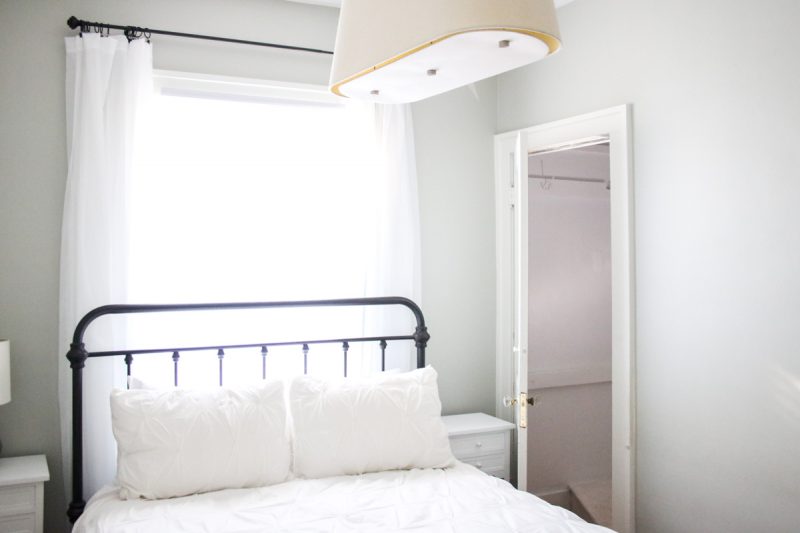
And here is the master bedroom now.
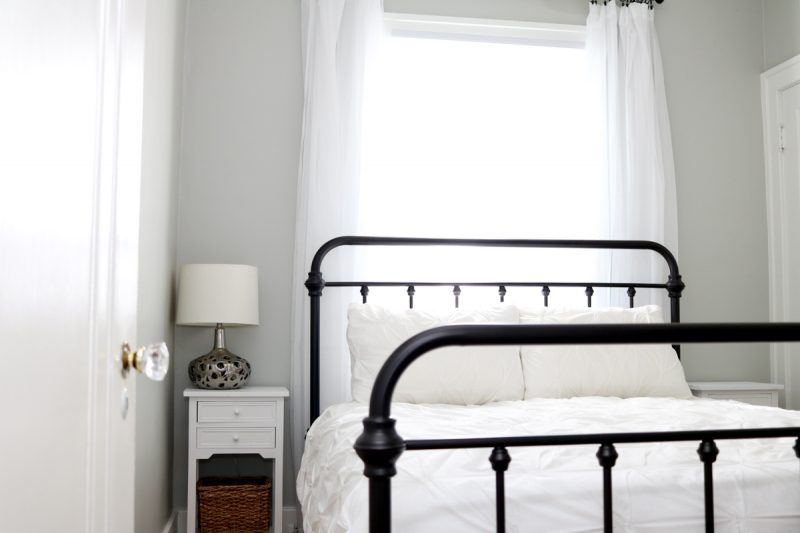
As you can see, not very much has changed. We kept the soft gray wall color (Aloof Gray from Sherwin Williams) and quickly filled the space with a few pieces of furniture and decor.
The first piece of furniture we bought for the house was a new bed frame for the master bedroom. We knew that the layout of this room was going to be very tight and that the best place for the bed was directly in front of the window. Our old bed frame was in great shape, was a lovely style, and fit well in the bedroom of our previous house, but the dark wood head and footboards would have dominated the room and blocked far too much of the window.
I searched for a bed frame that would compliment the style of our 1925 home and fell in love with the Coleman Bed at Pottery Barn. We didn’t have that much room in our budget for the Pottery Barn bed, but I found an amazing lookalike on Wayfair, which was great quality and had a much lower price point. This was the perfect bed for our budget and I love how the light can still pour in through the slats of the headboard.
We also hung two panels of white sheer curtains on each side of the window to add a little dimension to the space, and breathed a deep sigh of relief when we realized that there was just enough room on each side of the bed to accommodate both of our white nightstands.
That too-big-for-the-small-nightstand lamp is temporary and currently driving me crazy. The next item I want to purchase is a pair of black metal sconces with clear glass shades. Just like the bed, they have a great price on Wayfair and are an affordable alternative to the Pottery Barn version.
Speaking of lamps and sconces, there was one significant, but unseen change we made in this room. Rob and I have a number of devices that we plug in at night (specifically: the lamp, Dessa’s video monitor, each of our cell phones, an iPad and a Kindle). There weren’t any outlets on back wall of the room when we moved in and we lived with a crazy mess of visible cords for several weeks. We hired an electrician to install outlets behind each of our nightstands (among many other things), which perfectly hid all of the cords while keeping our devices within easy reach. The electrician wasn’t cheap, but it was an investment in our sanity.
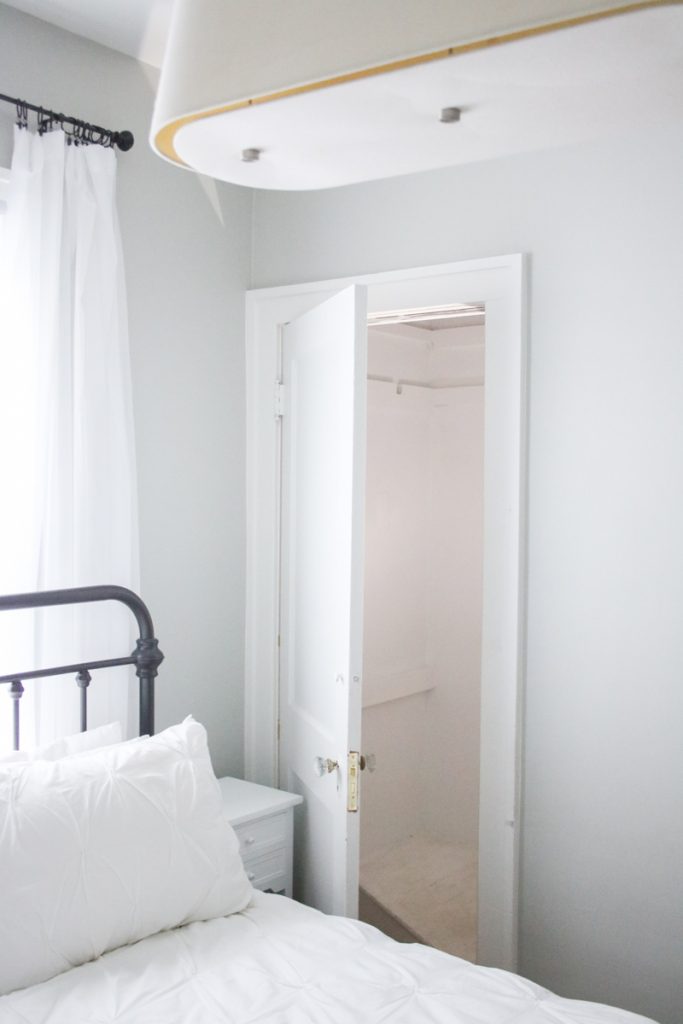
The unique and interesting thing behind the “third door” in our bedroom is a second set of stairs in the back corner of the room that lead upstairs. When our friends’ children come over to visit the house, we always tell them that it’s a “secret passageway” – and it truly is a secret because Dessa has no idea that the second set of stairs exists. Despite our best efforts, the unfinished steps always seem to get dirty and it’s the very last place that I want her to be crawling around. The second set of stairs certainly is convenient, though. Rob and I use the back staircase often throughout the day – usually for quick access to our master closet, which is on the second floor.
The walls of the stairway received a fresh coat of white paint after we moved in and the giant black cord that had previously hung right in your line of sight has now been properly secured to the side. It was a small task that vastly improved the look of the staircase. Most importantly, Rob replaced the lock and handles on the door (see how bright and shiny the hardware looks in the above photo?). The door wouldn’t latch properly when we moved in and we had to rely on a deadbolt to keep the door closed when it wasn’t in use. Relying on the lock was inconvenient and a bit of a safety issue (I kept imagining what would happen in the event of a house fire if a second floor exit was locked when someone finally reached the bottom of the stairs). I could rest much more easily once I knew that the door closed properly without posing a safety risk for anyone.
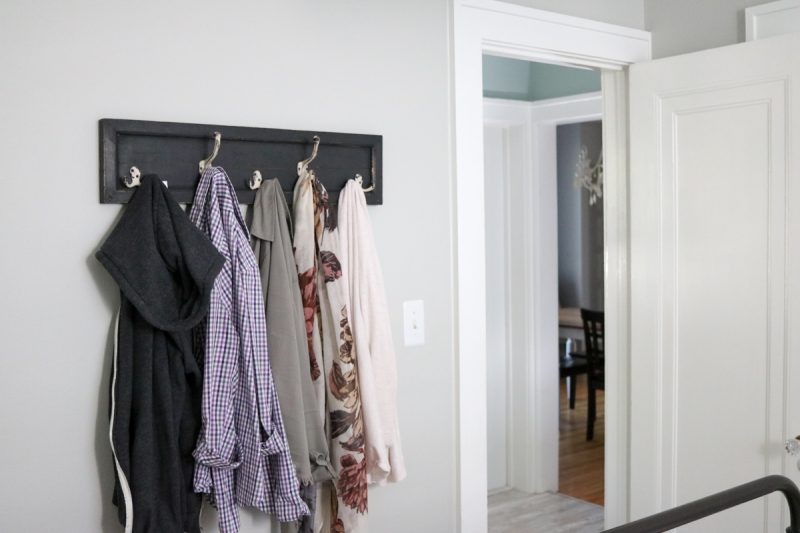
Rob and I hung a rustic coat rack near the foot of our bed as a catch-all for our clothes. We use our tiny bedroom closet to store a hamper, pajamas, and bathroom linens. The rack of hooks holds any layers of clothes we shed throughout the day that ultimately need to be stored upstairs in our master closet, but we don’t have the motivation to immediately haul them up right away. It has been incredibly helpful for managing miscellaneous clothes so we don’t just throw them across the bed or onto the bedroom floor.
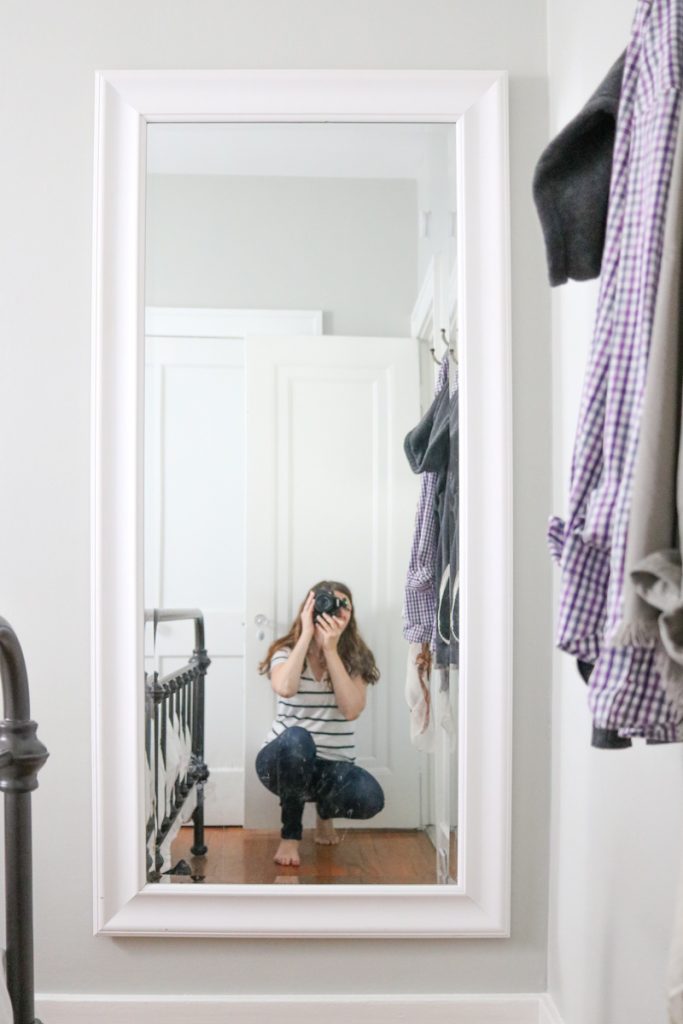
One last detail as we round out the bedroom tour – our white framed full length mirror. Don’t mind the smudges all over the bottom of the glass. Dessa loves to stop by and admire herself throughout the day. The mirror is perfectly placed to give a clear glance at how put together I am before heading out the door, as well as capturing a quick mirror selfie.
Our master bedroom just needs a few finishing touches before it is complete – new sconces, perhaps a pair of cute frames for the nightstands and an area rug under the bed. In the meantime, this simple room already has so much comfort and polish.
Master Bedroom Checklist
✓ Hang curtains
✓ Mount full length mirror on wall
✓ Hang coat hook rack
✓ Add outlets behind nightstands
✓ Paint and clean up back staircase
✓ Replace lock and handles on staircase door
Purchase and hang sconces above nightstands
Add accessories to nightstands
Purchase area rug
Replace overhead light fixture
Fix squeaky floors
I can’t believe it, but there is only one area of the house that I haven’t shown you yet – the second floor of our 1925 bungalow. The upstairs was already in great shape when we bought the house and you’ve seen the master closet we built upstairs, but we finally have the sweetest little nook set up in the playroom for relaxing and watching TV.
