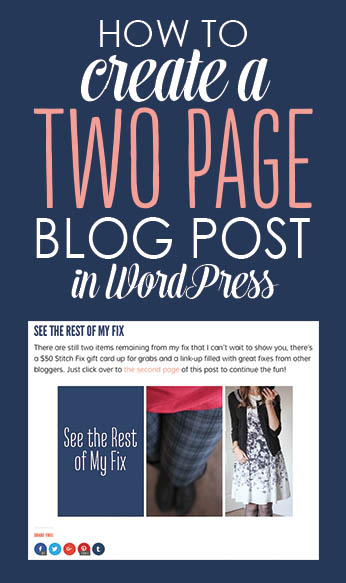
You may have noticed that a few of our recent posts have been shared in a different format. Specifically, the content has been spread across multiple pages. Rob and I used this new post format for my recent Stitch Fix posts and our tutorial on How to Shoot in Manual Mode. I have even been using this format for a few recent posts on my teaching blog, Kinder Craze.
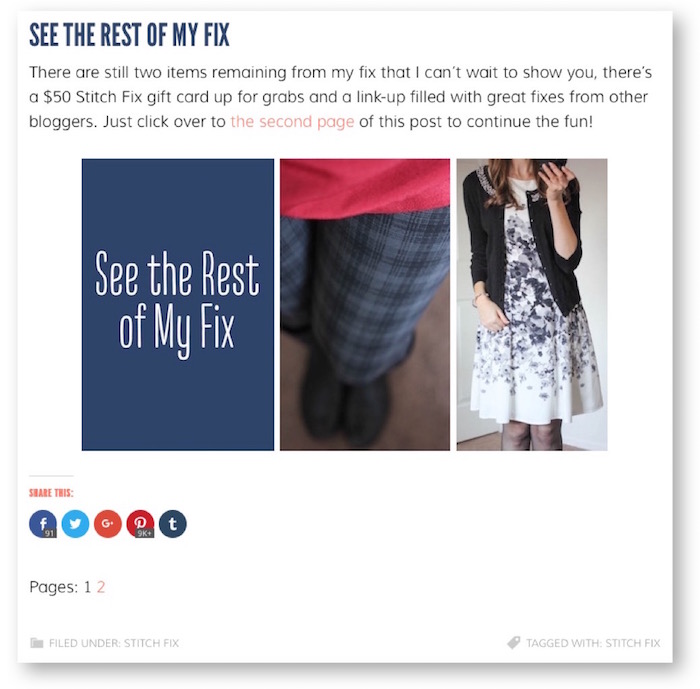
If you are not a blogger, our hope is that you didn’t really notice much of a change. The text and photos of the blog post have been the same as always. The only difference is at the end of the post, there is a paragraph and a graphic inviting you to read the rest of the post on the next page. A simple click takes you to the next page, where you can finish reading the rest of the post.
If you are a blogger, you probably noticed this change and had a few questions:
Why are we now using this format? Why do we have some blog posts spread out onto 2 pages and others are still in the traditional single-page format? How did we accomplish this?
Today, I am happy to take you through our blogging philosophy and the technique we use to create a multiple page blog post. If you’re a blogger, this post was written just for you. If you are not a blogger, thank you so much for stopping by today. You are welcome to read this post too, but it will probably be quite boring. Please accept our apologies in advance.
It’s important to note that this technique only applies to WordPress blogs. Crazy Together is a self-hosted WordPress blog and this post was written from that perspective. If you use Blogger, it is possible to break your posts into multiple pages, but it takes a lot more work and it sounds really complicated. You can read more about the process for Blogger here.
Why Use a Multiple Page Blog Post?
So what’s the purpose of spreading a blog post out across multiple pages?
Rob and I actually have a few reasons that we implement this feature in our posts. The first reason has to do with the reader experience. Some of our posts are quite lengthy. They not only have a lot of text, but our long posts usually involve plenty of photos. Sometimes, upwards of 30 images. Those photos take time to load, and it can be annoying to wait too long for a page to load. By breaking our longer blog posts into smaller parts, it spreads the text out into smaller doses and the page load time greatly decreases, because only half of the images have to load at a time. Rather than waiting 8 seconds for a single page to load, each of the smaller pages in a multi-page post will only require 5 seconds. That makes for a better user experience.
Another reason that we occasionally use this method has to do with our goals for the blog. Crazy Together, like all blogs, thrives on traffic. The more visitors we have, the better it is for the blog. Likewise, the longer each visitor stays to read our content, the better it is for our blog. The ultimate goal we have for our readers is for them to like our content so much that they click onto multiple pages and keep reading what we have shared on the blog. So, when we have a blog post that we think will be particularly popular (like a Stitch Fix post) or a post with a lot of information to share (like our recent Manual Mode post), we will break the post into multiple pages and invite our readers to click to read more on the second page.
Find Out How to Set up a Multiple Page Blog Post
So how exactly do we set up the blog post with two pages? You’ll find the answer to that question on the second page of this post. Click the image below to learn how to set up multiple pages for posts on your own blog and why it’s important to use this strategy with caution.


Haha I see what you did at the end there! Clever! Thanks for explaining–I was wondering ;)