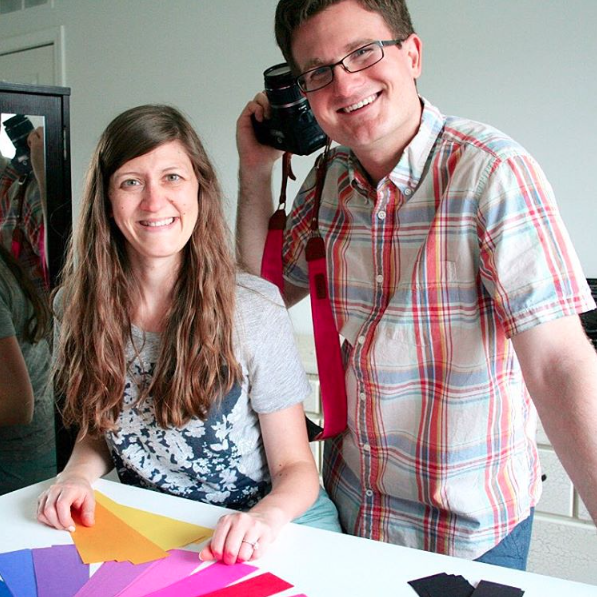
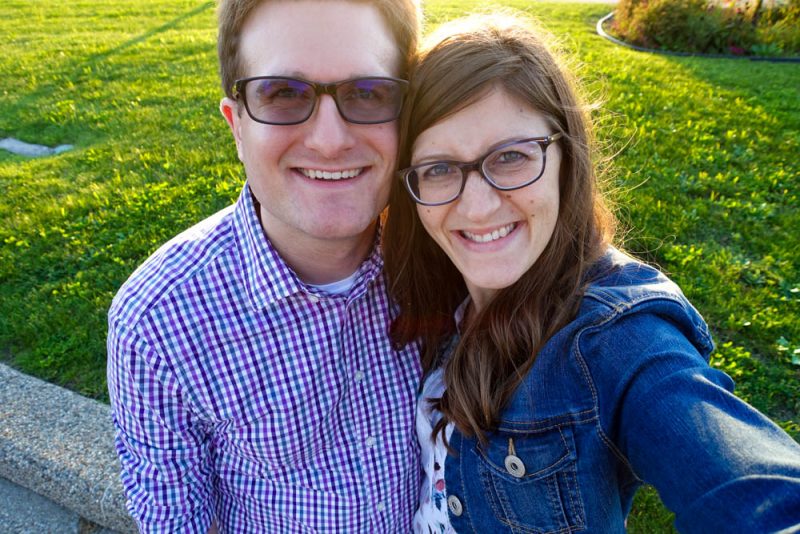
As long as I’ve known her, Maria has been quite the shutterbug. It always blew me away at how beautiful the pictures she takes turn out.
I mean, look at some of these:

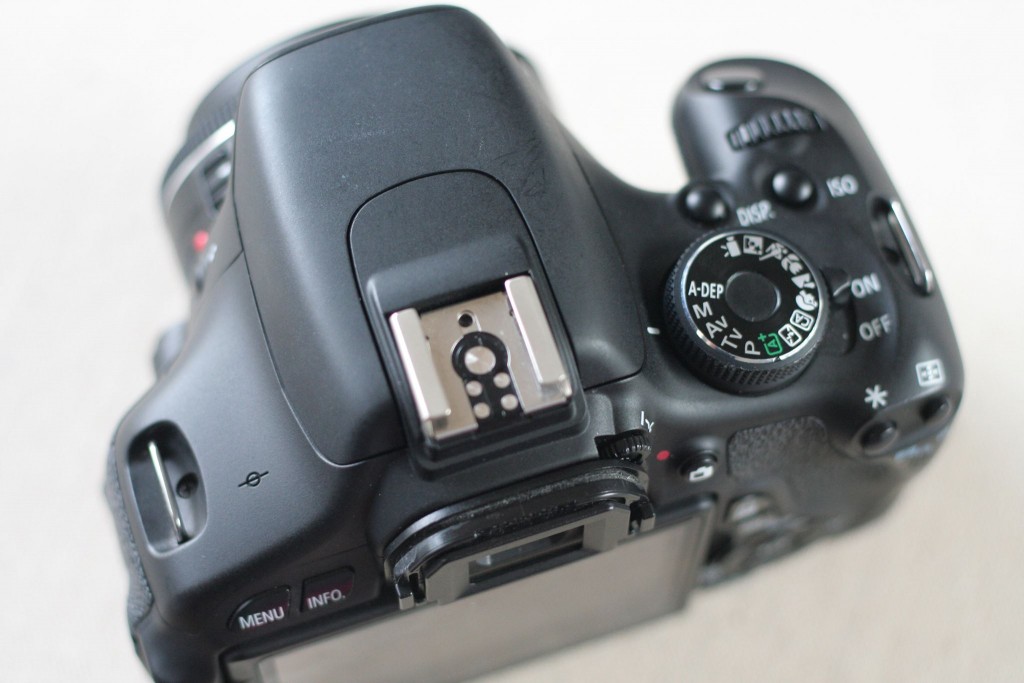
Maria wasn’t always such an amazing photographer. She learned her skills to improve her photography as Kinder Craze grew into the blog it is today. Maria got started by taking a class from our wedding photographer, Brian Weitzel of BTW Photography, on the basics of photography. He taught Maria how to shoot in manual mode and she tells me that she has never looked back. All of those automatic settings on fancy cameras actually confuse Maria and frustrate her. Her happy place is when her camera dial is set to M.
Once we decided to start this little blog together, Maria offered to teach me what she knows about photography to help me improve my skills. Her first lesson? You guessed it.
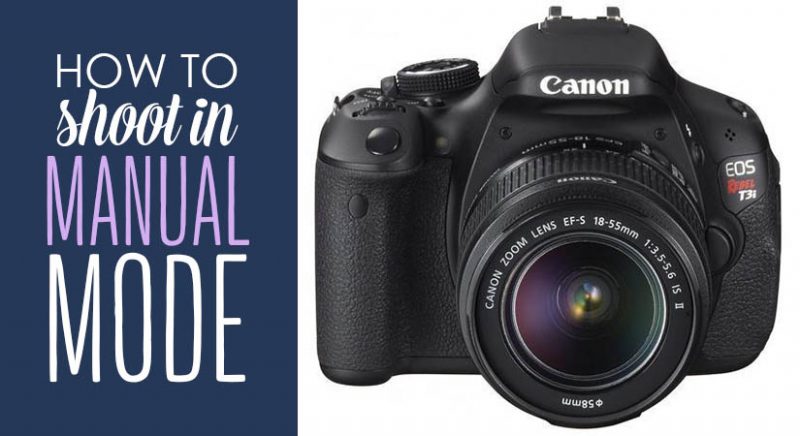
How to shoot in manual mode.
I never understood how Maria was able to take such great photos. I kind of just assumed it had something to do with her really fancy Canon T3i (which has since been replaced by the Canon T5i) or her fancy 40 mm or 50 mm lenses, but it turns out it is none of those. As she taught me, you can dramatically improve your photography by shooting in manual mode and paying attention to just four things. Maria taught them to me and the quality of my photos have improved a lot. And now, as part of our Crazy for Photography series, we want to share the four basics of manual mode photography with you. This stuff is a bit more technical than Maria’s earlier posts on decluttering your background and mirror selfies. But you don’t have to be scared. We promise to make it as painless as possible.
Step 1: Assess the Available Light
Everything to do with a camera is about light. So it is very important to consider how much light you have available. Is it mid-day? Dusk? Clear skies? Cloudy? A dark room? Outside? A room with just one window? Does the window face north? South? All of these things will strongly affect how your photos will look.
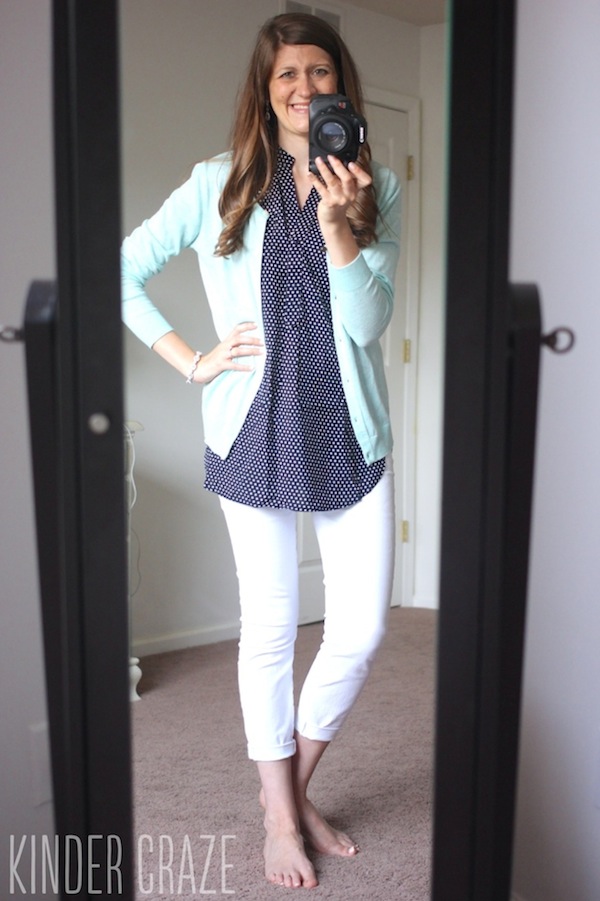
Maria and I generally shoot photos for the blog in a sun-lit room to get the bright look that we always have. We often spend a few minutes adjusting the blinds and furniture in the room to get the lighting just right. When Maria knows that she has a Stitch Fix shipment on the way, she begins watching the weather a few days in advance so she can shoot those photos on a day with clear bright skies. If the weather is cloudy or rainy, she will wait and shoot those photos another day.
When we first moved into the condo, Maria experimented a lot to find the best lighting conditions for her Stitch Fix photos. She always shot the images in our office, but the location of the mirror kept changing as she sought after the best possible light. The light can change dramatically when you rotate just a few degrees and the only way to find the best light is to try new angles and see what works.
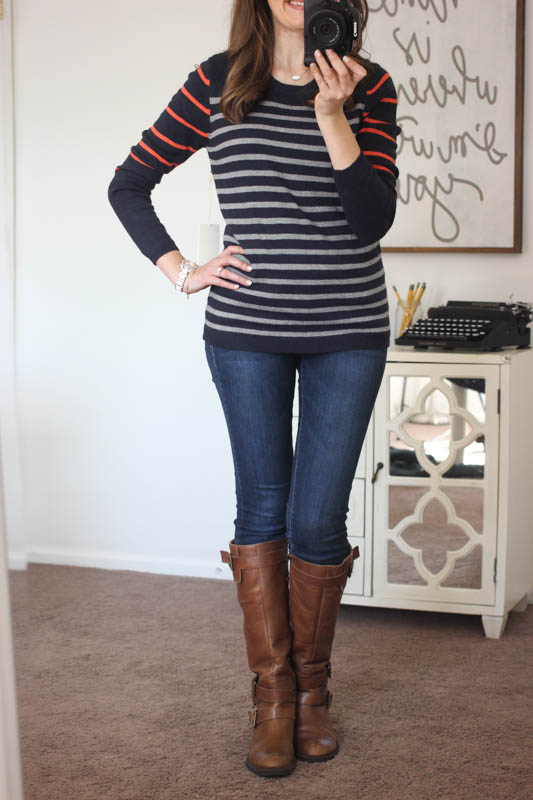
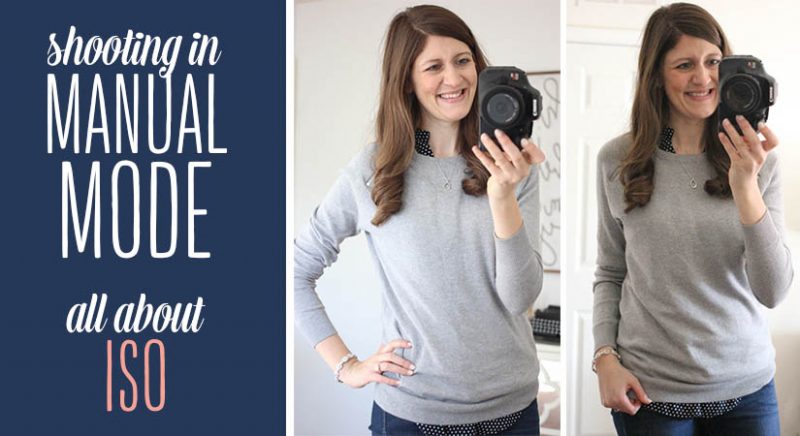
The photo on the left shows one of Maria’s first fixes in the new office. The photo on the right is much more recent. Maria was ecstatic to finally find ideal light that was bright and balanced in the room. Lighting really is that important.
 |
 |
The other reason you must first consider the amount of available light is because it will determine how to adjust the next three items on our list, all of which control the amount of light hitting your camera’s sensor.
Step 2: Select Your ISO
ISO refers to the sensitivity of the light sensor in the camera. The higher the number, the more sensitive the camera is to light and the brighter your photograph looks. That’s why your first step is to assess the amount of available light. Once you know that, you can start adjusting the settings on your camera to have a properly lit photo. You should always adjust the ISO on your camera first.
I will often shoot with an ISO of 100 or 200 on a bright day outside because there is so much available light. I often shoot with 400 in a well-lit room and 800 or 1600 in darker rooms.
Maria took some mirror selfies to demonstrate the difference:
 |
 |
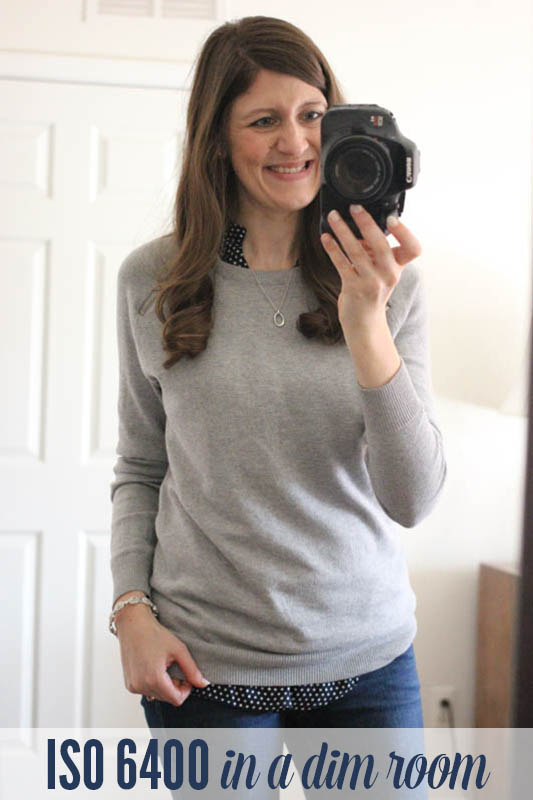 |
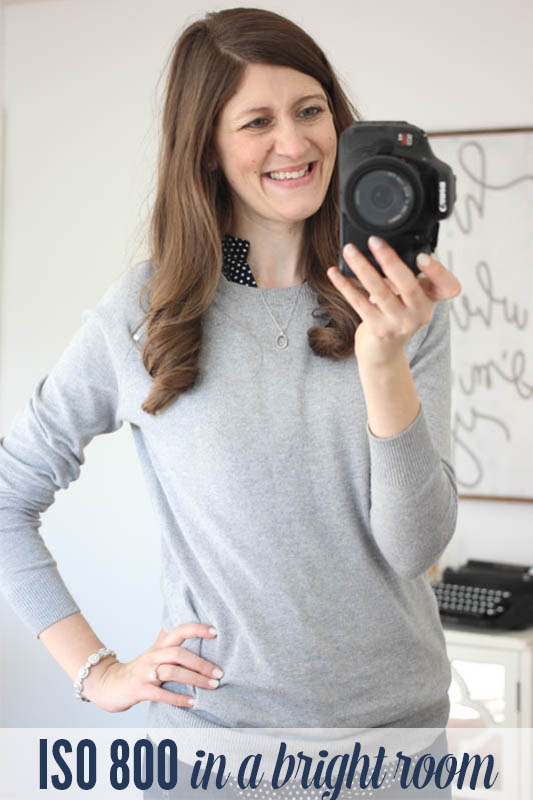
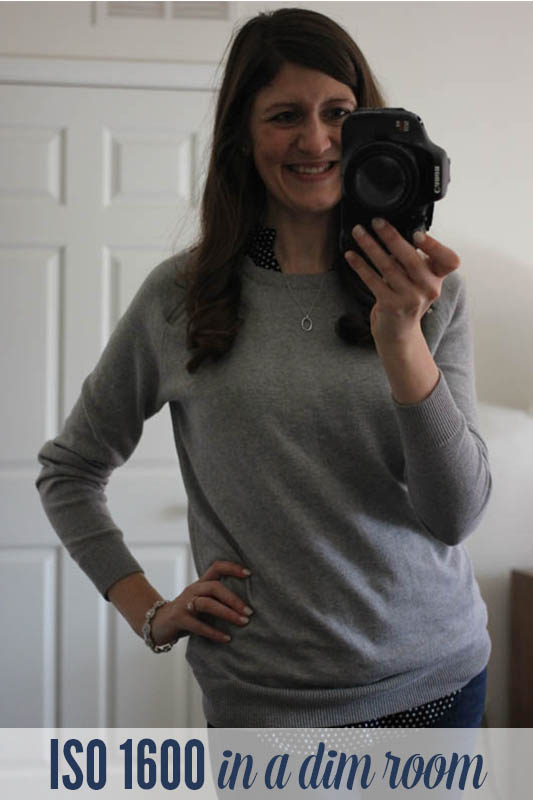
The photo on the left was taken in our office, which has some of the best lighting in our condo. Maria used an ISO of 800. Then she went to our bedroom, which has much worse lighting. The room was so dark, she had to double the ISO and set it at 1600 just to get any light in the photo. The photo does not look nearly as bright because there is much less light to work with. Even with a higher ISO, the brightness was still inadequate. To compensate for the lower lighting, she increased the ISO to 6400 for the photo on the right. The exposure is much brighter than the photo in the middle because the sensor is more sensitive to light at ISO 6400 than it is at ISO 800.
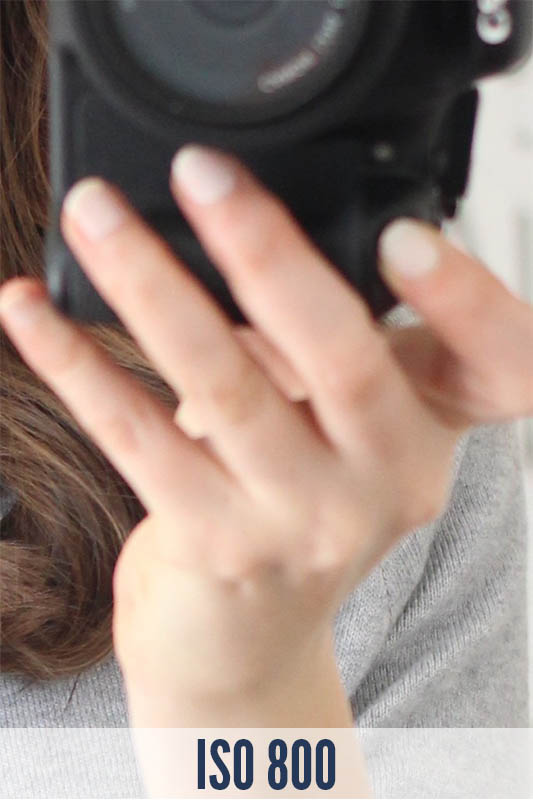
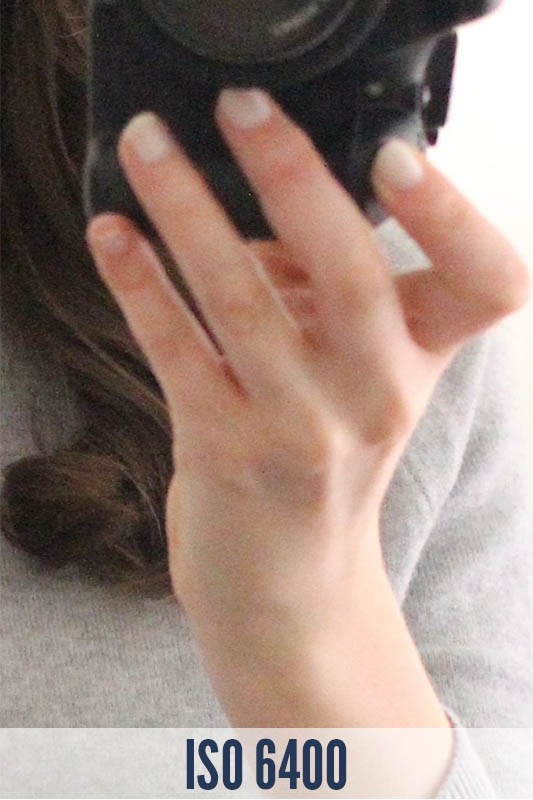
Now, that increased light sensitivity does come with a price. As you’ll see, each one of these camera settings has a trade-off as you adjust it. The trade-off with ISO is that the higher the ISO, the more white noise you will see in the the photo. Here is a zoomed in comparison of the ISO 800 shot on the left and the ISO 6400 shot on the right. Notice how much grainier the higher ISO looks. To get the same brightness in two rooms with very different lighting, Maria had to sacrifice some clarity when she shot at ISO 6400.
 |
 |
With the cameras that Maria and I have, we almost never go above ISO 1600. Really high-end cameras can go higher, but we’re talking professional-quality cameras that cost several thousand dollars.
This graphic is a general guide for which ISO to use in various lighting conditions.

(Side note: ISO refers to the International Organization for Standardization, which set the standards for light sensitivity of film in the ’70’s. The ISO ratings for digital cameras are meant to be equivalent to the sensitivity of films with the same number; i.e., the ISO 400 setting should be the same as taking photos with ISO 400 film.)
Learn More About How to Shoot In Manual Mode
That’s two down, two more to go! Click over to the next page to learn about aperture and shutter speed, the other two items that affect the lighting of any great photo.


Wow! What an informative post! I am definitely saving this for later review. I am hoping to snag a nice camera on Black Friday and start utilizing this tutorial!
Thanks! Good luck and I hope it helps!
AMAZING post, thank you so much!! None of those numbers and settings have ever made sense to me… I don’t even remember if they made sense to me when I took a photography class in high school ;-), but if they did, I have long since forgotten! THANK YOU for making it simple and easy to understand!!
Thanks so much!
Such a great post! Thank you for breaking it down to terms that amateur photographers can understand! Here is my question, I went and took pictures this morning, and when I took them my subject (my daughter) was blurry, but the background (trees) was in focus. What do I need to change? Thank you for your help!
Ashley
Ashley, I don’t know exactly what’s going on there. The ISO, aperture and shutter speed shouldn’t affect your camera’s autofocus. Have you perhaps changed the autofocus point in your camera? This post might be of help: http://www.digitalcameraworld.com/2013/02/07/af-points-how-to-take-control-of-autofocus-to-get-the-shots-you-want/
Good luck!
Thank you for this excellent and VERY informative post! I can never get my pics to be clear in auto mode, so this tutorial on manual mode is extremely helpful! I wish there was a printable version. :)
Thanks, Kim! Good luck! We’ll think about the printable version. :-)
This is JUST what I have been looking for to figure out how to really work my camera!! Thank you for taking the time to put all the info together in one amazing post!! Three years later and I’ll finally be a pro at taking some pictures over the holidays!
Thank you so much! This had a perfect amount of detail to me. Love the example images and graphics. Just in time for Christmas cards!!
Thank you for sharing! I went from T3i to 5D Mark III! I’ve got lots to learn!
When I started to practice my photography skills with Canon EOS 6D last year, firstly I practiced on my trip to Cambridge. I was taking photos od colleges outside with full light and beautiful Autumn colours. With auto mode I took some nice photos but I wanted to learn how to use manual mode. How I learned it? Chosen some good photos taken in auto mode, checked the settings, used the same with manual and started to fit it to the next scenery but with manual. That’s how I learned how to use manual taking pictures outside and inside. The first thing is to PRACTICE as much as you can and whenever you can. Your article was very informative, thank you for it!
Can u sold ur camera
Your blog is the first of many that I have read that gave me clarity on shooting in manual mode. I will definitely try out your pointers. Thank you a bunch!!!
Thanks for the tips!! check out my website http://hollyjosphotography.com/
Thank you so much for the tips. Check out this photography site
http://knbinterdesign.com/
Very interesting and informative have really learned lots .