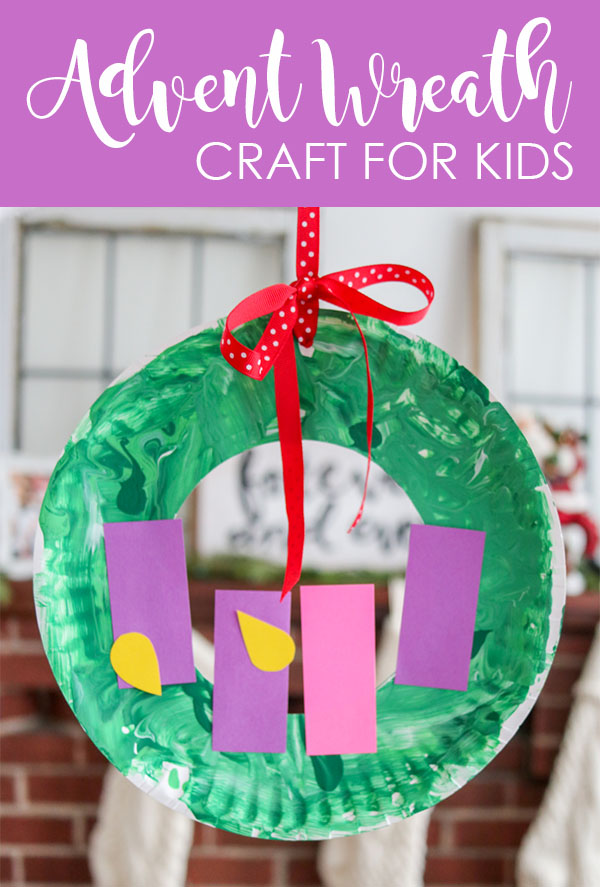
Now that Dessa is old enough to understand a little more about Christmas, we are loving all things Santa this Christmas season. All of that has been so much fun, but Rob and I especially want to educate our daughter on the real meaning of the Christmas season: celebrating the birth of Christ. Advent was always one of my favorite seasons to share with my kindergarten students, and now that I’m a Mom, it has been a joy to explore our Catholic faith with Dessa. The two of us worked together to create a simple paper plate Advent wreath and I’m not sure who enjoyed the project more! The activity is easy, fun, can be created with older children, and can be adapted into a mess-free craft.
This post contains affiliate links for your shopping convenience. We earn a small commission each time someones makes a purchase through one of our links, which helps to support the blog and our family.
Our Advent wreath needed a green circle of some sort and a paper plate was the perfect size! I’ve only recently been brave enough to let Dessa use real paint and I decided to just go for it and let her have fun with this project. I squirted some light green, dark green and white paint onto a paper plate and let Dessa explore smear it around with her hands and a foam brush. (Check out my tips at the bottom of the post to help minimize the mess if you want to do a similar project with your own children. There are lots of variations you can do with and without paint to adapt the project for your own needs and mess tolerance.)
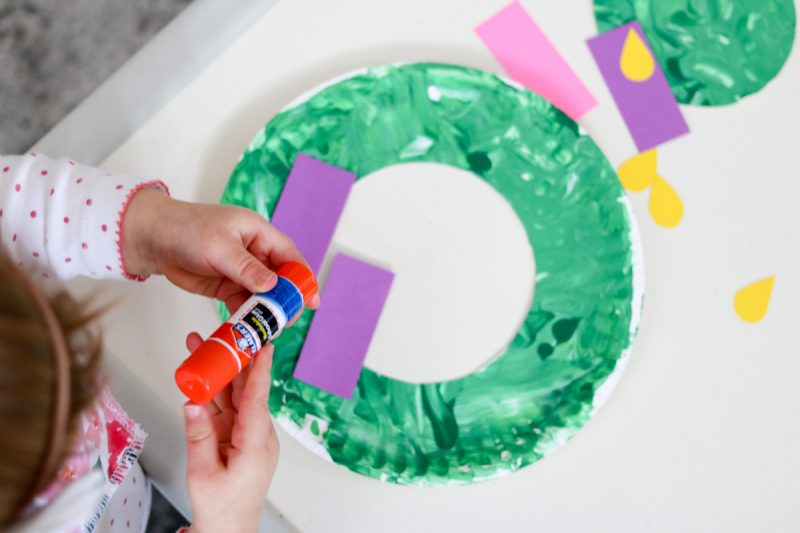
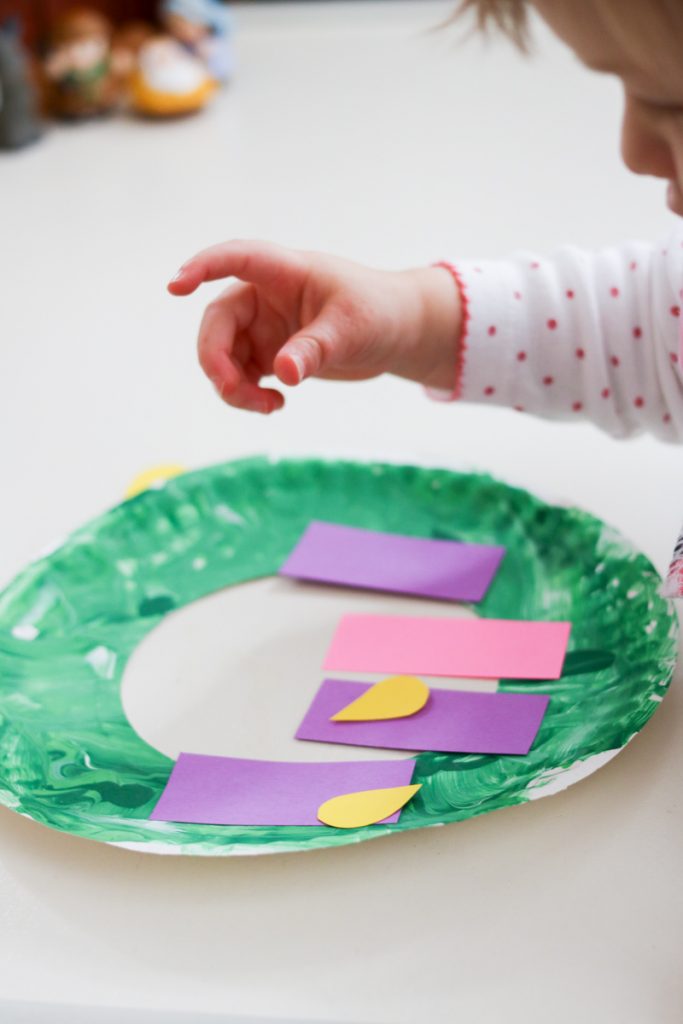
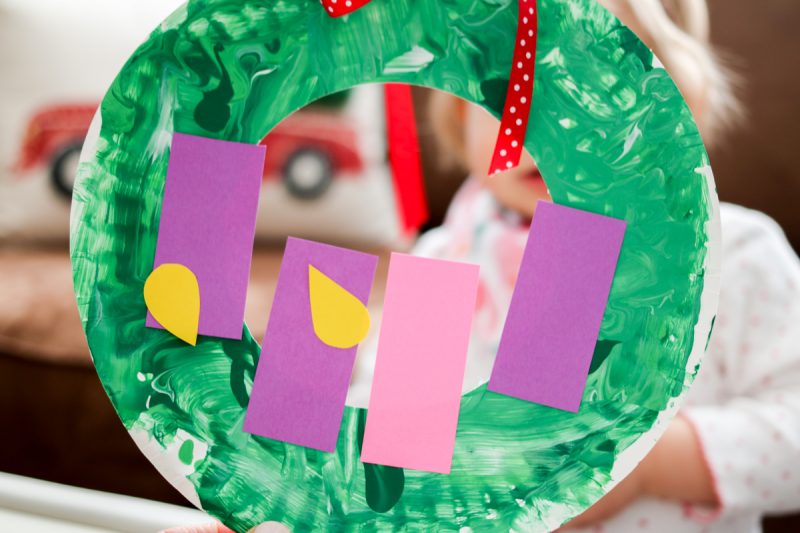
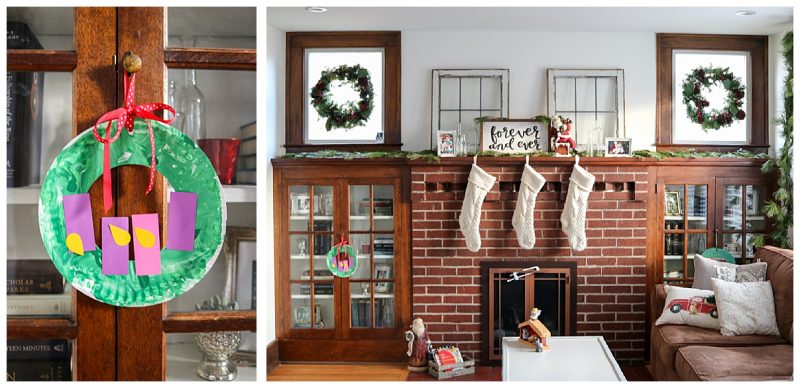
Once the mess was cleaned up, it was time to transform our green paper plate into an Advent wreath! I cut a circle out from the center of the plate (which was super-easy with my circle cutting tool) then cut some simple paper candles (3.5″ x 1.5″ rectangles) and flames for the wreath. Any type of purple, pink and yellow paper will do, but I used Astrobrights cardstock because I love the vibrant colors and heavy weight of the paper.
Dessa has been painting with Kwik Stix lately (which are basically the paint version of a glue stick) so she understood exactly how to use the glue stick. I didn’t want glue all over my coffee table so I let her pretend to use the glue for a few minutes. Then, when she was finished, I used the glue stick to attach the candles to her painted wreath.
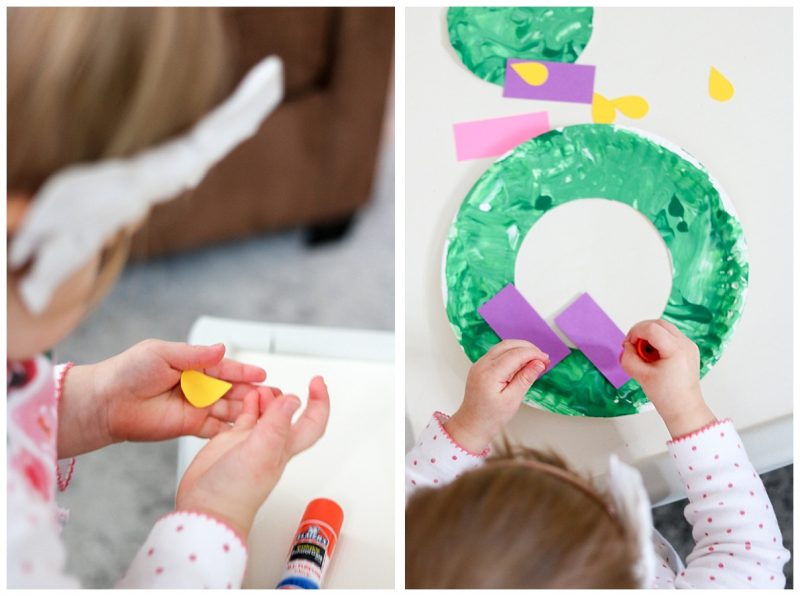
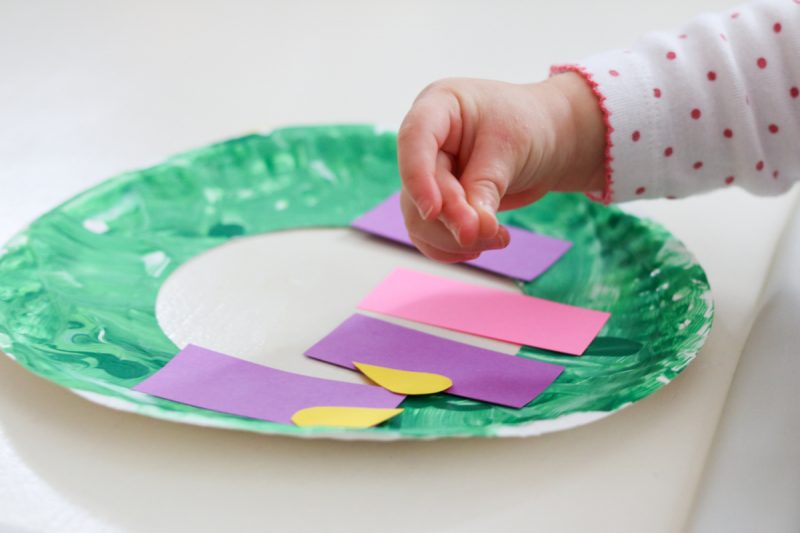
Once the paper candles were glued into place, it was time to glue on the flames. We created Dessa’s wreath during the second week of Advent, which meant that we needed to “light” the first two purple candles. I placed a little bit of glue onto each flame, pointed to where they needed to go and let Dessa attach the flames. She didn’t expect the paper to be sticky when I handed it to her, so it took some time to complete this step. I had to reapply the glue a few times, but we finally did it!
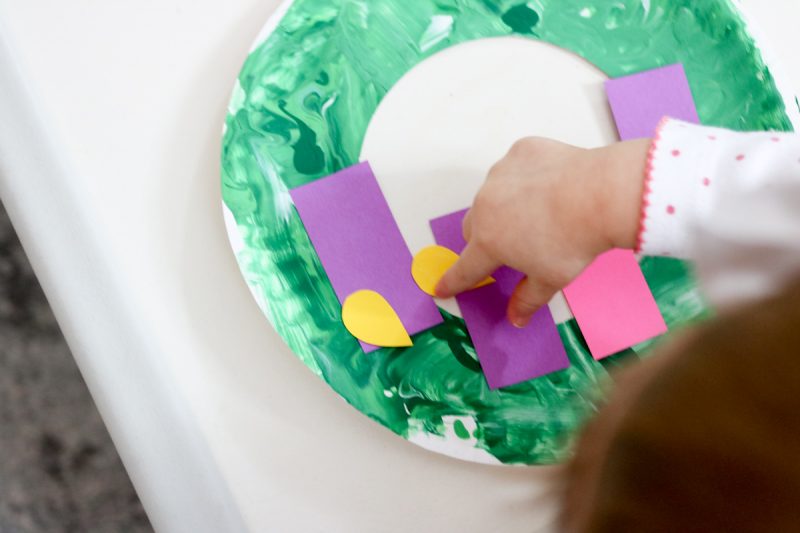
I love the lopsided flames – they add Dessa’s special touch to our little craft project.
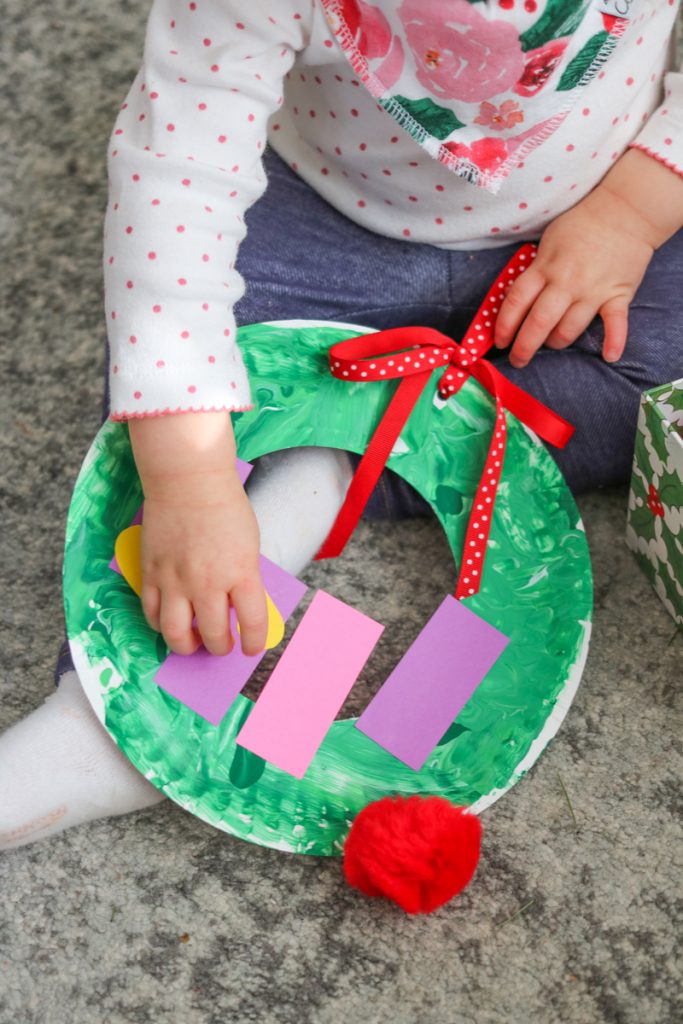
Once the flames were glued, punched a hole in the wreath and I tied a simple bow with red and white ribbon. I’m honestly not sure who loved the finished wreath more: me or Dessa!
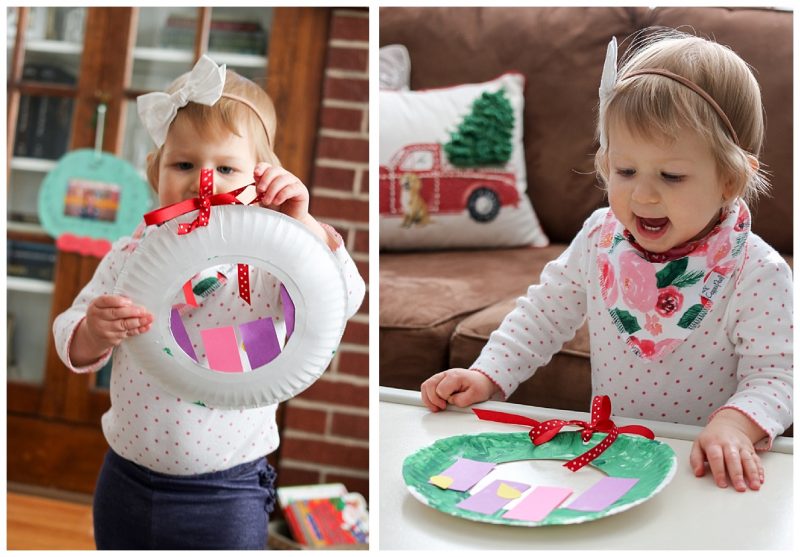
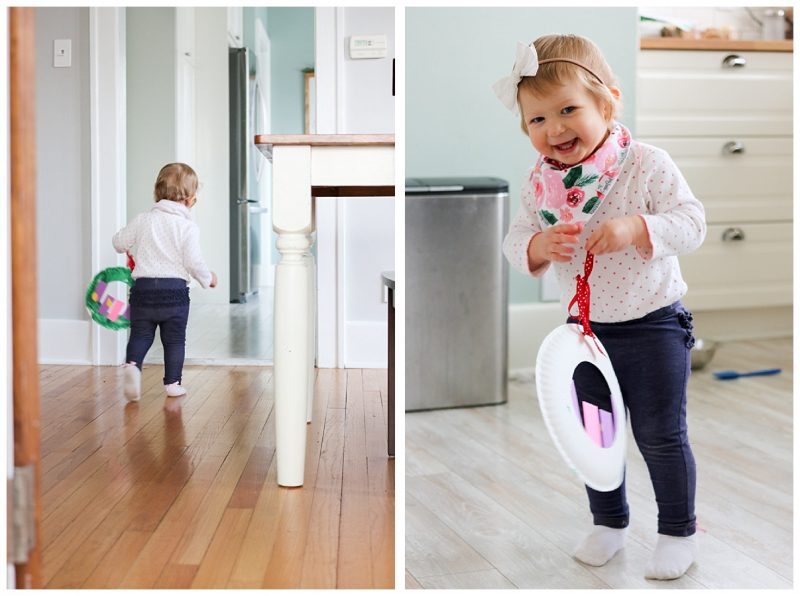
I really wanted to get a photo of Dessa holding her wreath for the camera, but things didn’t quite go as planned. Rather than standing still to show off her handiwork, Dessa thought it was hysterical to run through the house holding the Advent wreath while I chased her with the camera. I didn’t get the photo I was hoping for, but how could I possibly get mad at a face this cute?
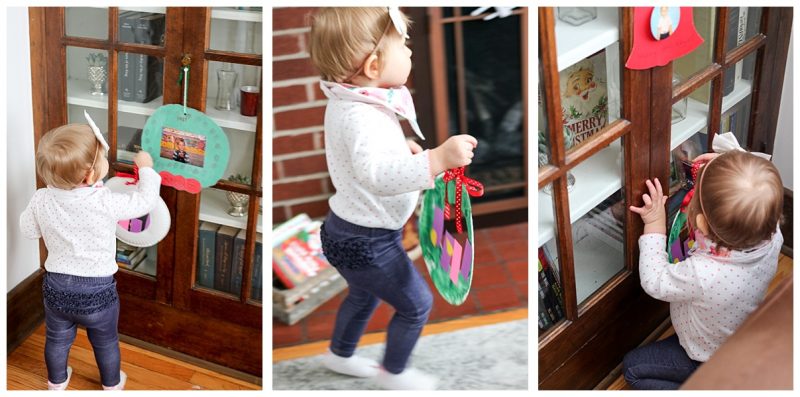
Once I gave up on my perfect photo, Dessa did the cutest, most unexpected thing. We have two “vintage” crafts hanging on our built-in cabinet doors that Rob made when he was in grade school. I hung them to add a personal touch to our living room decor.
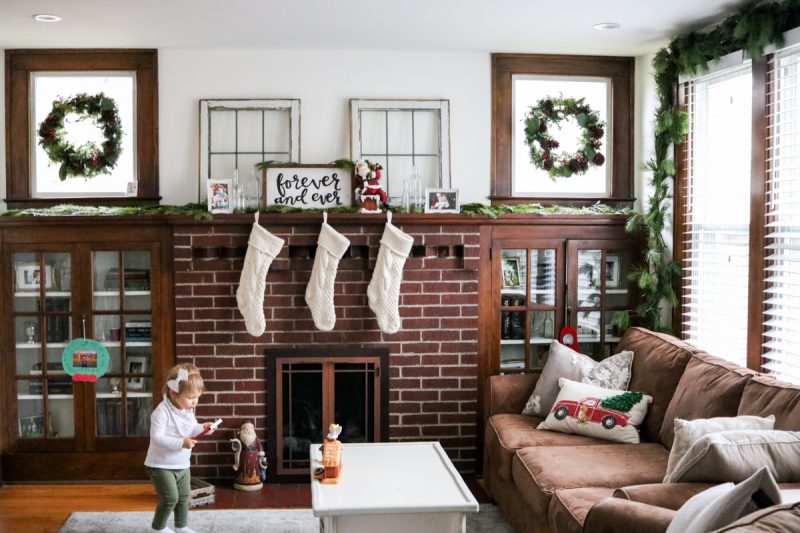
Dessa loves looking at her Daddy’s green wreath that hangs on the left side of the fireplace. It didn’t take long for her to make a connection between Rob’s old paper wreath and the Advent wreath she had just created. Dessa walked right up to the cabinet and immediately tried to find a way to hang her own project. When that didn’t work, she tried the other cabinet. It was the sweetest thing and you could just see the wheels turning in that cute little head.
I did a little rearranging and made space for Dessa’s wreath on the left side so she can see it as often as she wants. Even though it was messy, I’m so glad that we took the time to create her paper plate Advent wreath – it was a perfect craft for the season and I’m certain her little paper wreath will be part of the Christmas decor in our house for many, many years.
Managing the Mess with Young Children
If you want to create a paper plate Advent wreath with your children and are concerned about the mess, here are a few tips and variations of the project that may help!
Choose the Right Paint – I was feeling unusually brave on the day that Dessa painted her paper plate Advent wreath. I had purchased a multipack of acrylic paint from Michaels a while back and used that for the project. It was overkill and the paint didn’t wash up as easily as I had liked, but it was all I had in the house that day. If you want to do a project like this at home, I highly recommend using tempera paint – it washes off little hands and out of clothes much more easily!
Use a Paint Smock: We used a zip-up jacket that doesn’t get much use as a paint smock and it has been a lifesaver every time we do a messy project together. I highly recommend finding some type of jacket or shirt that you can use as a smock with your child.
Try Kwik Stix: For less of a mess, you can also paint the plate with Kwik Stix. I’ve used them with Dessa on several occasions and she LOVES it. They just don’t provide as much easy coverage as wet paint.
Seal the Paint in a Ziploc Bag: You can let your child enjoy painting without any of the mess by placing the paper plate with dollops of wet paint inside a sealed gallon size Ziploc bag. Your toddler can use his/her fingers to move the paint through the plastic.
Skip the Painting Altogether: If you really want to avoid paint in all forms, just use a green paper plate for the base of the wreath.
