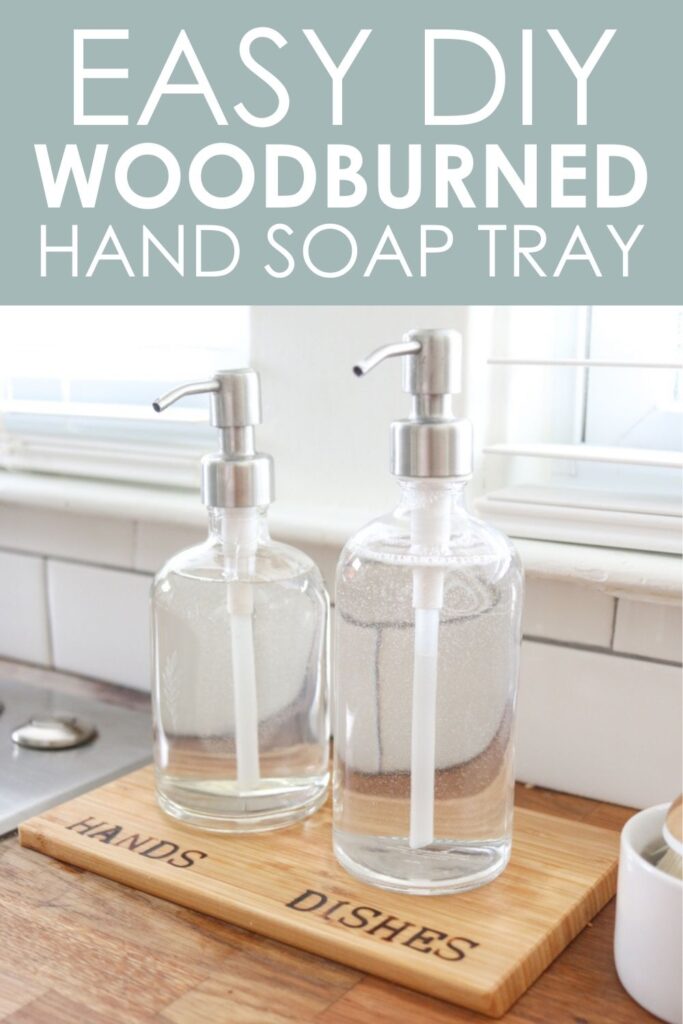
I’m always on the lookout to free up any visual clutter from our home – especially in the kitchen. A few years back, I switched to clear glass soap dispensers to place by the sink and have loved the change. The refillable glass containers are eco-friendly and add a stylish touch to our kitchen counter. The only issue with simple glass dispensers is that it’s very easy to confuse the colorless soaps inside. Rob and I know the difference between the dish soap and hand soap from habit, but our poor nanny was confused for months about which soap was which! I loved that the bottles themselves didn’t have text of any sort and I didn’t really want to add a label, so I got out our woodburner for a simple DIY project to end the soap mystery for guests in our home. This small wood kitchen soap dispenser tray serves a functional purpose of catching any stray drips, while labeling the soaps inside for our guests. Today I’m thrilled to walk you through this easy little woodburned soap holder project.
This post contains affiliate links. We earn a small commission each time someone makes a purchase through one of our links, which helps to support the blog.
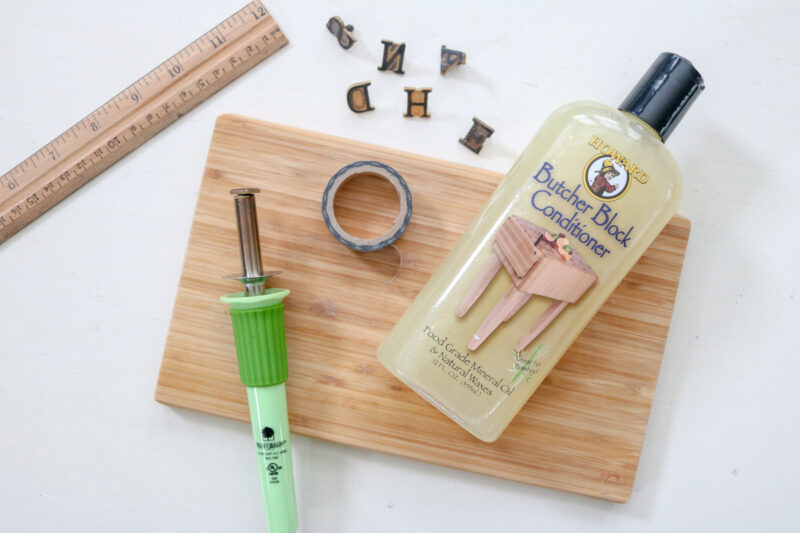
Gather Materials
The materials for this little project were pretty straightforward. We were already using a small wooden cutting board from IKEA as a soap dispenser tray to catch all the drips. We also had the wood burner and letter stamps on hand, thanks to the personalized plate project that Rob worked on for our wedding reception. (We actually purchased three woodburners at the time to speed up the stamping process. They are all different colors and you’ll see two of them being used in the photos below while I worked.) Here’s a quick list of everything you need to do this project at home:
Woodburner
Woodburning letter stamps
Small wooden cutting board (we love this one from IKEA)
Glass soap dispensers
Washi tape
Ruler or measuring tape
Butcher block conditioner
Preparing to Woodburn with Letter Stamps
Once you have all the materials gathered, it’s time to get set up! Take a few minutes to measure your board and plan the layout for your stamps. There aren’t any re-do’s when you are woodburning, so it’s important to devise a plan for each stamp placement ahead of time.
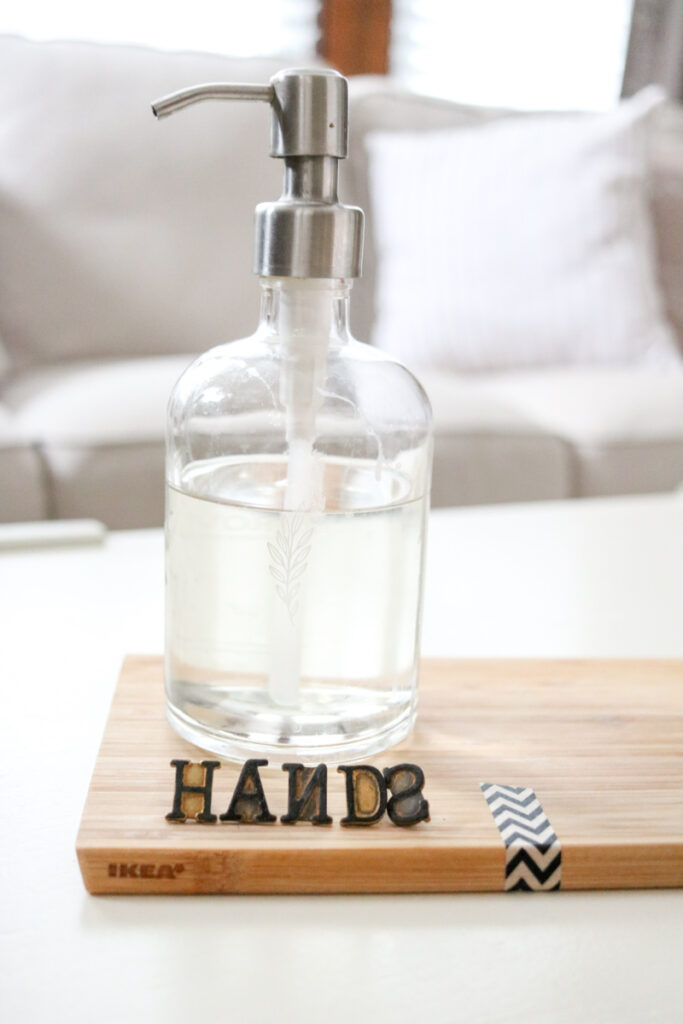
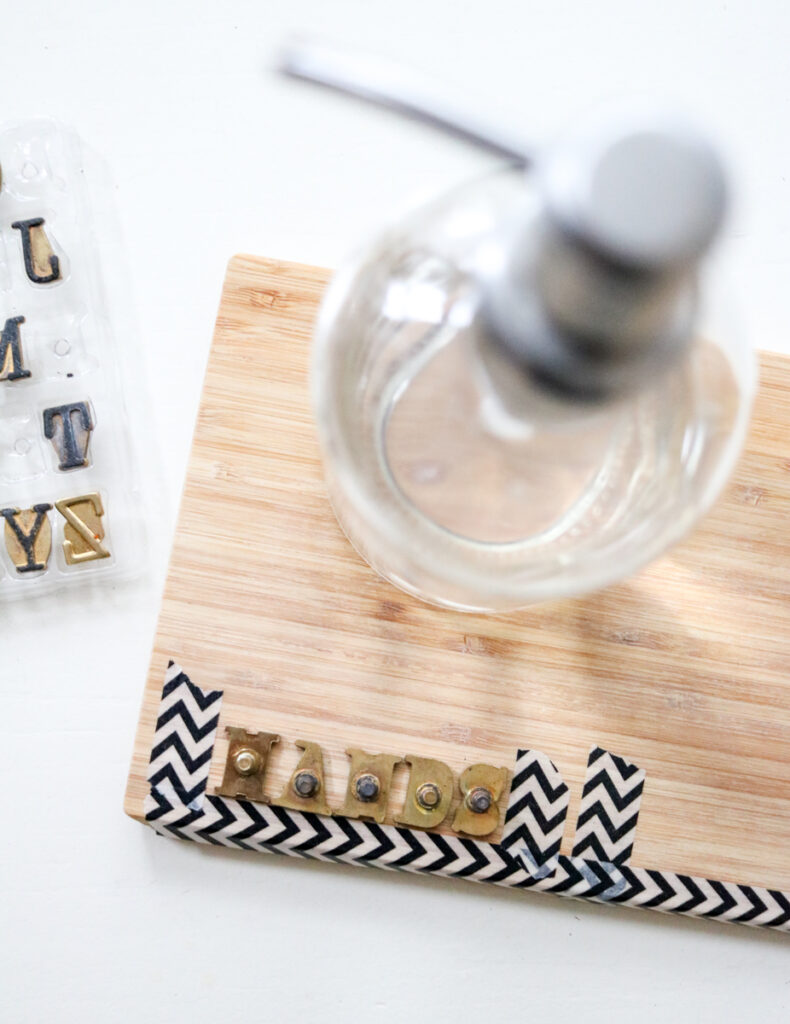
I started by measuring the length of the cutting board and placing a piece of washi tape in the center of the bottom edge of the board to provide a clear workspace for each word I intended to stamp into the wood. (I planned to stamp the word HANDS on the right and DISHES on the left.) Then it was time to grab my stamps and select the letters I needed to spell HANDS. The backward letters and tilted S make it a little tricky to visualize the finished product, but you can already get a sense of how it will turn out.
Then it was time to turn the letters down and get back to planning my layout.
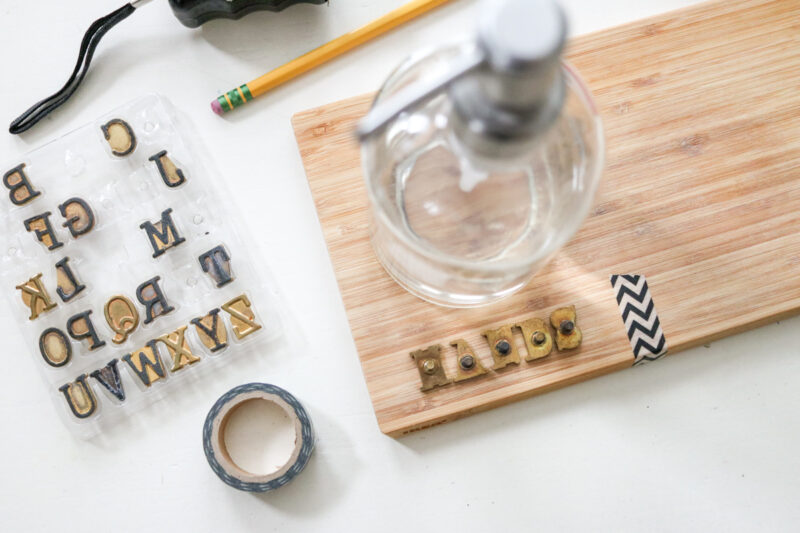
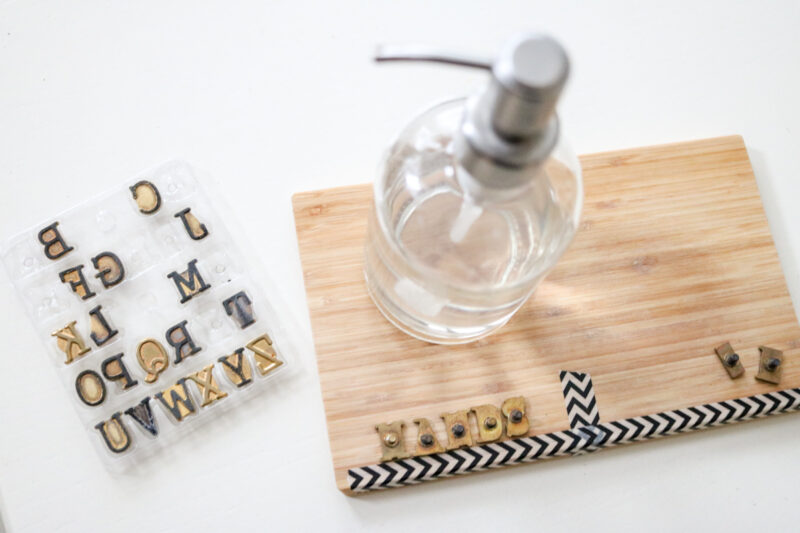
I placed a long piece of washi tape along the bottom of the cutting board. This would serve as a guide to help ensure that each letter stamp would be placed at a uniform height above the edge of the soap dispenser tray.
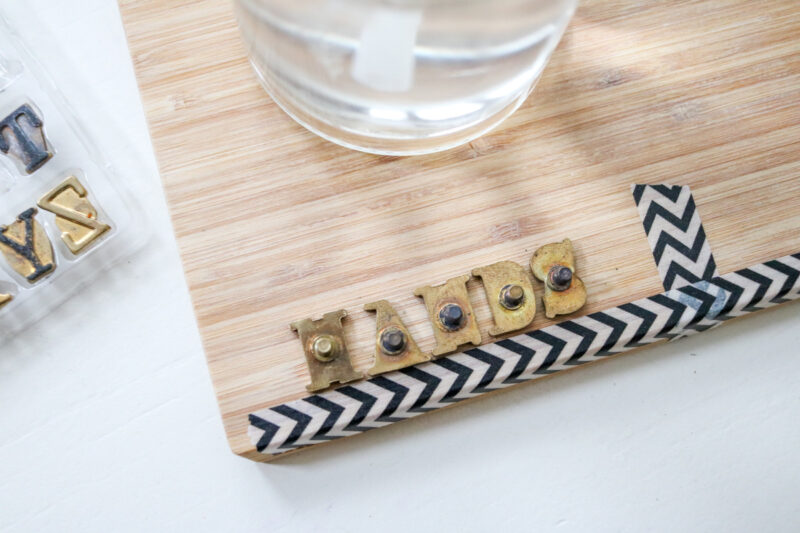
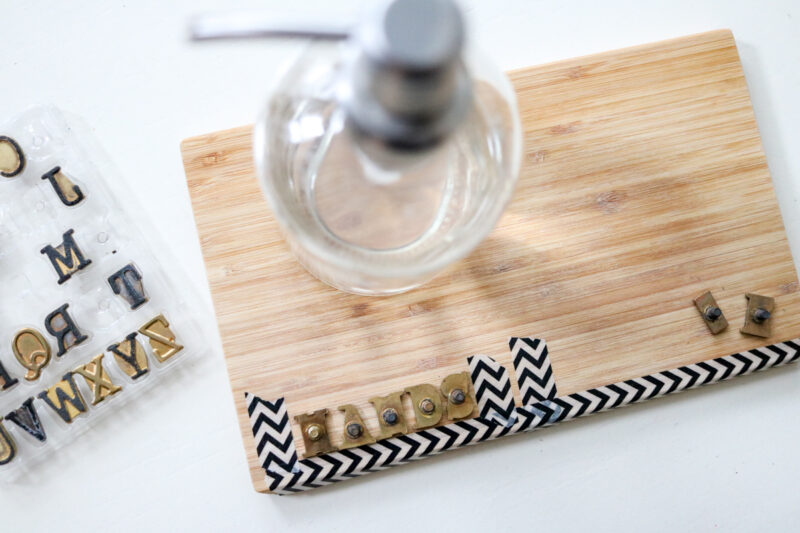
Once I was certain that I had arranged my letter stamps within the center of my workspace, I added two more vertical pieces of washi tape – one on each side of the word HANDS as a final spacing guide to ensure that the word was centered horizontally in my workspace.
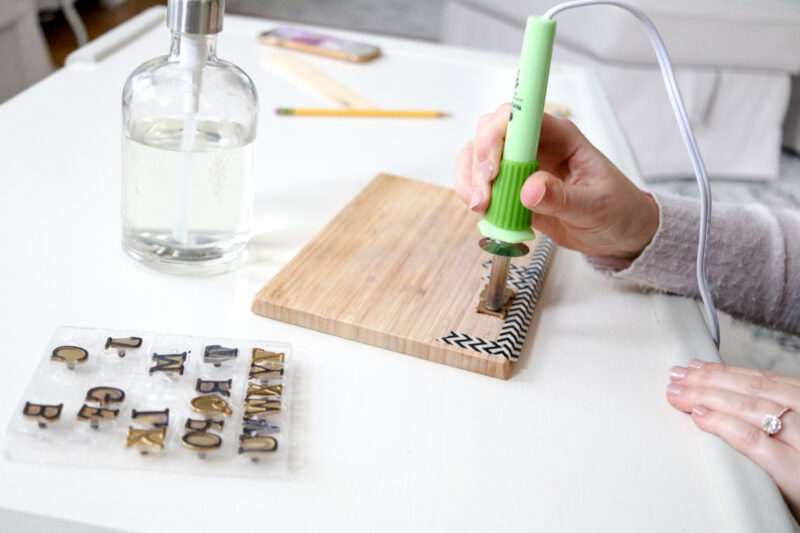
With the layout planned for my first word, it was time to work! It only took about 5 seconds to stamp each letter into the wood, but the process was slower than you might expect. Each stamp screws into the metal rod on the woodburner. After a letter has been stamped, you need to remove it from the rod and replace it with the next letter. The only issue is that the woodburning rod and previous stamp are both incredibly hot. I discovered a few tricks to speed things along and shared them at the bottom of this post. You’ll want to keep scrolling to check out the tips and save yourself some time while you work.
After a few minutes (and careful replacement of some very hot letter stamps), the first word on my tray was complete and it was time to work on the “DISHES” labels. I followed all the same steps as before to ensure even, centered placement of the letters. Then it was time to carefully burn each letter onto the board.
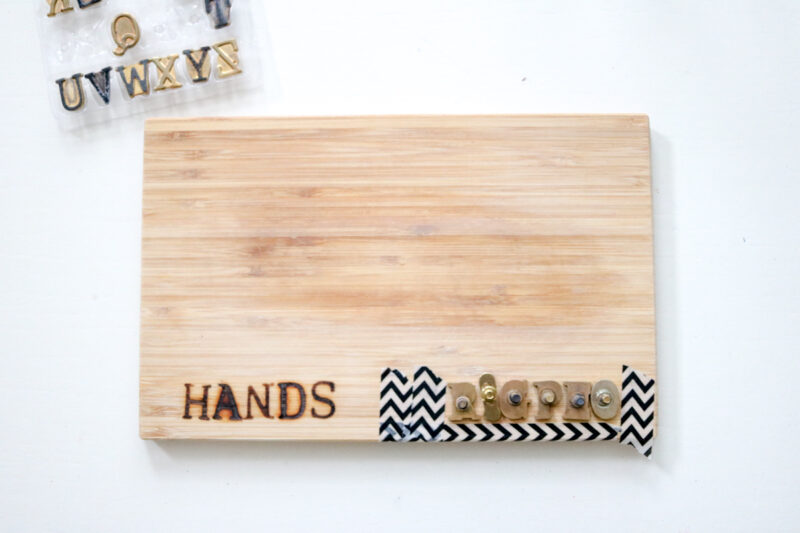
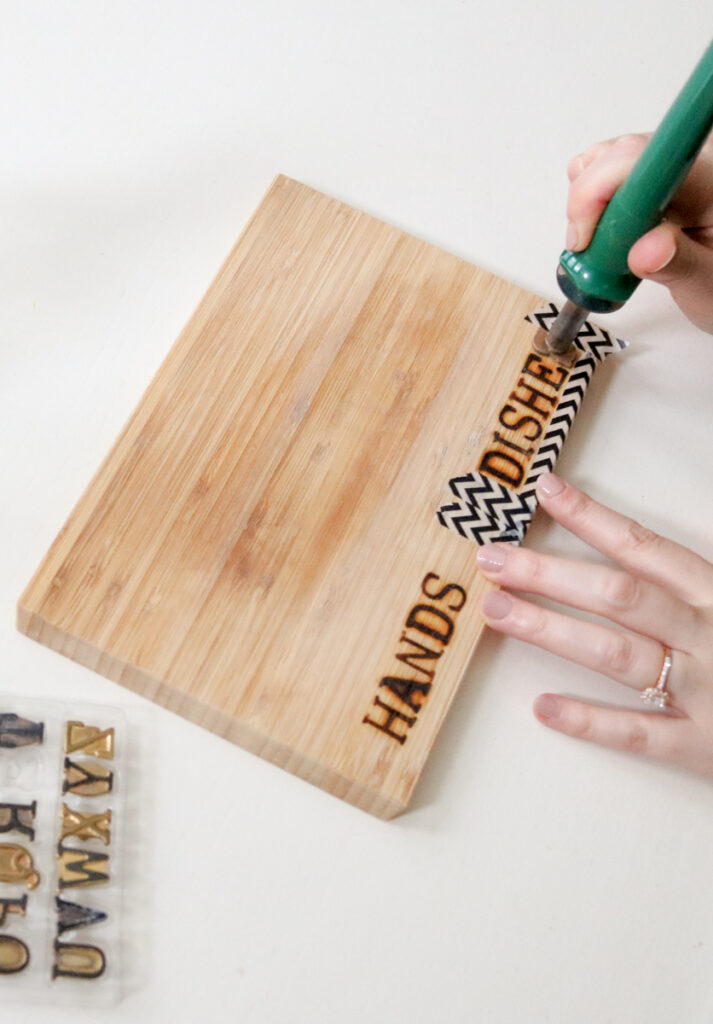
Once all of the letters were stamped, it was time to admire the finished product. Some letters had burned more intensely than others, which is very common and gave the board a little extra character.
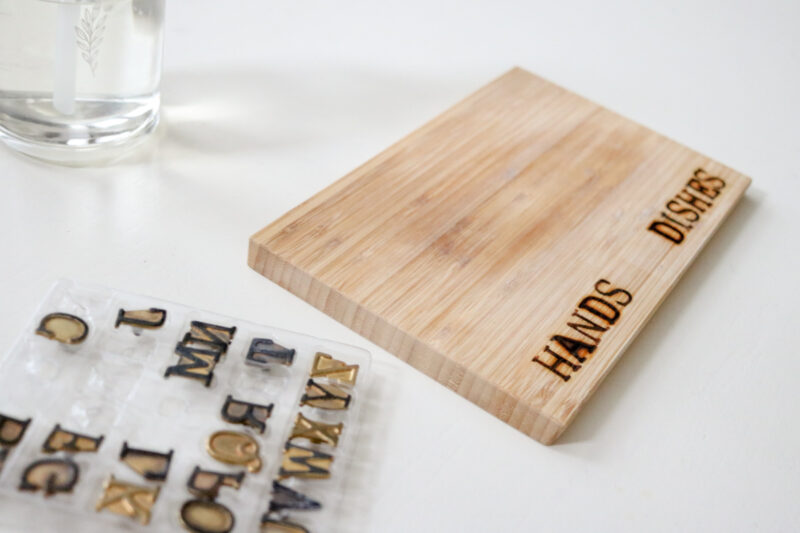
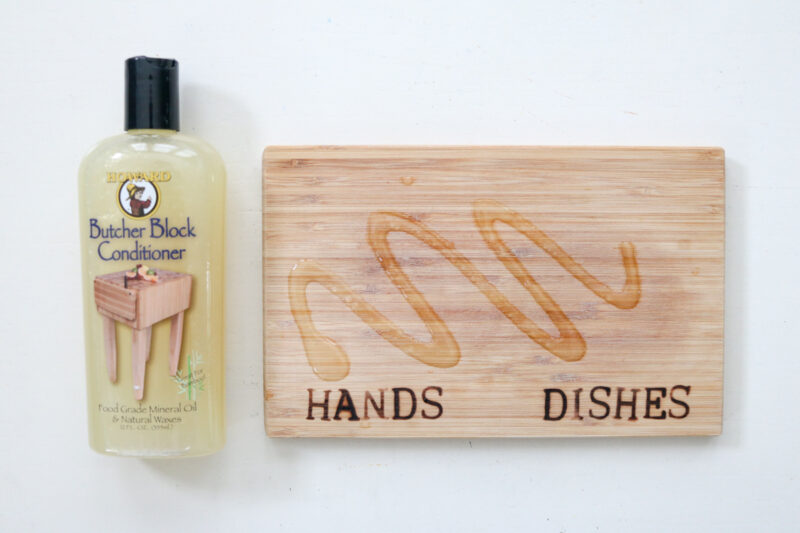
I was almost ready to display our hand and dish soap dispensers on the newly-improved tray, but it needed one last finishing touch. The unconditioned wood was looking quite dry – which was great for woodburning, but it wasn’t the best look for our kitchen. I applied a little butcher block conditioner to refresh the cutting board, spread the conditioner around with a paper towel, and was all set!
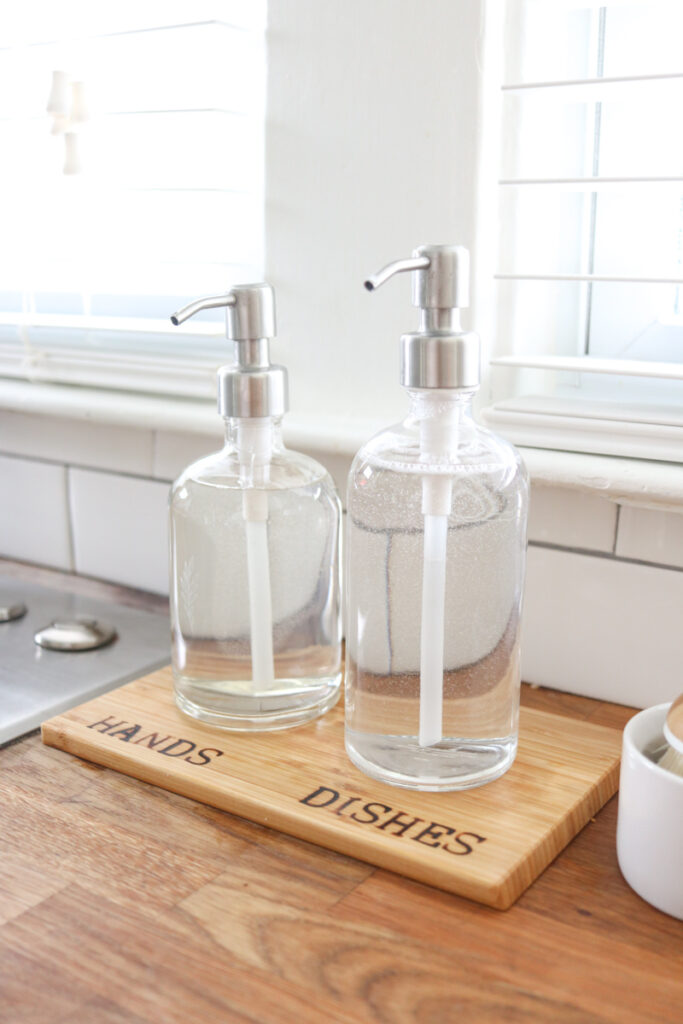
The Finished Soap Dispenser Tray
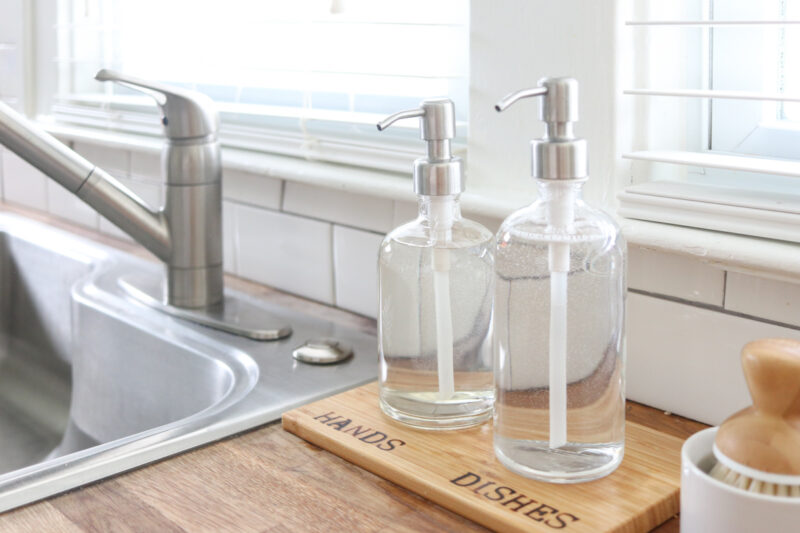
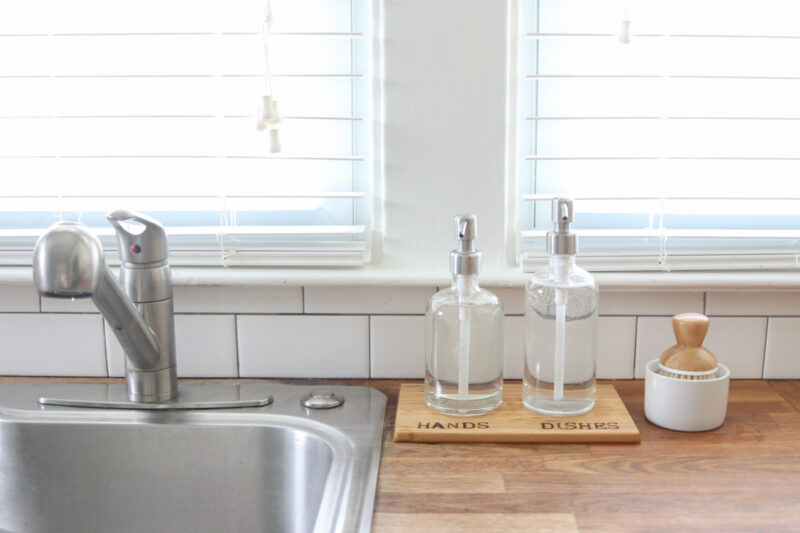
There’s so much to love about this simple setup beside my kitchen sink. I love my glass bottles and the handy little soap dispenser tray catches all the drips, while clearly labeling the soaps inside for visitors.
You can use any type of liquid soap to fill your dispensers, but I’m partial to the collection from Grove Collaborative. I purchased our glass dispensers from Grove a few years ago and I love that the soap refills come in aluminum bottles that I can throw in the recycle bin. Target recently started carrying a limited number of Grove Collaborative essentials in-store and online. Click any of the images below to shop them at Target and do something good for the Earth.
Don’t Let Hot Stamps Slow You Down
Using hot stamps with a woodburner is a lot of fun and makes for a great-looking finished product, but using the stamps is more time-consuming that you might expect. You see, each letter stamp screws into place at the end of the woodburning barrel. Once you’ve used a letter, it is too hot to touch, and waiting for it to fully cool before replacing the letter can take a long time. Here are a few hacks I used to help speed the process up in between hot stamps.
- Unplug the woodburner and place it in the freezer for a quick cool down. I put mine on a small cookie sheet in the freezer to make sure it didn’t come into contact with anything that would melt or burn while the metal cooled.
- Use a hot pad or oven mitt to help you safely remove the hot letter stamp and replace it with a cool one. Just remember that the metal bar will still be very hot after you place a cold stamp on the woodburner, so you will need to be equally cautious as you screw the cool stamp onto the burning tool.
- If you have more than one woodburner, use them both! That way you can keep working with one tool while you wait for the other too cool. We actually own three woodburners and I still used a freezer and oven mitt, but things moved a bit more quickly with multiple tools in use.
CLICK TO SHOP FOR SUPPLIES
Click on any of the images below to quickly shop for supplies to create your own DIY woodburned kitchen soap dispenser and with my favorite eco-friendly refillable soaps.


Leave a Reply