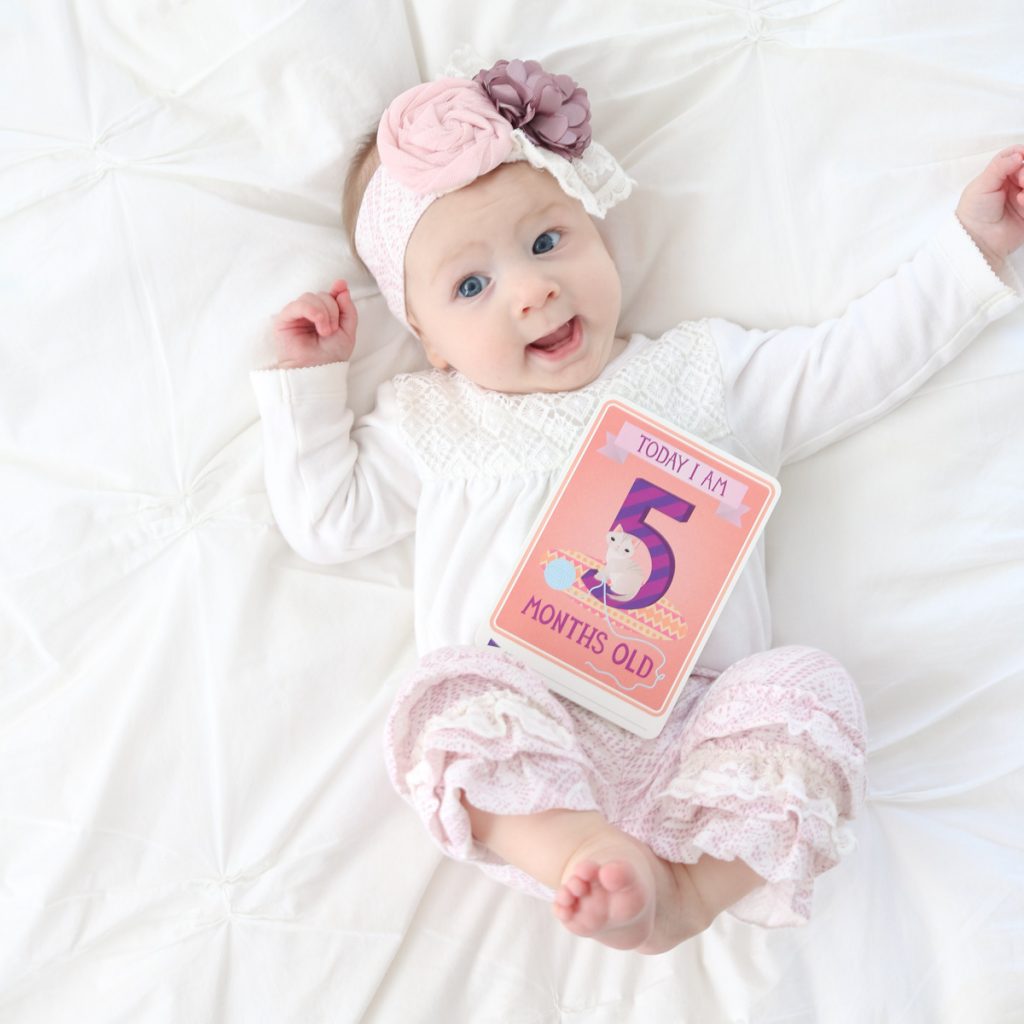
It’s no secret that I love taking photos of Dessa. Photography has become a hobby of mine and there is no greater muse than my sweet little sidekick. Dessa may not understand what the camera does, but she learned pretty quickly that mommy loves it when she smiles at the camera. Taking photos always fills me with joy, but I especially love capturing these fleeting moments of my baby girl while she is little. My heart just melts when I look back at the photos I took just a few short months ago and I will always treasure the images I take of her daily activities and milestones. As time passes, I’m especially grateful that I was able to capture bright, tack-sharp photos with a fun expression on Dessa’s face. I want every parent to be able to take photos that perfectly capture the moment so they can look back and look back and recall the event with perfect clarity. Which is why I’m happy to share a few tips to help you take better photos of your baby.
This post contains affiliate links, which means we earn a small commission each time someone makes a purchase through one of our links. We are truly appreciative each time someone makes a purchase through one of our links because it helps to support the blog and provide for our family.
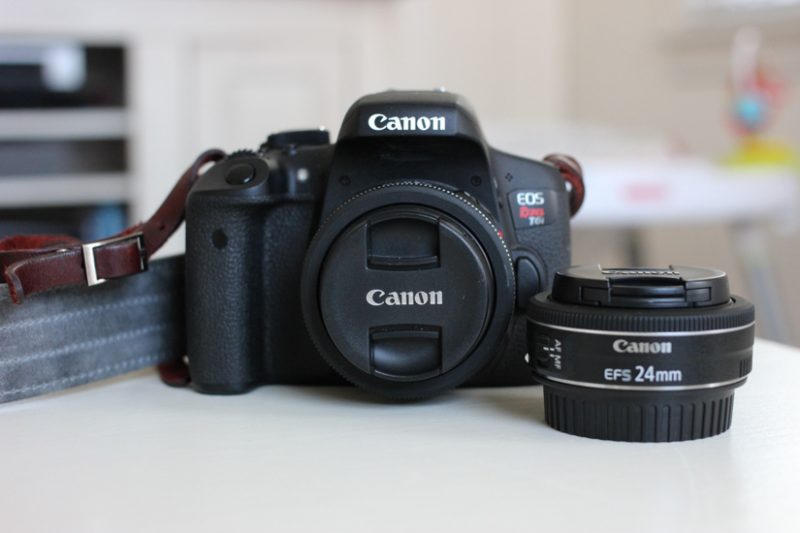
I promise I’m going to dish on all my favorite, simple tips to take better photos of your baby in just a minute. Before I do, I want to assure you that many of these tips will improve your photography no matter what type of camera you use. Whether it’s a fancy DSLR or just an iPhone, the principals are the same. That being said, whenever I’m capturing a moment with Dessa that I want to treasure forever, I always reach for my good camera. We have a Canon Rebel T6i at home and I use a 40mm lens 90% of the time. If I’m trying to get a great overhead shot, I’ll pop on my 24mm lens – but I’m getting ahead of myself. Let’s get started and I’ll talk more about lenses in a minute.
Always Have Your Camera Ready
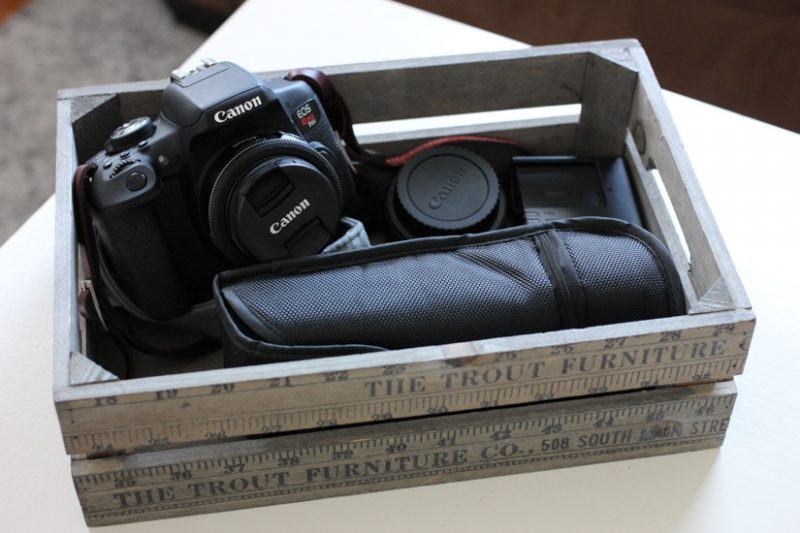
If your family owns a quality camera, pull it out of the camera bag and store it in an easy-to-reach location. We keep ours in a decorative box on our coffee table for easy access at all times with a favorite lens mounted on the camera and ready to go. We also keep an extra lens, our external flash, and an extra battery in the box. I treasure the quality of photos taken with our DSLR so much more than smartphone photos. Keeping our good camera within reach helps to ensure that we will get the best quality photo during spontaneous moments of baby cuteness.
Gather All Supplies in Advance
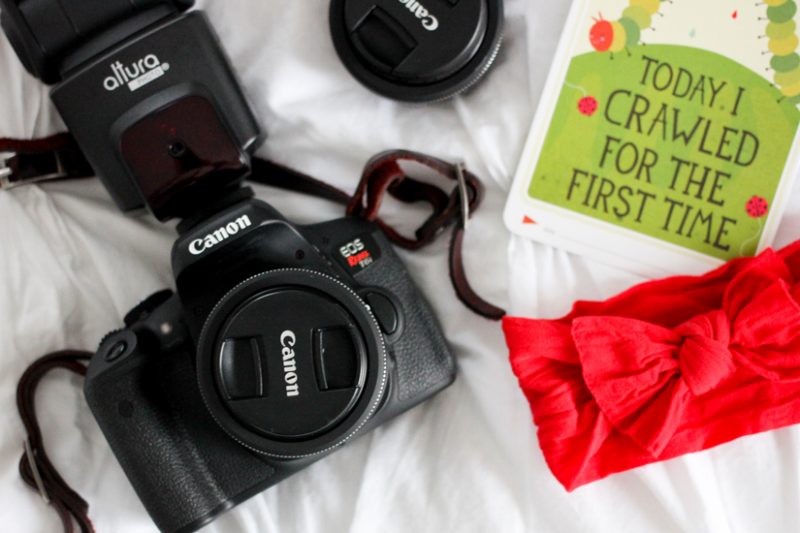
Time is of the essence whenever you are photographing your baby. A happy moment is easily lost if you’re not prepared ahead of time. And you definitely don’t want to leave your baby unattended on a bed or unsecured location while you make a quick run into the next room to retrieve a forgotten accessory or milestone card (we love these ones!) Whenever I am planning to take photos of Dessa, I grab all of the necessary gear in advance and place it in the photo area so I can capture the moment without missing a beat.
Make Use of Natural Light
When you know ahead of time that you are going to take photos of your baby, take advantage of natural light in your home. The best way to ensure a good photo is to take it in the daytime in a room with plenty of natural light. Pay attention to which rooms get the most indirect natural night and what time of the day the room has the best, even light.
For example, our living room faces north and gets great light early in the day, but there’s an hour or so every morning that the light is terrible because the sun comes streaming in through a kitchen window and shines directly across the floor. The light is too bright, too harsh, and creates too many drastic shadows. The best time to take photos in our living room is sometime between 10:00am and 3:00pm. By late afternoon, the light has shifted and the living room is much darker, but our south-facing master bedroom has gorgeous light.
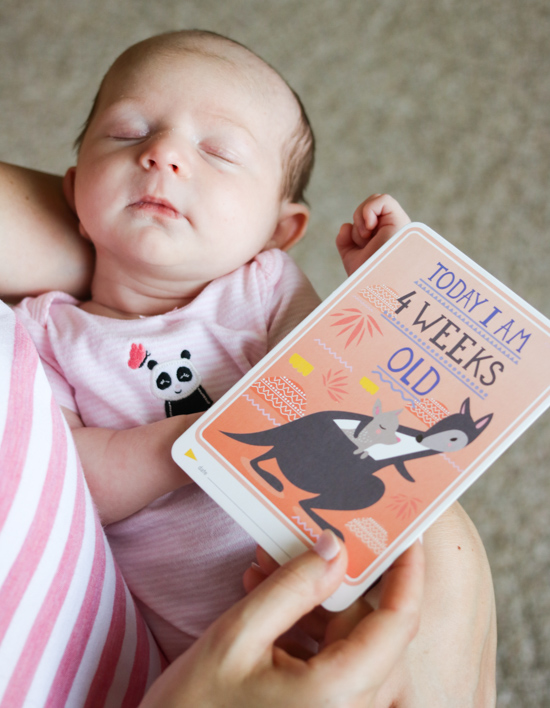
When Dessa was four weeks old, she spent the day at my parents house. I knew that I wanted to capture a milestone photo of her, but I also knew that the only chance I would have of snapping her four week photo was at my parents house when I came to pick her up. With this in mind, I tucked the milestone card into her diaper bag before we left home. I didn’t have a chance to photograph Dessa that day until late in the afternoon when the light was beginning to fade. In that setting, the very best light streamed in through the front window, but it was less than ideal. The light was too shadowy to capture the usual milestone photo of Dessa from above so I held her in my arms and handed the camera to my mom. I crouched down so Mom could capture this photo over my shoulder. I’d say we made pretty good use of the available light.
It’s all about the light. Go where the light is!
Turn off the Flash
The easiest thing you can do to make your photos look 100x better is a simple one: turn off the flash. It may sound counter-intuitive, but more often than not, a flash will hinder your photos. A camera’s built-in flash will often darken your photos and change the appearance of colors in the photo. If you’re ready to dive in really deep, you can learn how to shoot in manual mode and use light to your advantage. I shoot in manual often, but adorable moments with babies are fleeting. I don’t want to miss the shot because I was too busy bumbling with my camera settings so I often turn my camera into the flash off auto mode when taking photos of Dessa.
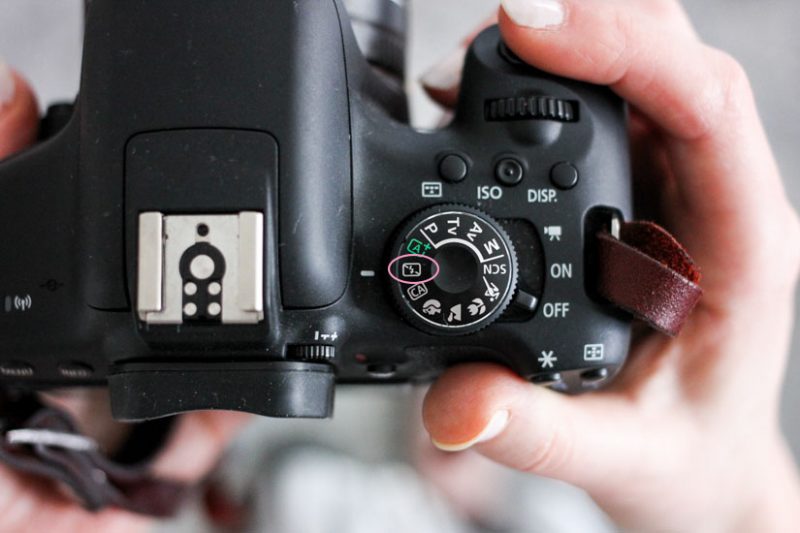
It’s simple to disable a flash on a smartphone. For my Canon Rebel T6i, I just turn the dial to the little icon that has a slash drawn through the flash symbol. When the camera is in auto mode with the flash disabled, it does an incredible job of evaluating the available light and automatically adjusting the camera’s settings to capture a bright, beautiful photo.
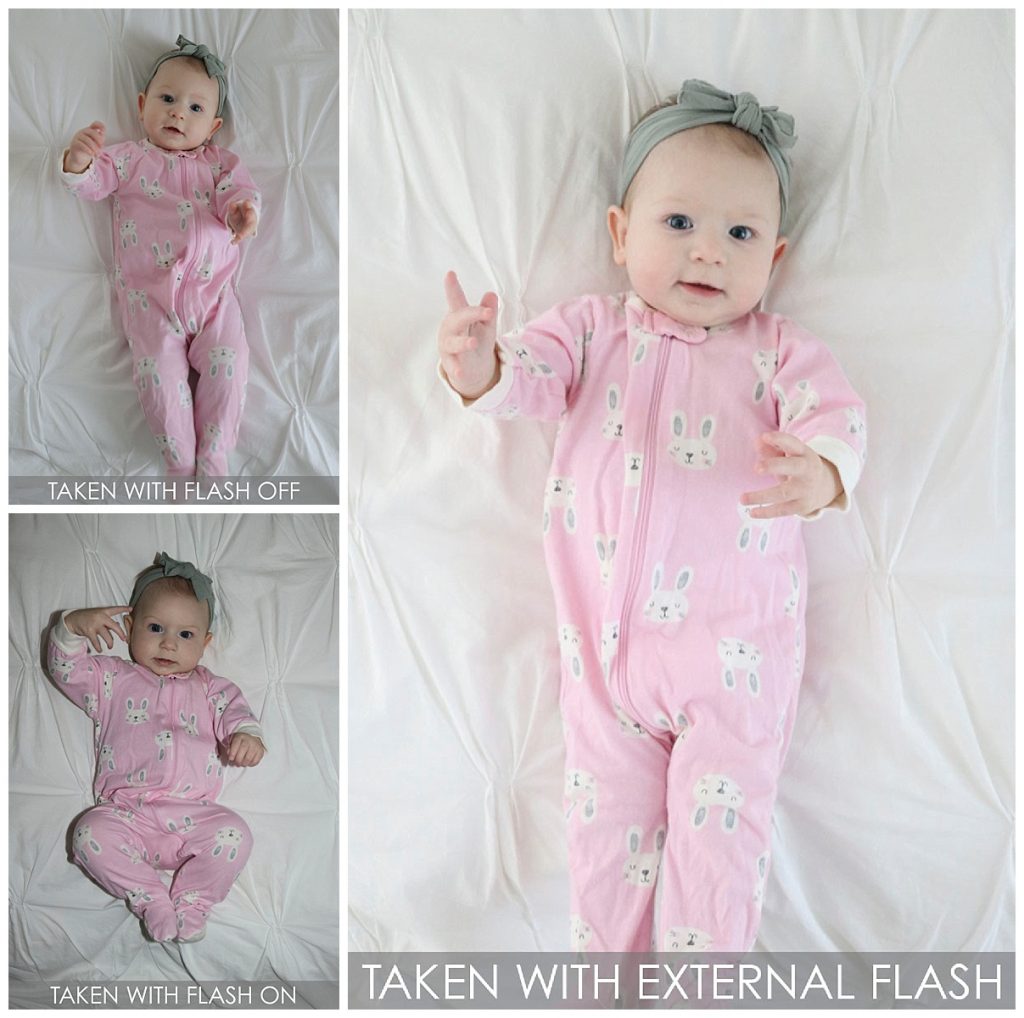
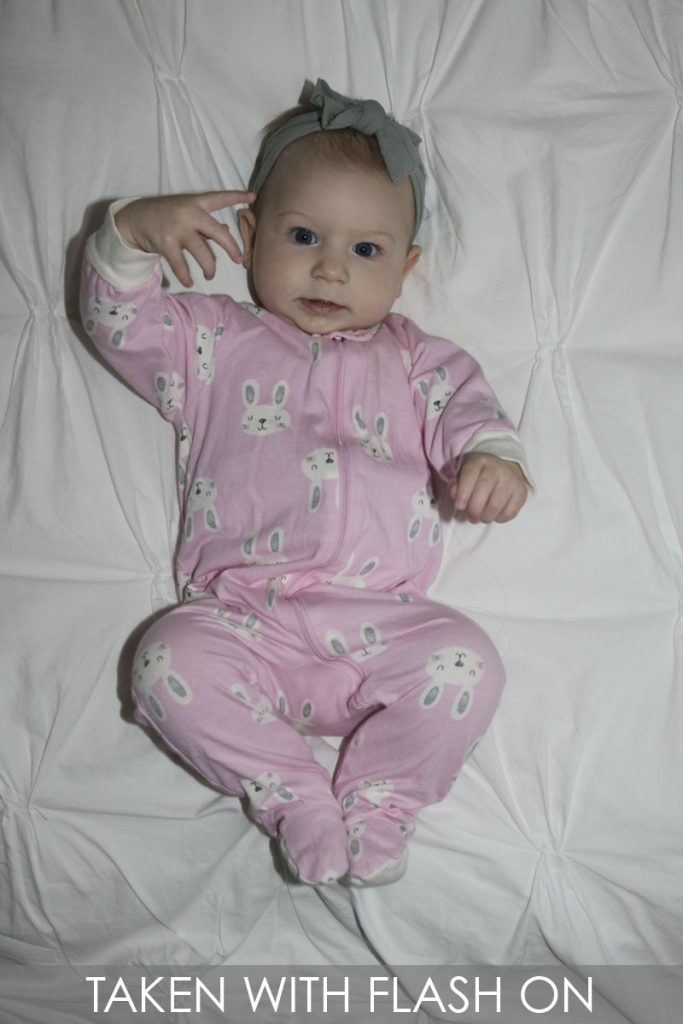
If you don’t believe the incredible difference it can make, here are a two images that were taken just a few moments apart. The first photo was taken with my camera turned to “auto” and the flash turned on. The second image was taken with my camera in the “no flash” auto mode.
 |
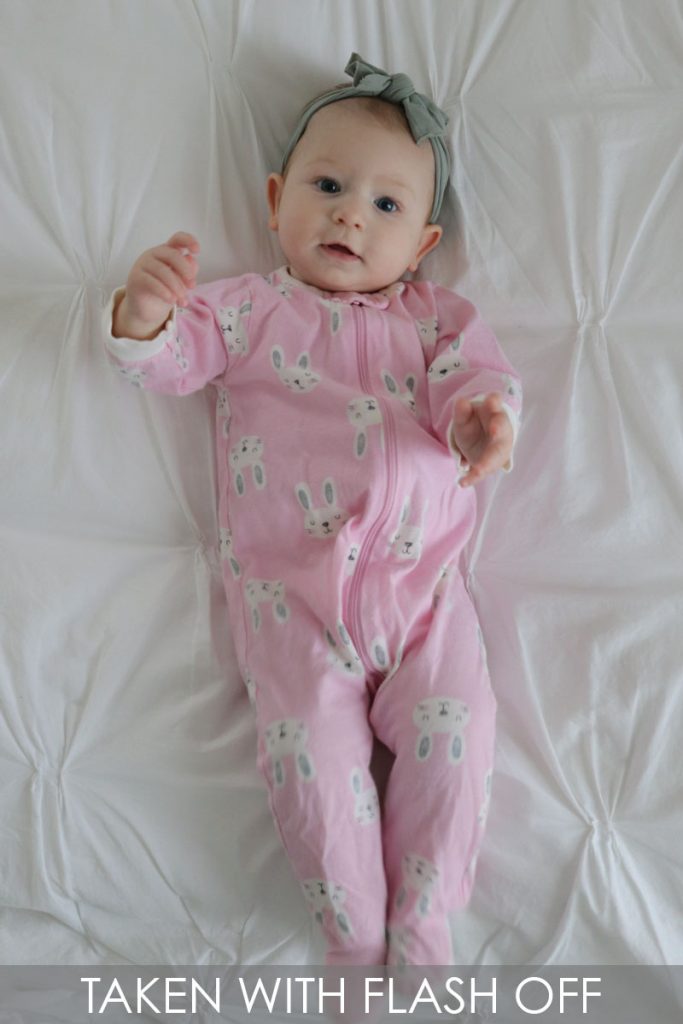 |
It’s worth noting that these photos were shot during the day time on a particularly overcast winter day. Notice how the first photo with the flash on makes it look like it was shot at night? That’s what the built-in flash will almost always do to your photos. It will darken the background, add more shadows, and distort the colors.
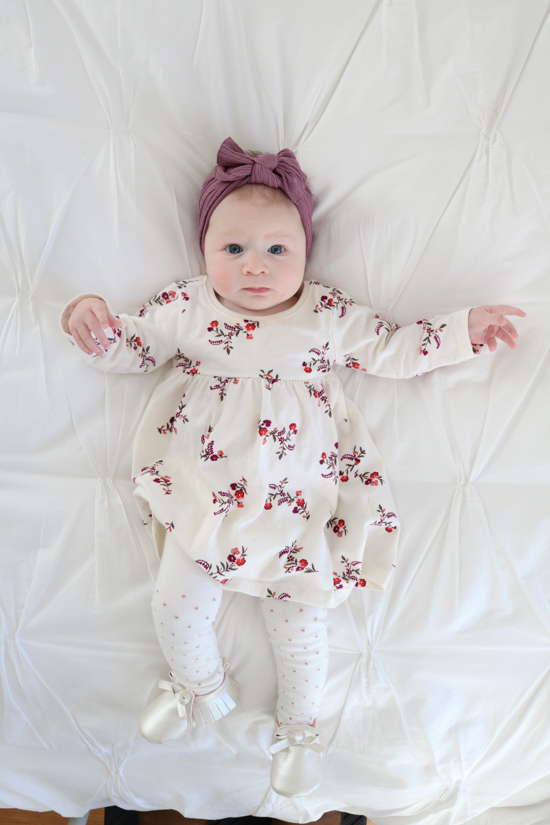
And just a quick note that it is possible to get a bright photo in camera. I shot the image below using the disabled flash setting on a brighter day and it made a big difference. This photo was taken straight from the camera and not touched up or edited at all.
Get in Closer and On Your Baby’s Level
If you are not trying to get a direct overhead photo of your baby, there is really only once place you should be when you take photos: at the baby’s level. So much cuteness is completely lost when a parent tries to take a photo of a baby playing low to the ground while towering above the infant. Unless there is a good reason to tower above your baby for a photo, try to bring the camera down to his or her level whenever you take photos. So much more magic is captured that way.
Using Toys, Noises and Other Tricks
One of the most challenging aspects of taking a photo of a baby is getting them to interact and smile at the camera. Candid shots are easy – just shoot photos of your baby engaged with a toy, crawling, or generally going about the business of being a baby. It’s milestone photos and posed images that are particularly challenging. In those cases, you want to use every trick in the book to grab your baby’s attention and keep it aimed at your camera lens for as long as possible (which may only be for a second or two!)
Using a toy that makes noise is an easy tool to grab and maintain your baby’s attention. Dessa has a simple little hedgehog that rattles. It isn’t anything vibrant or fancy but she loves it. When we took some photos by the tree this Christmas, we put that cute little hedgehog to good use and waved it right in front of the camera to get her attention. Then I quickly moved the hedgehog and snapped a few quick shots.
Another trick is to make use of your camera’s LCD screen. Our Canon Rebel T6i has a pivoting screen that can display flush against the camera body or twist out away from the camera so the screen can be viewed from a variety of angles. Sometimes when I’m shooting photos of Dessa and I want to hold her attention, I just flip the little screen out so she can see it while I shoot. (I usually shoot by using the view finder and holding the camera up to my face) so there’s no need for me to see the screen.
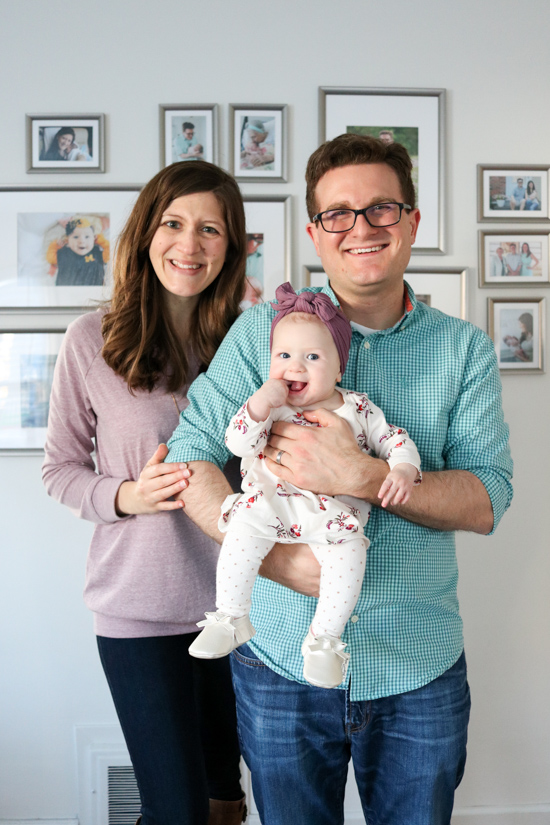
I shot this family portrait using a tripod and our camera’s self-timer. I flipped the LCD screen out for Dessa to see and used it to grab her attention while the timer was ticking away. When time was up and the shutter closed, she was happily engaged and staring right at the camera. I’m telling you, that little screen is pure magic when you’re trying to hold a baby’s attention.
Consider Purchasing an External Flash
You know how the very first tip I shared was to turn off your camera’s flash? I know it sounds crazy (and contradictory), but if you shoot with a DSLR camera, you may want to consider purchasing an external flash for your camera.
What’s the difference, you ask? Well, there are two big differences that come to mind. The external flash allows you to easily adjust the intensity of the flash. The buttons are located right on the flash and there are several different levels of brightness to move between. Secondly (and probably most importantly), the external flash can be directed away from your subject. I know it sounds counter-productive that the flash would work best if it’s pointed away from your baby, but it’s true. Remember how terrible the photo looked with the built in camera flash when I took the photo of Dessa? The simplest effective way to brighten a dreary scene with a flash is to turn on the flash and direct the light so it bounces off a wall or ceiling. I popped on our external flash for one last photo of Dessa wearing her bunny pajamas and it made all the difference in the world. No more gray, dreary, shadowy scene. Just a cute baby on a bright white comforter.
Use the Right Lens for the Job
If you have a DSLR camera, your camera probably came with an 18-55mm lens. And if you’re like most new camera owners, you use that lens for everything. Here’s the thing about that lens: it’s basic. Like, really basic. The starter lens is perfectly capable of taking a photo, but once you start shooting with a different lens, you really begin to appreciate the improved photo quality.
We own a 24mm lens and a 40mm lens and keep them within easy access to the camera at all times. Both lenses are affordably priced and they are both prime lenses (which means they don’t zoom but the performance of these lenses is so much better than the zoom lens that comes standard with a camera).
When I’m getting ready to shoot, I select a lens based on my objective for the photo. Photos taken with the 40mm lens feel much more “zoomed” than the 24mm lens. Likewise, the 24mm lens is great for capturing more of the scenery around the subject.
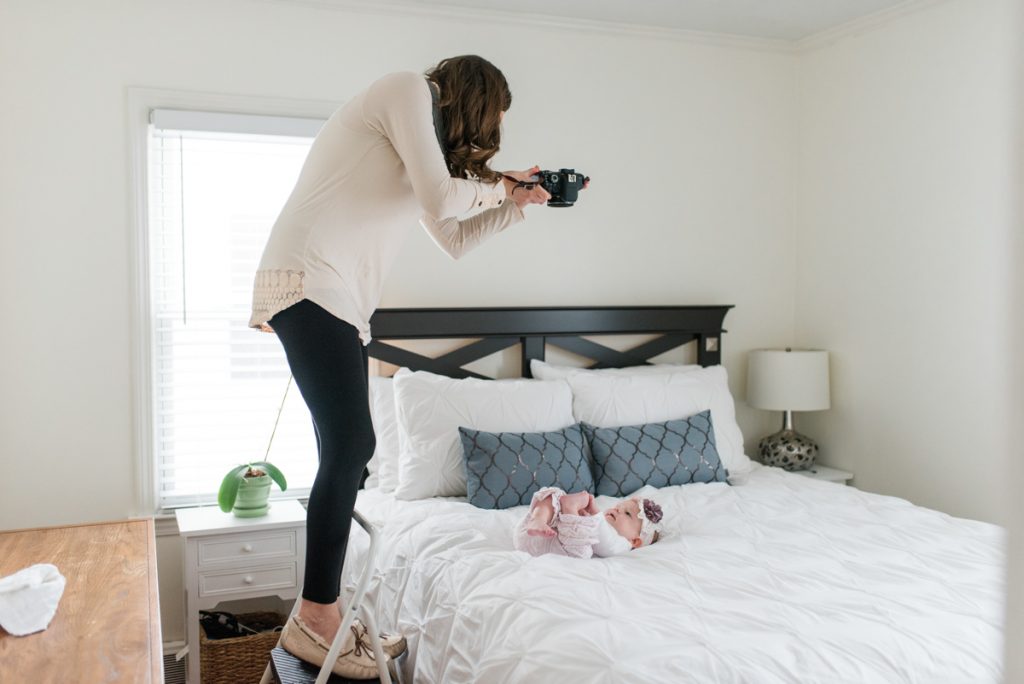
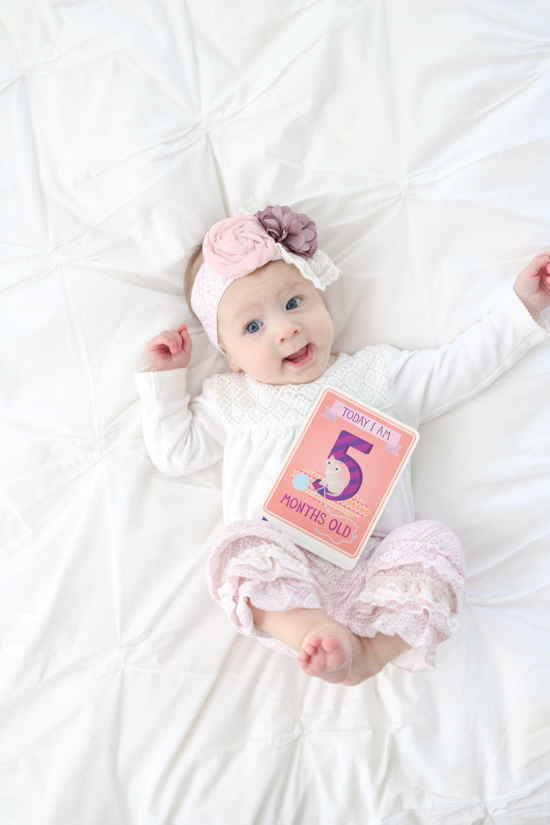
When I’m shooting milestone photos of Dessa, I’m usually trying to fit her entire body into the frame. The 24mm lens is perfect for that task because I can hover above her and easily fit her little body into the photo with room to spare.
I shot the photo below with the 24mm lens and you can see how much extra space it provided around Dessa. I often crop Dessa’s milestone photos to a square so I can easily share them on Instagram and my Canon 24mm lens helps make sure I have plenty of cropping space.
For candid shots around the house, I’m not usually concerned about cropping or fitting Dessa’s entire body into the shot. Rather, I usually want to fill the photo with as much cuteness as possible. In these cases, the 40mm lens is perfect for capturing a happy baby moment.
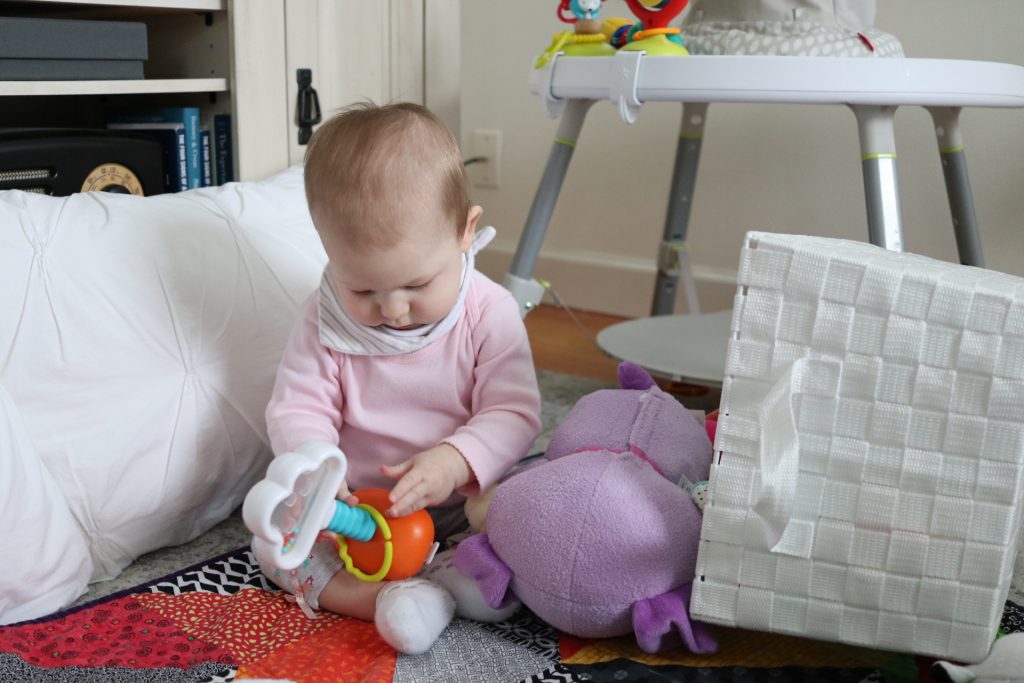
Here’s a comparison of the two lenses that I recently shot after Dessa dumped out her toy basket for the first time. In the first image, I wanted to capture the scene of Dessa with her triumphantly dumped toy box. I used the 24mm lens to snap a photo of Dessa with the spoils of her little victory.
Remembering Dessa’s feat with the toy box was important, but I am always trying to capture baby girl’s sweet little expressions. I quickly switched lenses and popped the 40mm. I didn’t move any closer to Dessa, but you can see the difference in perspective between the two lenses. The 40mm provided a tighter perspective that perfectly captured her sweet little expression as she was caught red-handed.
For reference, I shot both of the above photos in manual mode. The images were taken directly from the camera and not edited in any way.
Keep shooting!
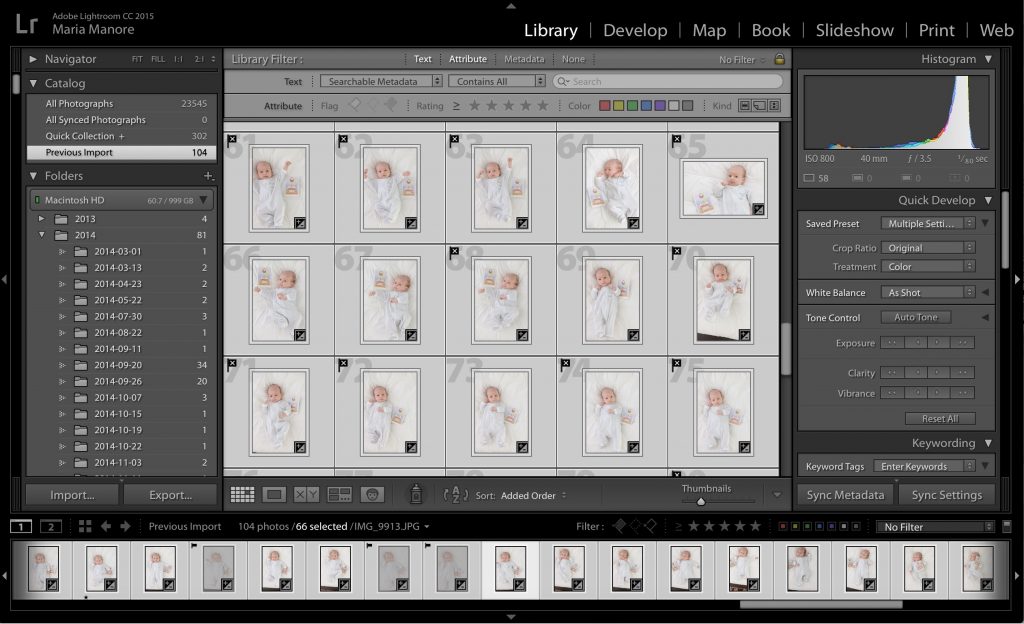
It’s very rare to capture a perfect baby photo on the first try. It’s even hard to get an amazing photo after 10 clicks of the shutter. If you have the time and your baby is agreeable, keep shooting and shooting. I literally take dozens of photos when I’m trying to capture a milestone photo of Dessa. When I’m finally finished, I dump all of the photos in my computer and delete all of the duds (there are always a lot of duds) and filter through the remaining photos until I finally have a favorite.
I manage and edit all of my photos in Adobe Lightroom (available through the Adobe Creative Cloud), which allows me to easily rank my photos. It also numbers them! You can see some of the photos I took of Dessa when she slept through the night for the first time … 75 photos and counting.
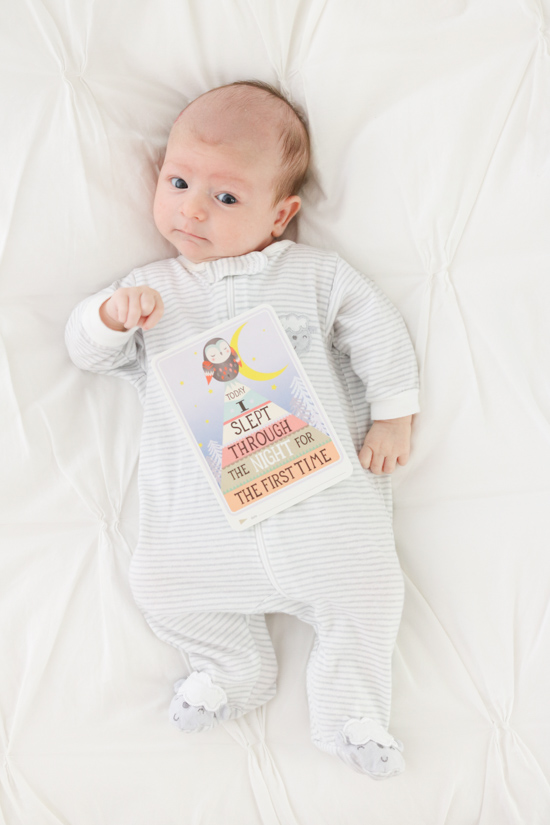
I probably spent ten minutes watching her wiggle, stretch, and make adorable faces and kept right on shooting the entire time. When I sorted through all of the photos, I was able to choose my favorite. I love this photo because Dessa had a silly little look on her face, her arms and legs were in focus because she was laying still for that moment, and you can read every word of her milestone card.
I smile every time I look back at the photo from the first time Dessa slept through the night. I remember how tiny those pajamas were, that silly little look on her face, how itty bitty she used to be, and how much she looked like a cute little old man after she lost the hair on top of her head. This is why Dessa starting wearing so many adorable bows.
Take Better Photos of Your Baby Today
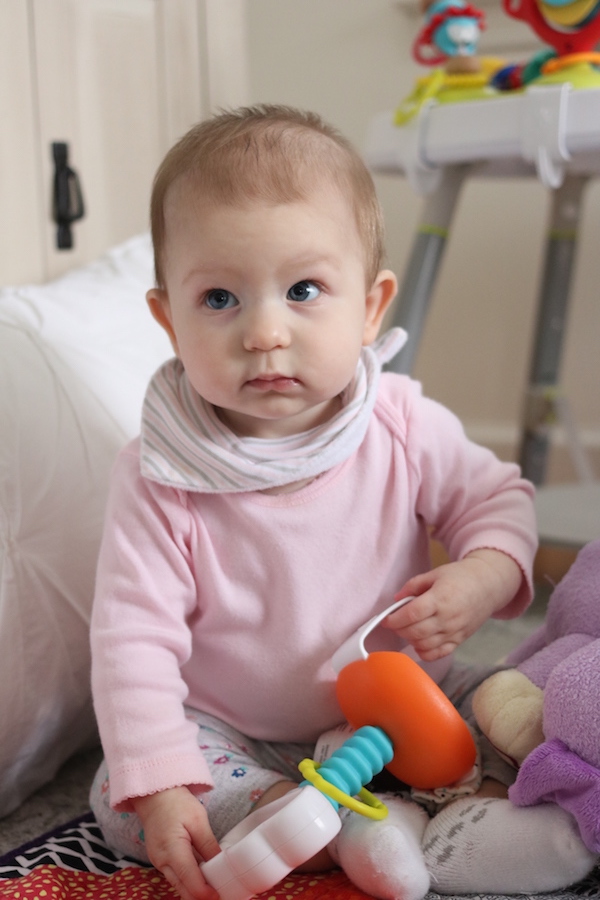
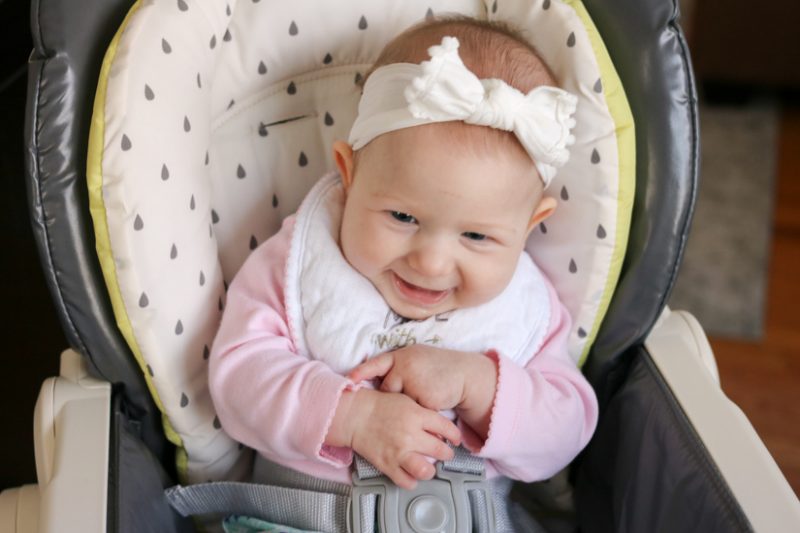
It’s easier than you might expect to improve your photo game and take better photos of your baby. One of Dessa’s caregivers actually shot this photo while she was babysitting. I gave her a super-quick lesson a few months ago about how to use our T6i camera (you know … the one that’s always sitting out on the coffee table) in auto mode with the flash disabled. The camera usually has our 40mm lens on it and is ready to go. Sensing a perfect photo op, the babysitter didn’t waste any time. She got down on Dessa’s level and snapped a quick photo of my silly, smiling girl. I brightened the photo up a touch on my computer, but she did such a great job of capturing Dessa’s sweet personality. It really is quite simple to take better photos of your baby once you know a few tricks!
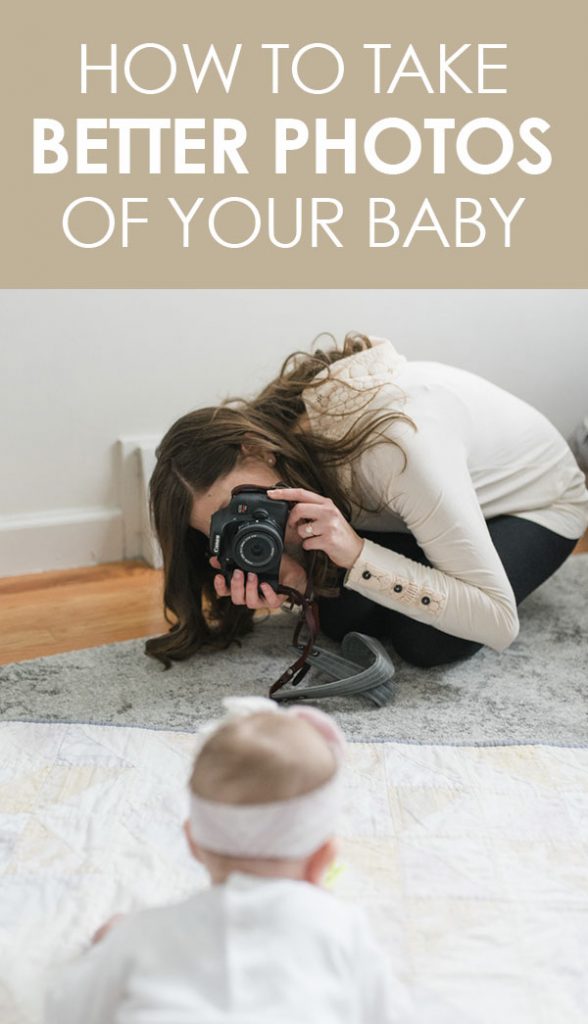
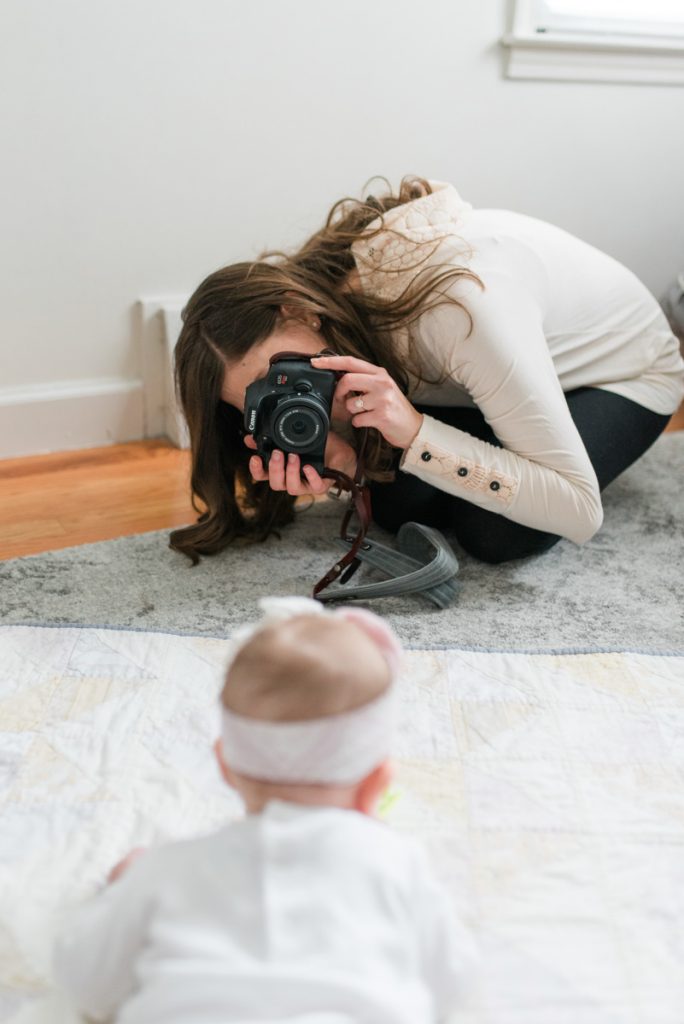
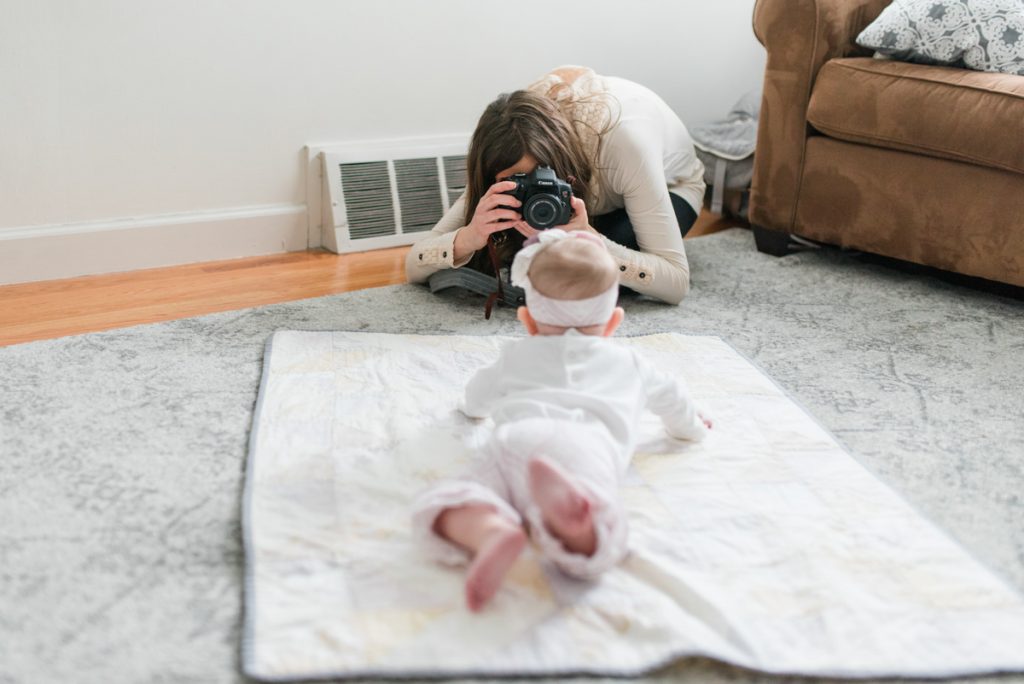
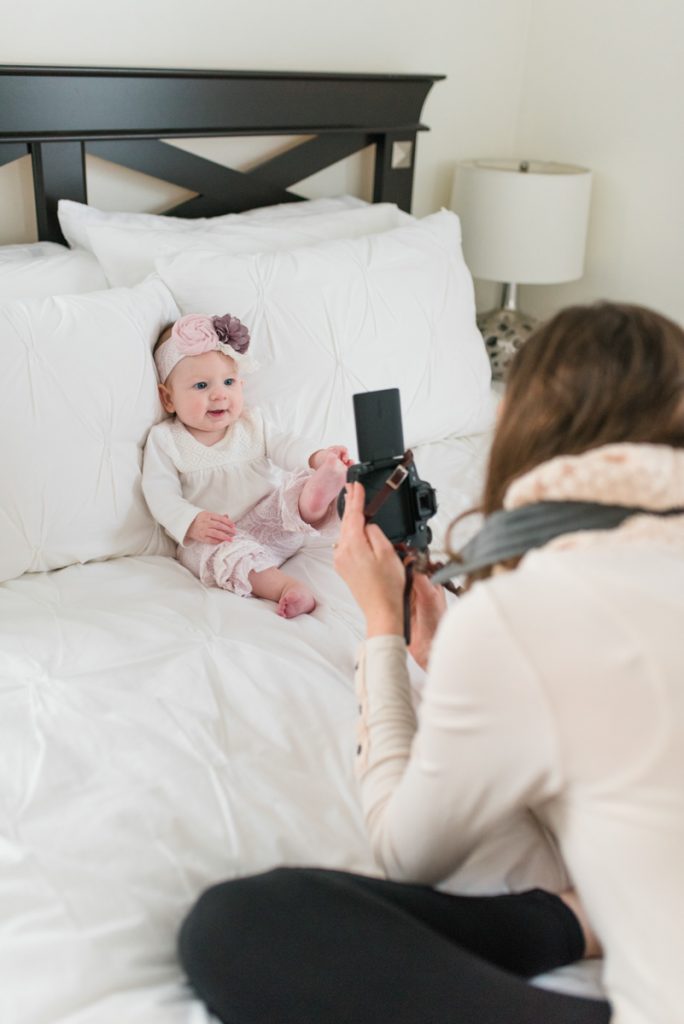
Thank you so much to Erika Christine Photography for capturing what happens behind the scenes of Dessa’s photoshoots.
