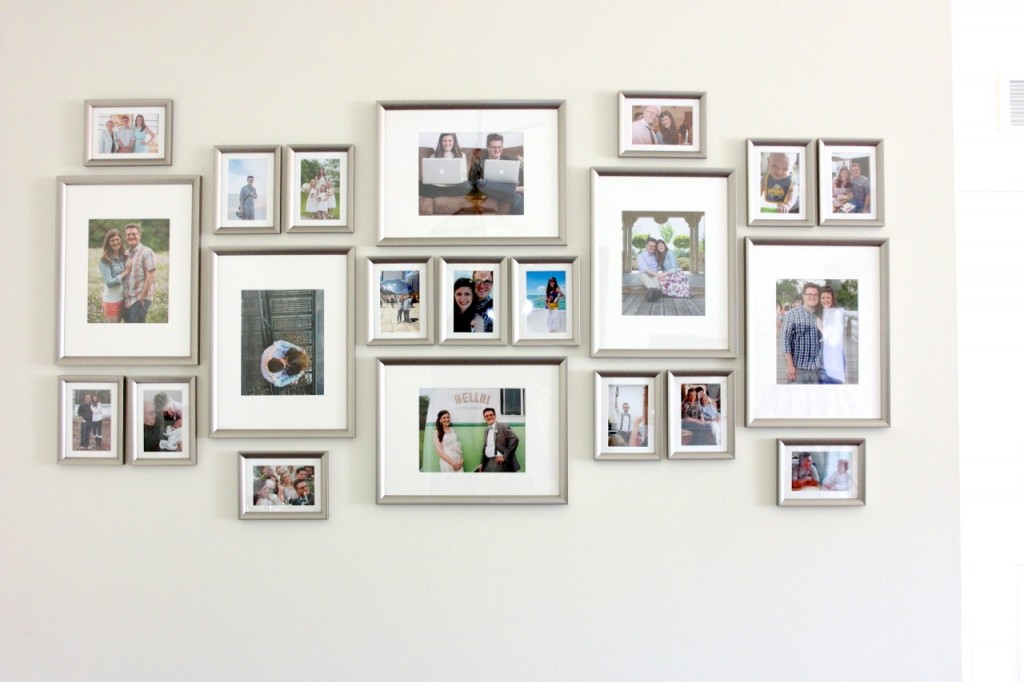
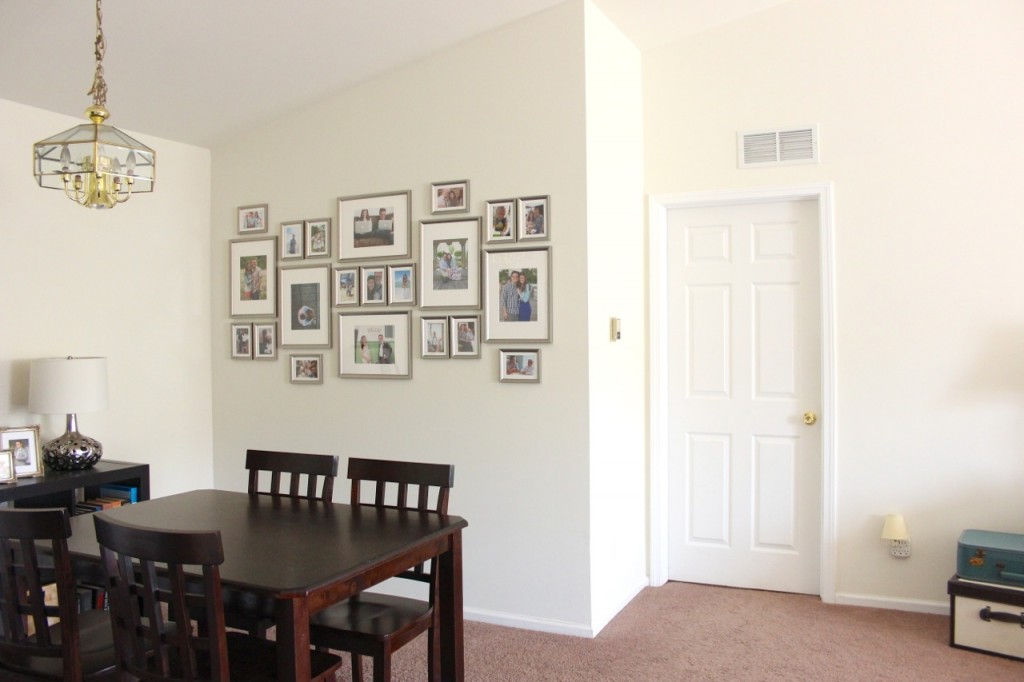
After nearly three months of living together as newlyweds in the little condo we are renting, we are proud to have finally hung some photos around our home! Not just any haphazard photos, though. Nope. We now have a perfect gallery wall.
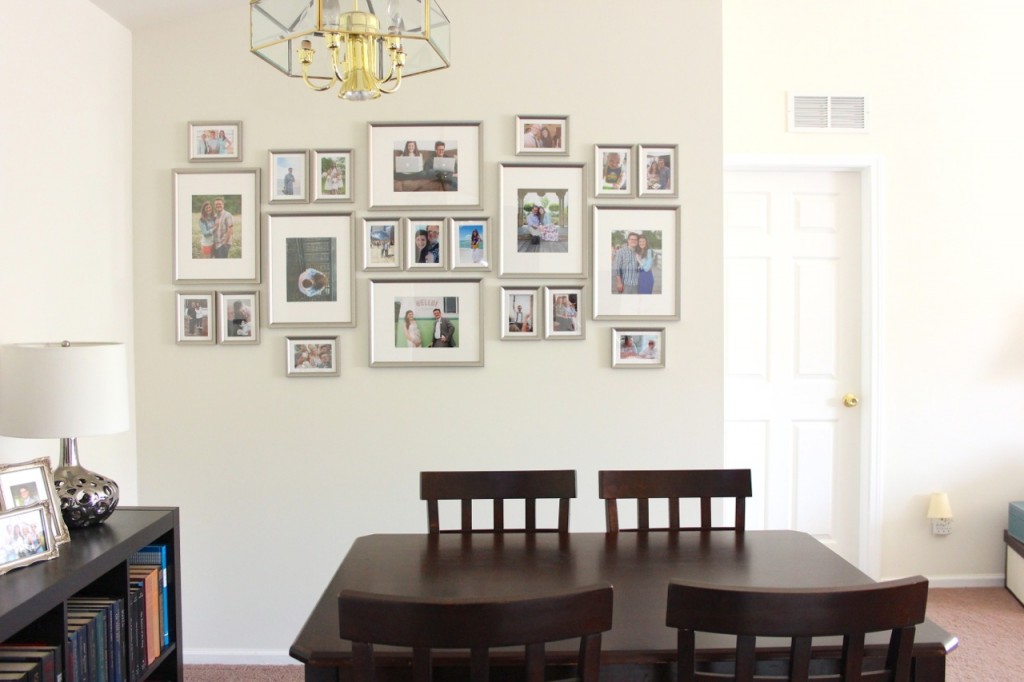
Within a few days, I was ready to dive head-first into our gallery wall project. I had no idea the entire process would take Rob and I four weeks to complete.
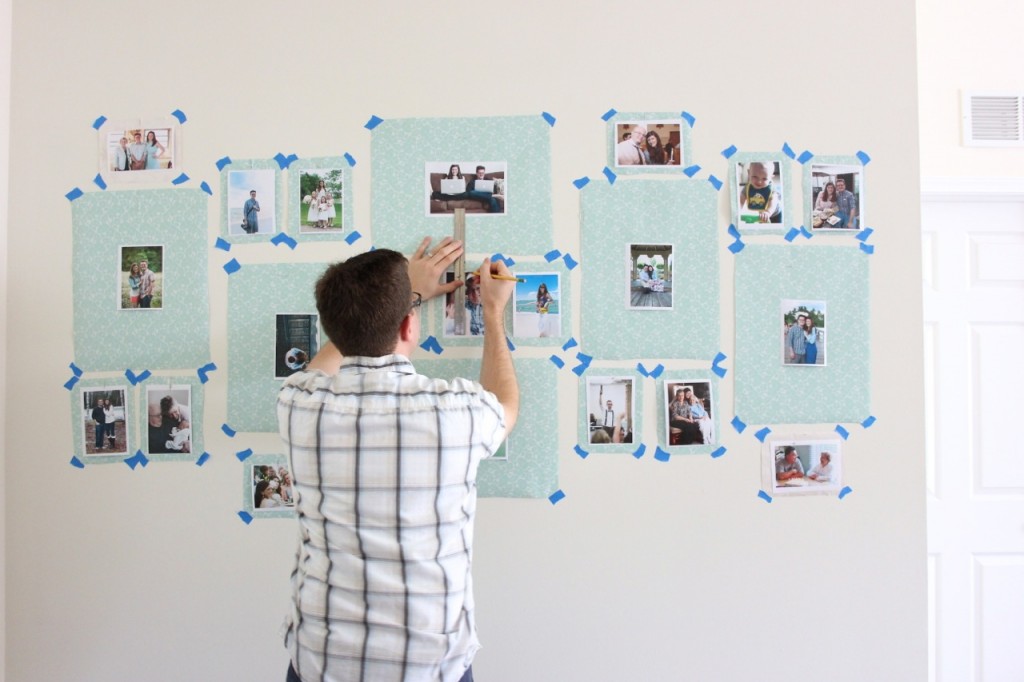
I am a spatial-visual thinker, so I began by experimenting with several layout options on the floor. Using the floor allowed me to easily turn and move the frames with minimal time and effort.

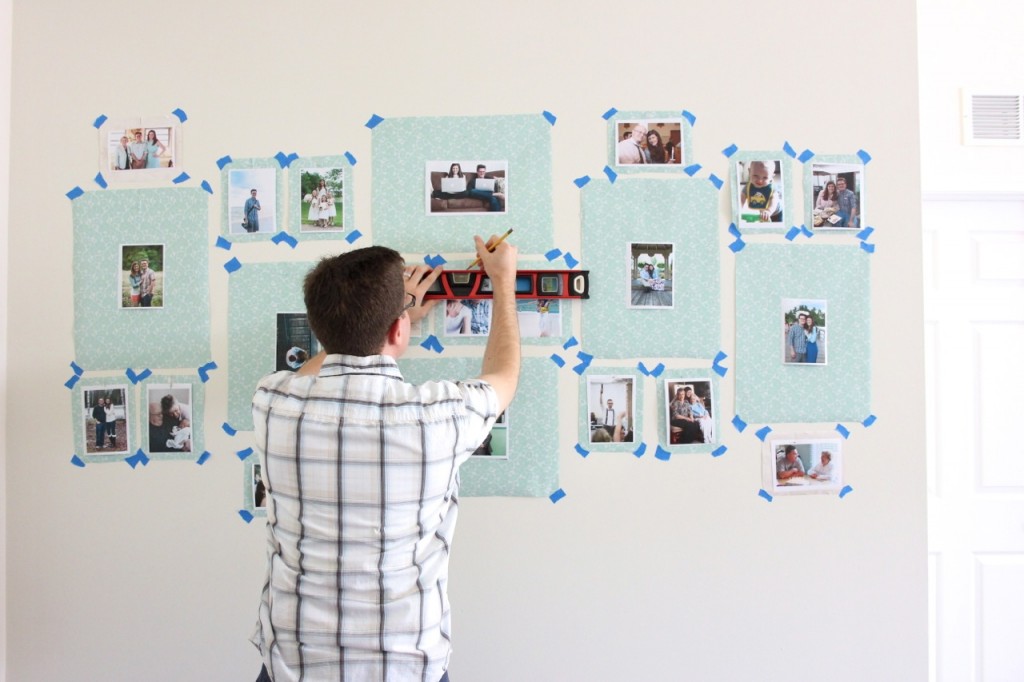
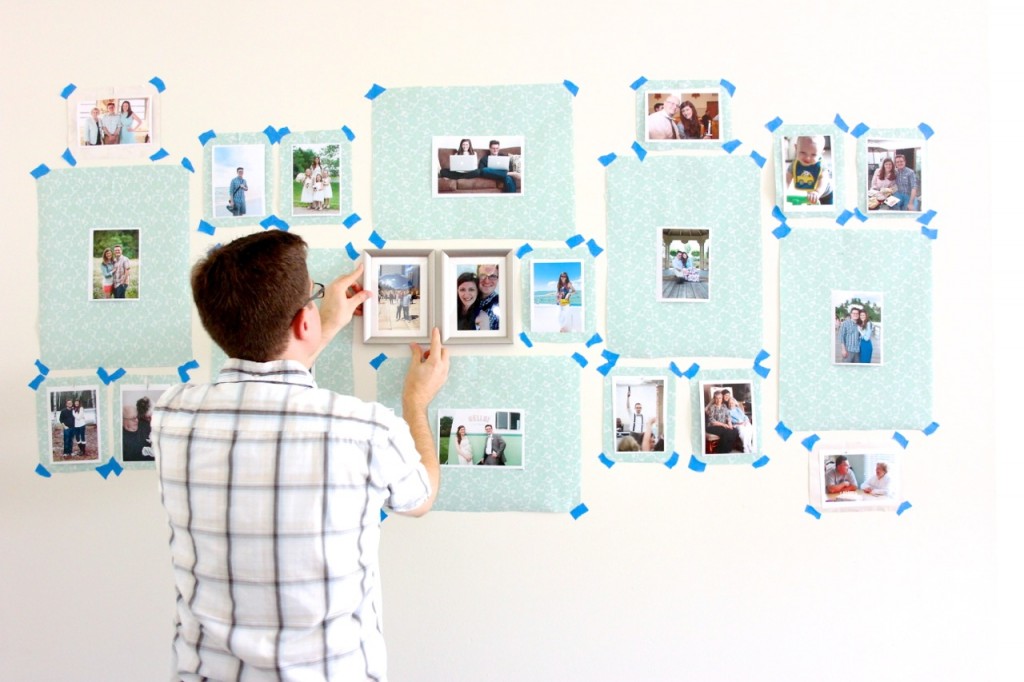
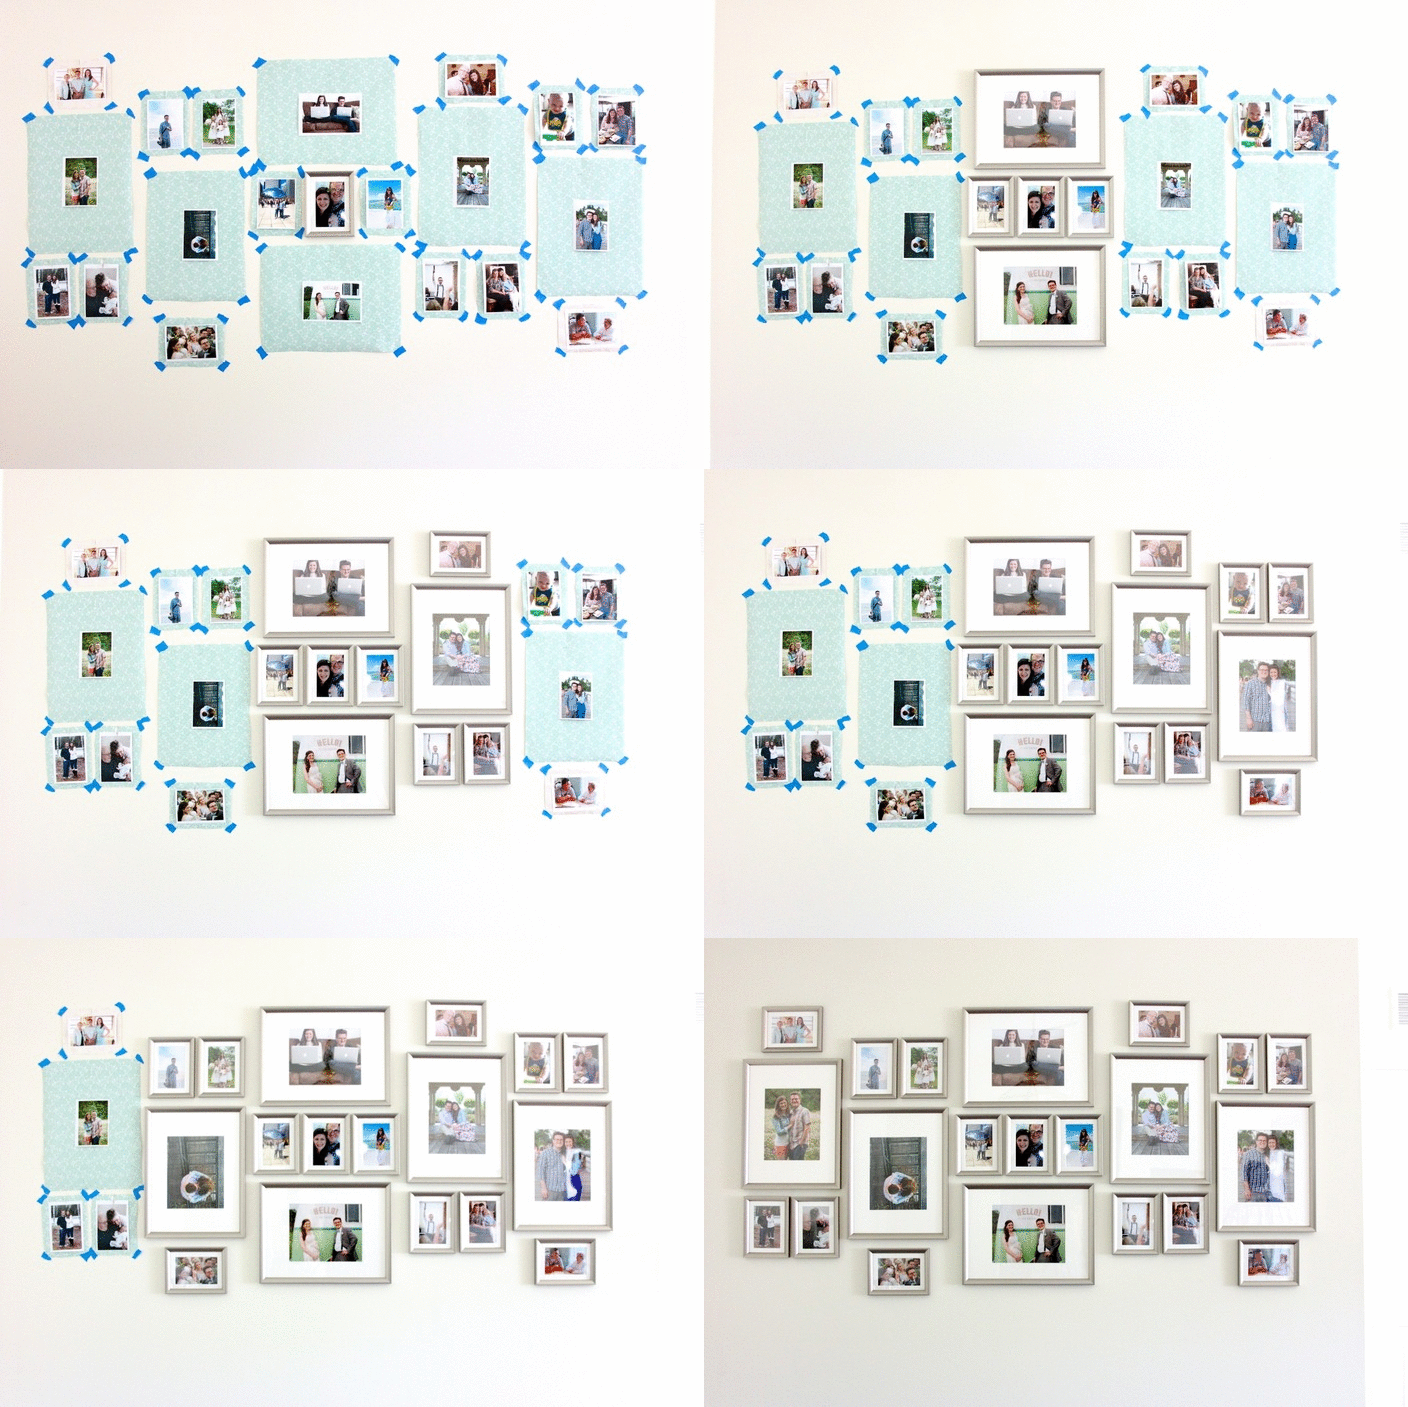
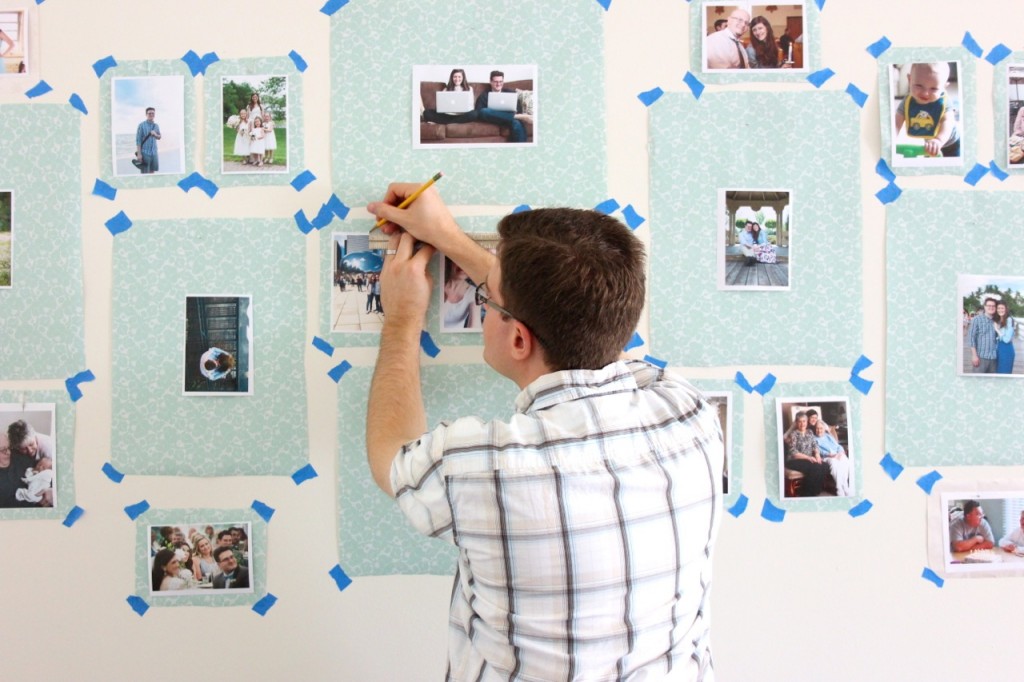
I began by placing a sheet of wrapping paper to represent the central photo of our gallery wall at eye level in the center of the wall. From there, I added the small frames I had designated to go on each side of the central frame and continued to work my way out from that central location. I used a small piece of painters tape to secure each corner of the paper. The tape is easy to use and even easier to remove. I worked hard to paint the walls a few months ago and I didn’t want to do anything that would damage them.
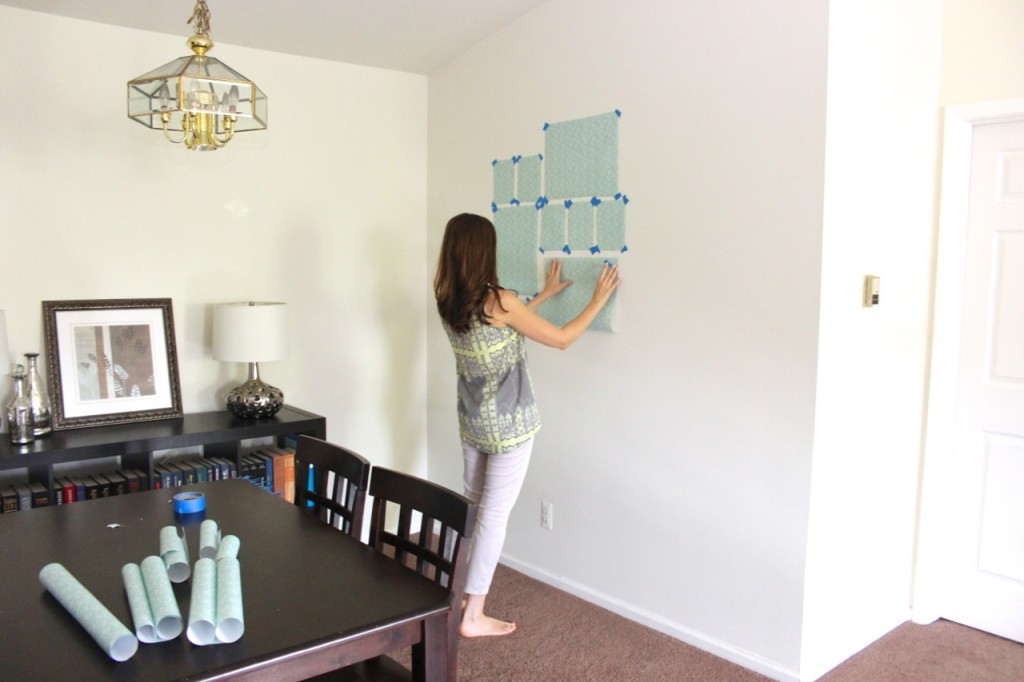
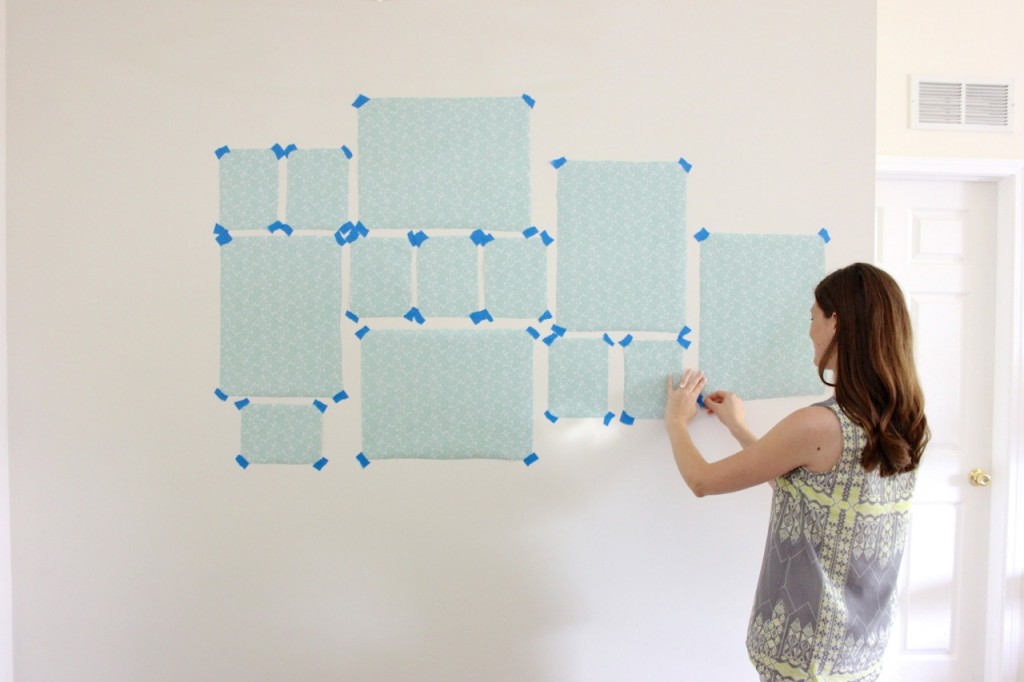
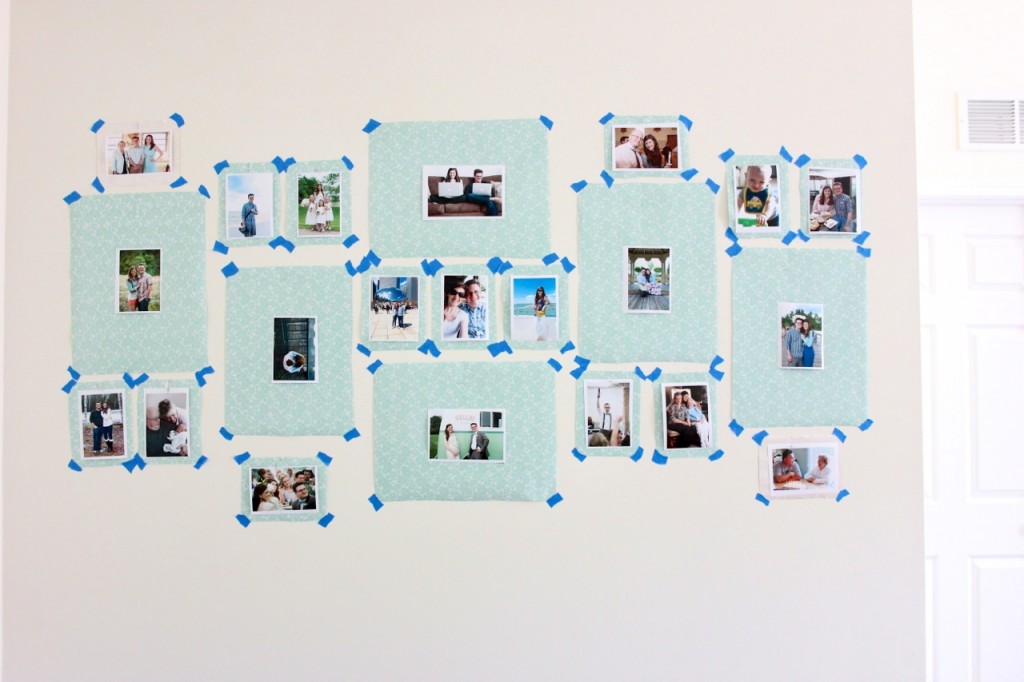
Preparing my classroom for back-to-school unfortunately put this entire project on hold for a few weeks. After countless days of staring at papers taped to a wall, we finally had time to hang our frames! Like me, Rob also began at the center of the display. I am definitely the creative free-spirit in our relationship and I had just eyeballed the location of the each frame based on the space designated for the central frame. Rob is a bit more detail-oriented so he measured and used a level to ensure that the gallery wall would have a uniform layout. Bless his heart.





You are so cute with laying it out like that for weeks! Our is never that detailed. I hold up the picture, think “Yup!” and then put a nail in where I think it will go nicely. Not very detailed oriented as you are. On a side note… your dining room picture looks a lot like our condos, just mirrored to ours. May have been the same builder.